QGIS (previously known as Quantum GIS) is a cross-platform free and open-source desktop geographic information system (GIS) application that provides data viewing, editing, and analysis. QGIS - Wikipedia
The first I heard of QGIS was on this forum approximately a year ago.
Survey for fence - #10 by robins
Since then, I have been studying it in my spare time and have been amazed what a powerful tool it is. It can be used for almost any GIS application. I have recently used it for developing contour lines and publishing drone imagery, including elevation data. I am not an expert in its use but I’d like to show how I connect to it and hope to use it together with the Reach RS/Reach. Hopefully more ideas come as more users try it!
I am referring to QGIS running on Windows.There are other Android versions, etc. but I am not certain as to their functionality.
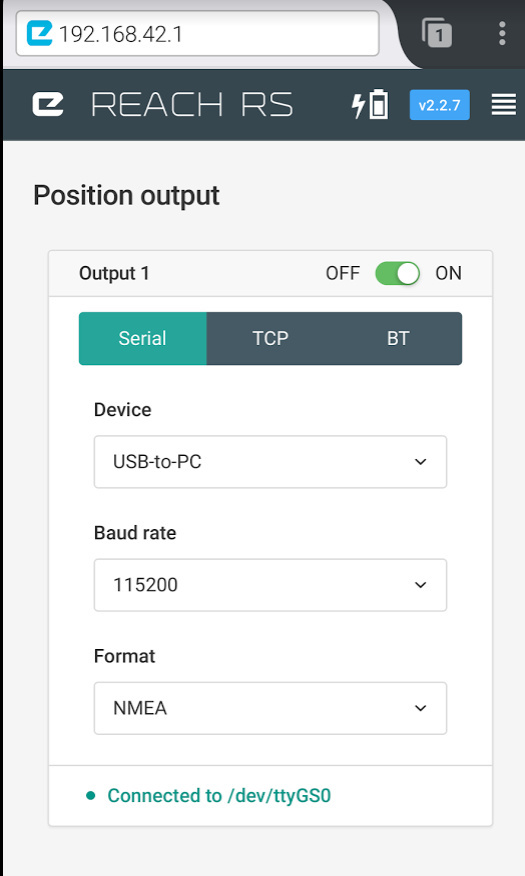
First of all, we need to connect our survey equipment to QGIS. There are two simple ways. One, over local network, or secondly, by USB. In order to connect over local network, the computer running QGIS needs to be on the same network as the rover. This can be via the rover’s hotspot. This screenshot shows the reach Rover config and the QGIS config.

The port number is the same as we’ll enter in QGIS to find position string.

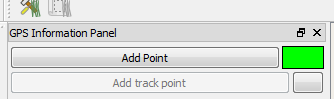
In QGIS, the colour panel turns green to indicate connection when we enter in the i.p. address of the rover and the port number.
The second way to connect is via “serial device”, actually USB.First plug the micro USB into the opening on Rover.
Then, plug the other end into the computer usb port.
For this, the settings on your rover should look something like this.
When I viewed my devices on my Windows tablet, it showed a driver error
.
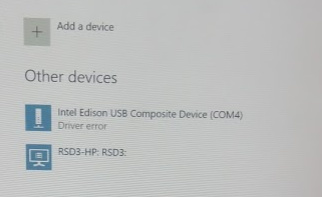
But this didn’t cause any trouble.
In QGIS, choose to connect by serial device and use the same COM port as is shown in connected devices.
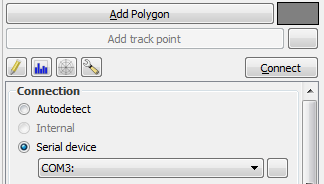
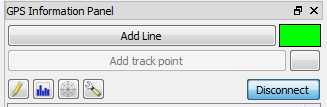
In this screen clipping the colour bar is grey because I’m not actually connected now. (It’s cold and raining and I don’t have a USB cable long enough to reach indoors)
Now that we’re connected we should see our position in QGIS similar to on our Reachview app.
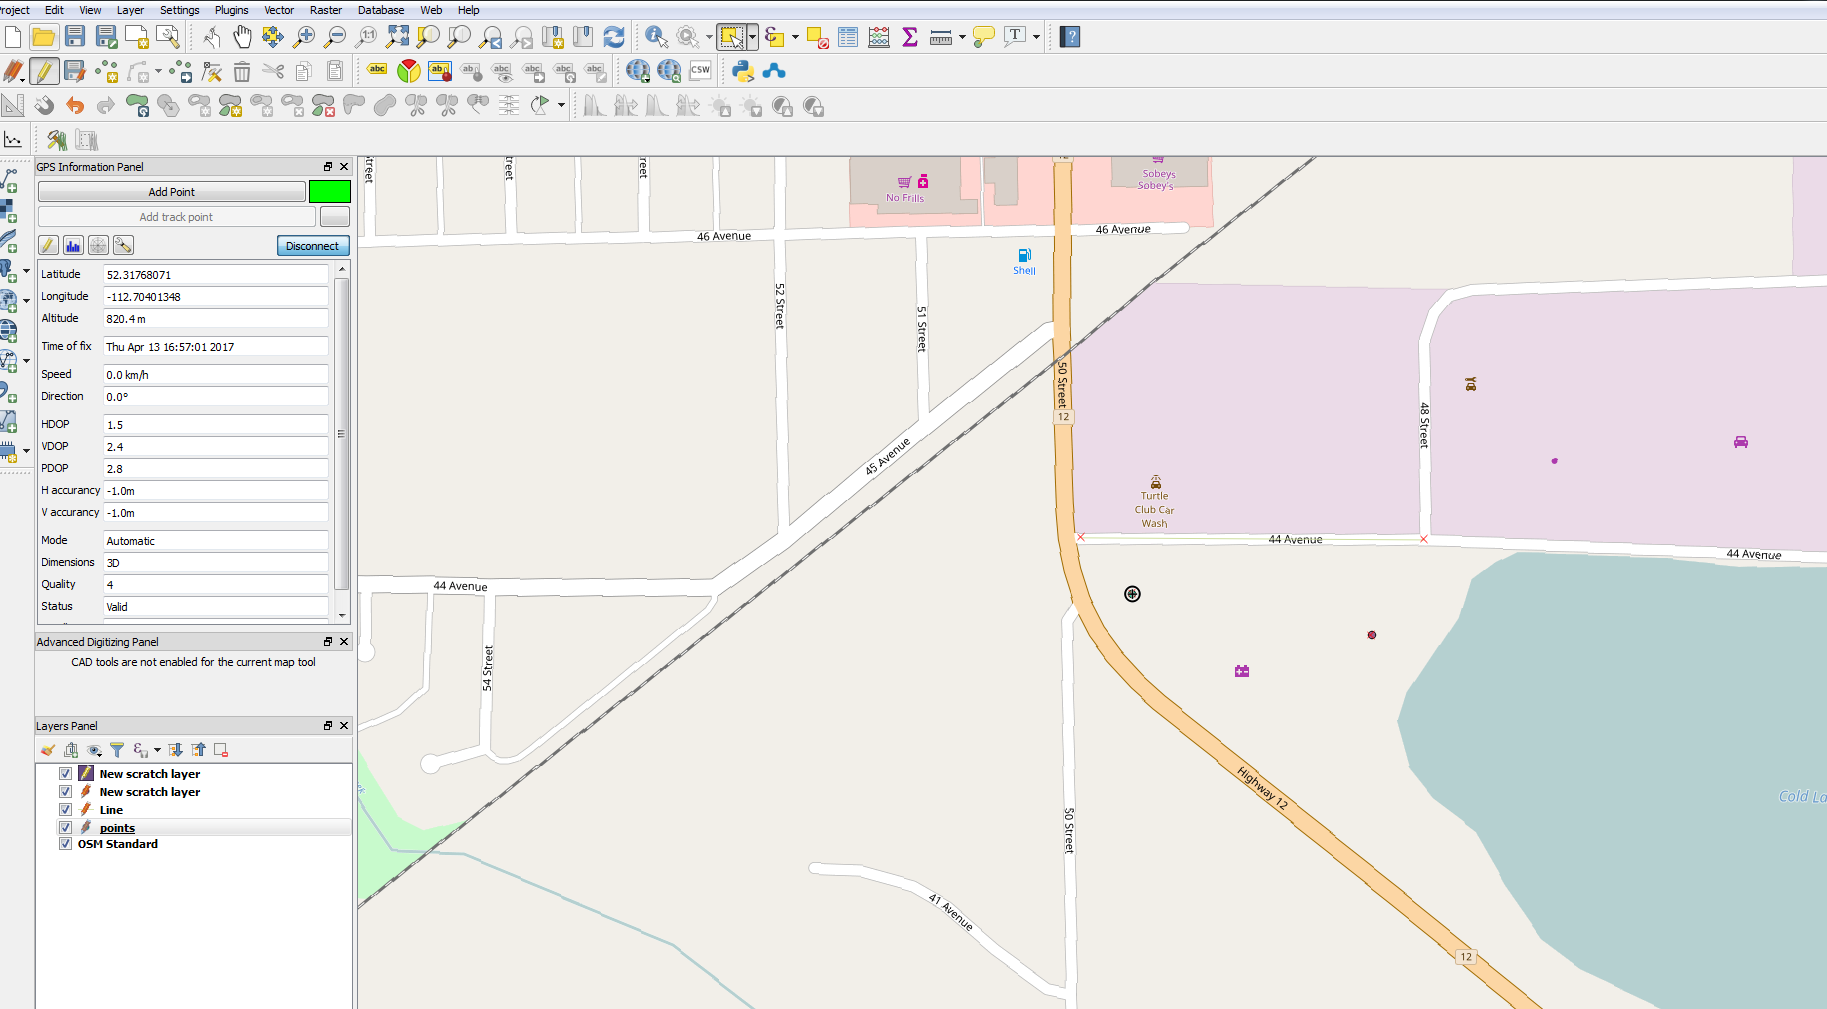
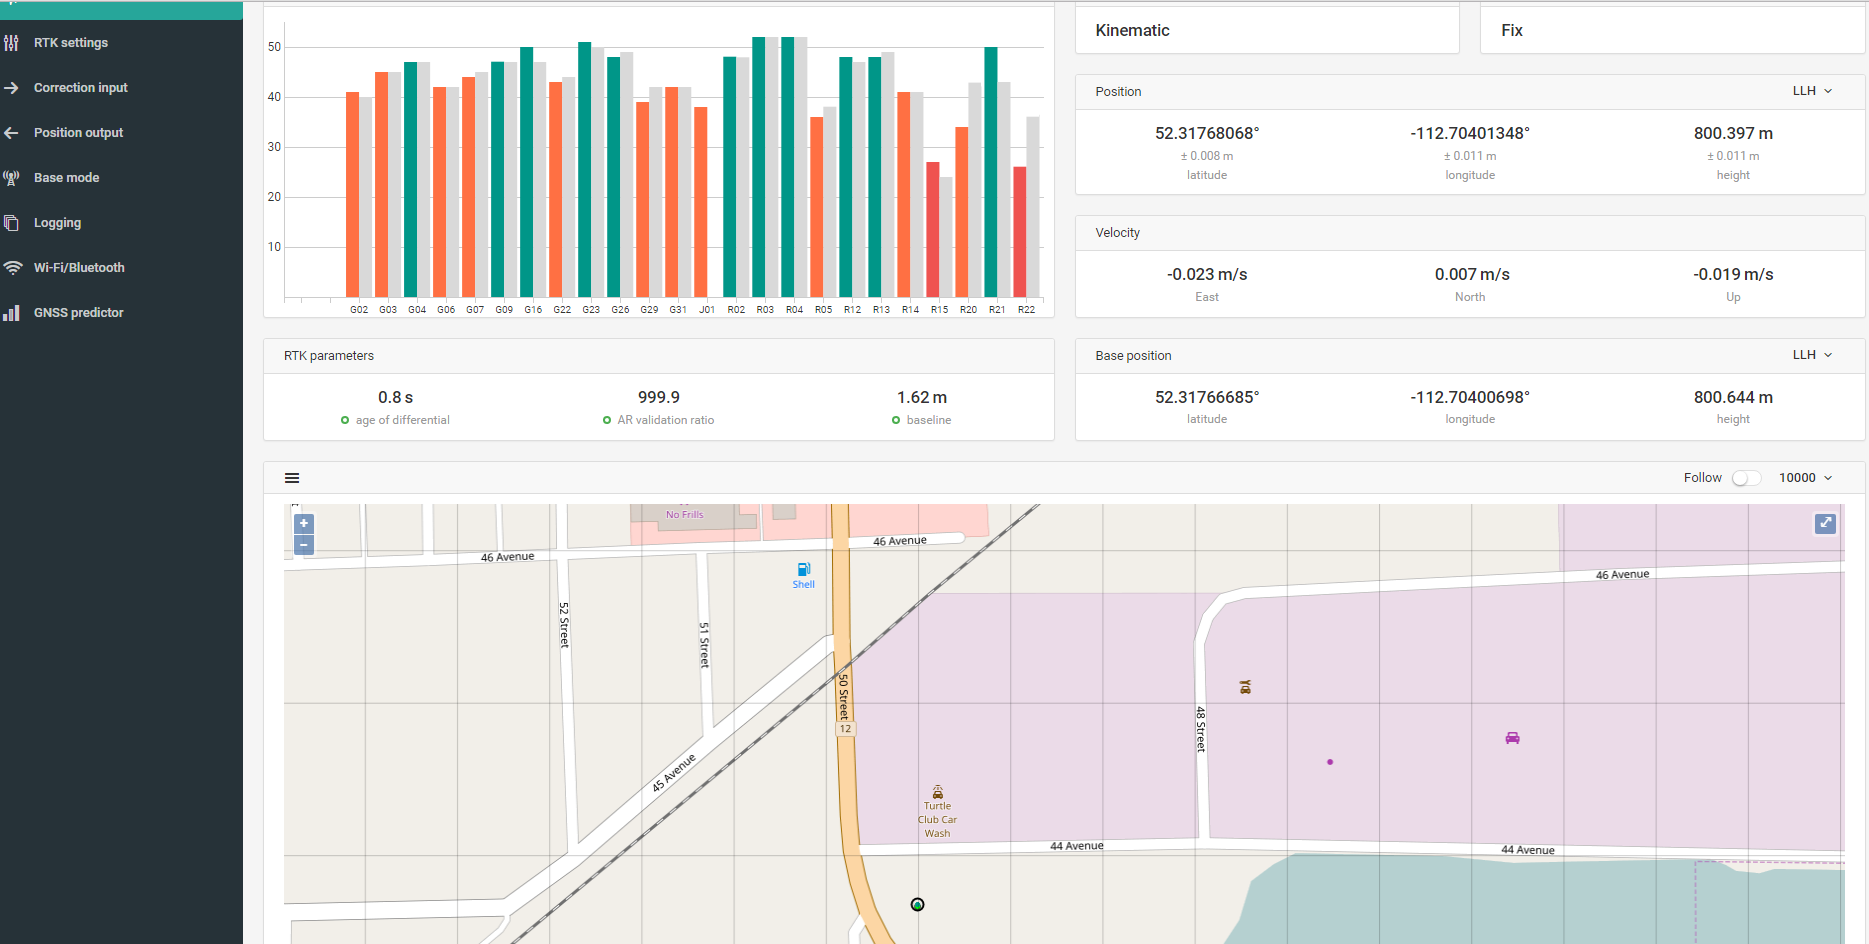
But in QGIS, we can choose from a wide range of background maps, including, of course, or own drone imagery.

The gps panel shows gps status but I don’t trust it for showing if we have fix or not. We have to keep an eye on our reachview app for that. Correct me if I’m wrong.
Once we’re connected and have our layers and snapping settings ready. We can go to work! Adding points, lines, and polygons, based on our location.
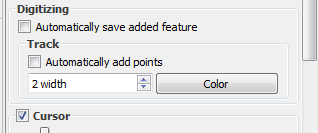
Then, for the feature of manually entering lines. Often we need to enter a line and then enter distances and directions based on that line, e.g. 30 m at 90 degrees relative to a given line. QGIS has a feature called CAD tools that should work for this. First, enter the line(for example, property line.) Then, draw parallel or perpendicular lines from that one.
This is found in the advanced digitizing panel. Here you can select start point by vertex and then begin drawing from that point at a direction relative to a selected line.
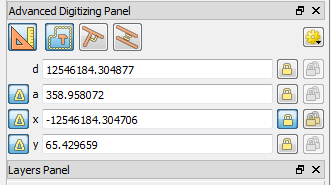
Distances and angles can be preset here but I won’t attempt to show it as I am still learning. Let me refer you to a tutorial by Klas Karlsson QGIS Quick Tip CAD tools - YouTube
Back in the office after the survey, there are options to trim, extend, fillet linework, convert points to arcs, etc.I think these features could be used while surveying as well. Check out the plug-in QAD

Also check out plugin CadTools.

I think that’s enough info for today. Hopefully this helps someone and the community in general.
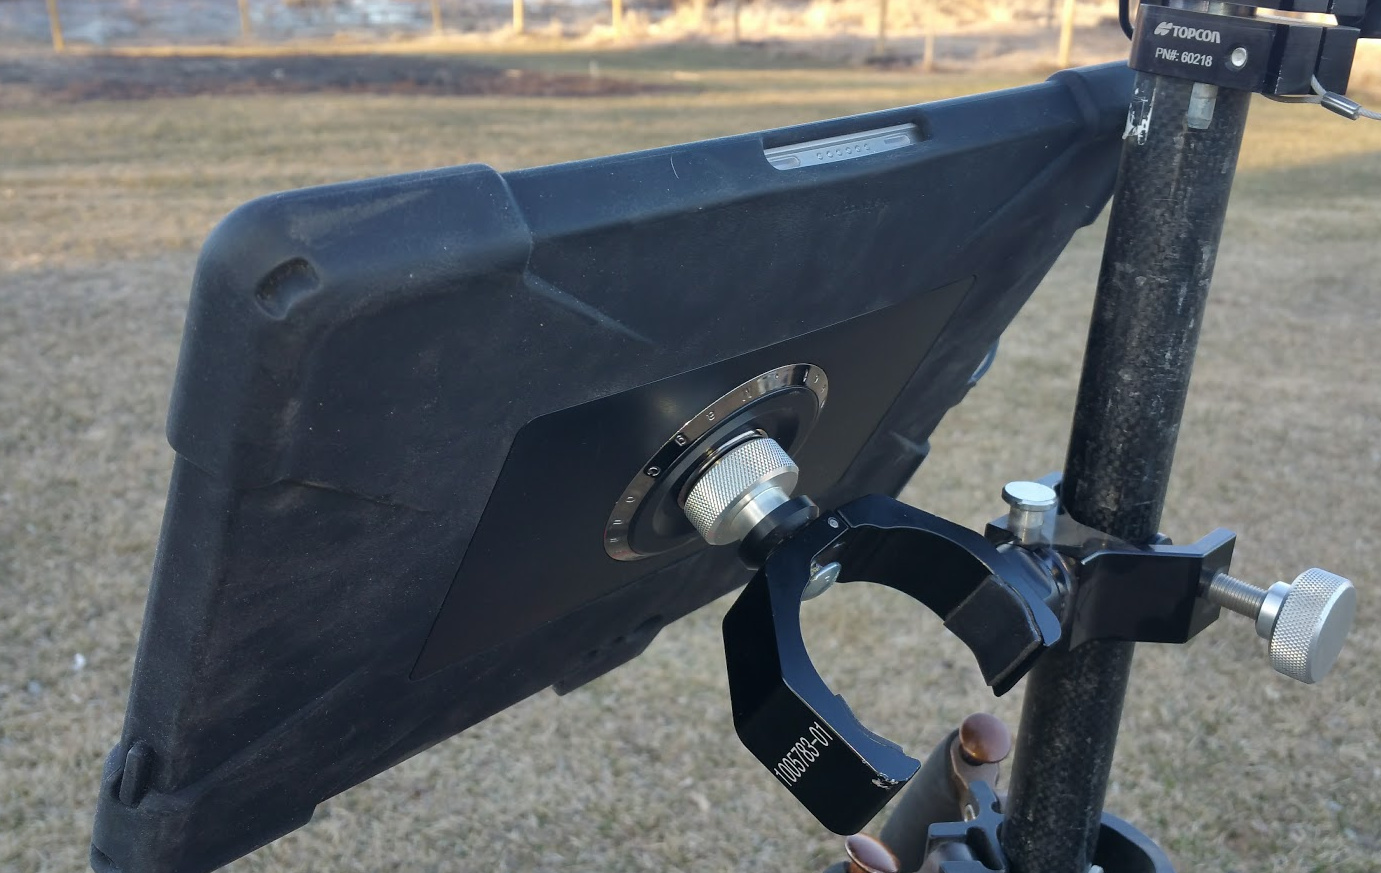
I used a Windows Surface Pro with a holder that had a threaded opening in the back. I was able to mount this to my pole by running a bolt backwards through topcons data collecter holder ![]()