I do not have a 3D printer but would like to buy cases for the Reach devices that I have purchased. They would also make the devices more rugged.
If you want a 3D printed case you can print STL models without having your own printer, just use some of the 3D printing services like Shapeways, Ponoco, Sculpteo etc.
1 Like
Thank you, Do you have the STL files for the Reach devices or do you know who had them?
You can find Reach STL files in the docs.
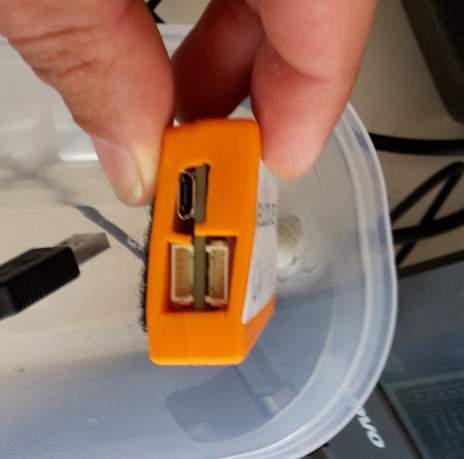
Thanks, I found the STL files where you said they would be. Uploaded the file to one of the 3D Shapeways and the file has some issues. Here a a couple of screenshots that illustrate the problem. Looks like some of the demininsions on one of the parts are to small. Could you adjust and reload the STL file/
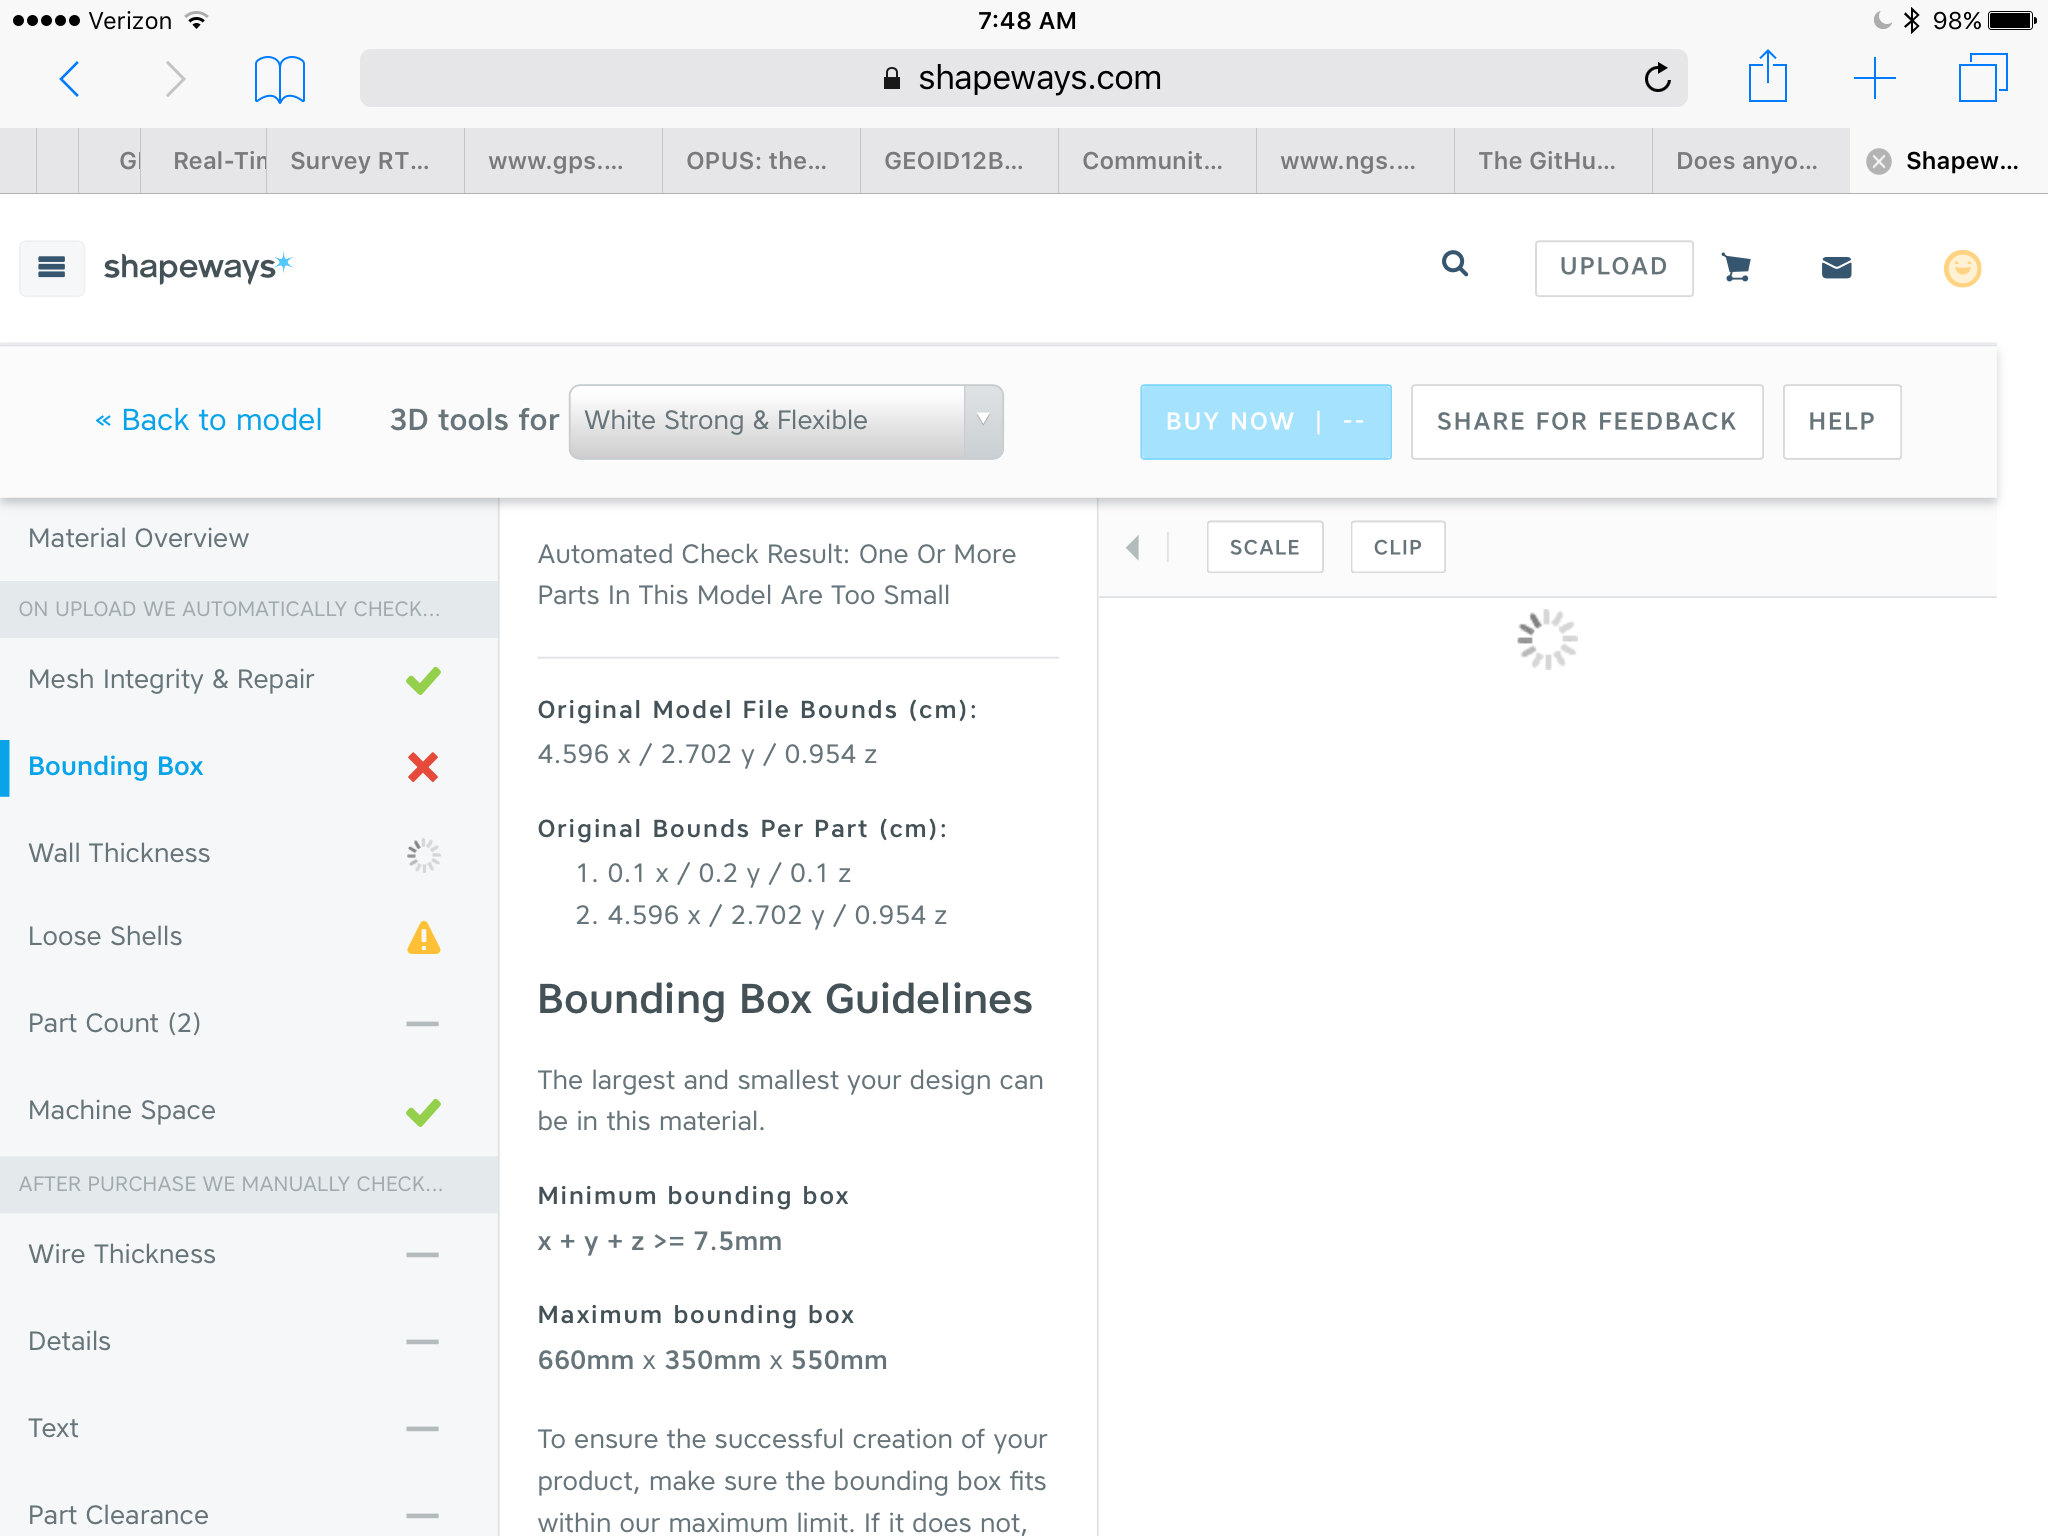

There is some space between SMD components and the surface, seems like that’s the reason.
But do you really need to print the STL model of Reach? This model can be used to design the case and some space under components shouldn’t be a problem.
1 Like
3D printable cases for Reach are now available in the docs. http://docs.emlid.com/reach/mechanical-specs/
2 Likes
Igor,
That was fast in rolling out these designs. I like your screwed together E revision and passed it along to Sculpteo.com for their review. I will let you know how what they think when they get back with me.
This is a needed addition for all reach owners, so thank you for getting this design out for us all.
No 3D printer here, but I have a drill and a chisel and some o-ring seals!
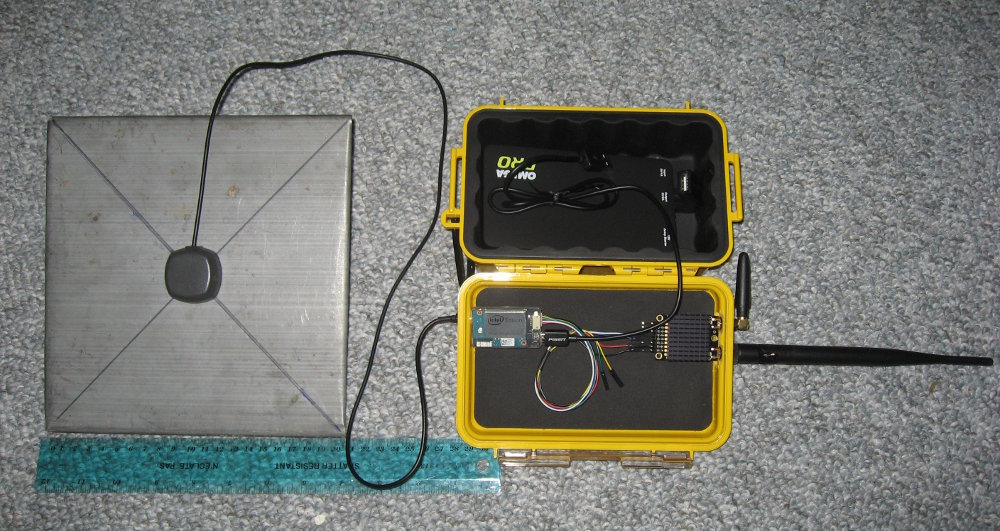
So this is my latest improvement over the plastic sandwich bag case and the tupperware tub case.

5 Likes
I like your design. And a drastic improvement over the sandwich zip lock. That would definitely be waterproof. Where did you get the box?
How do you tie down the battery, reach and the radio to keep them from bumping each other?
Thanks for sends us the pictures.
1 Like
Thanks, the box is a Pelican model 1050 (bought several years ago).
- The battery wedges into the soft rubber sides
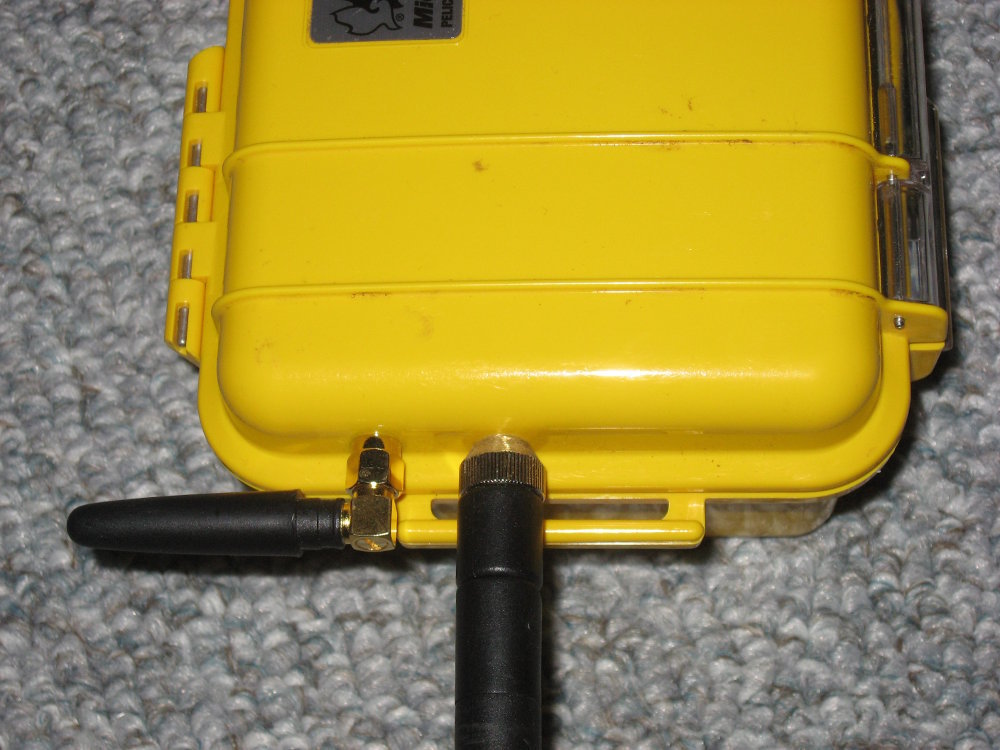
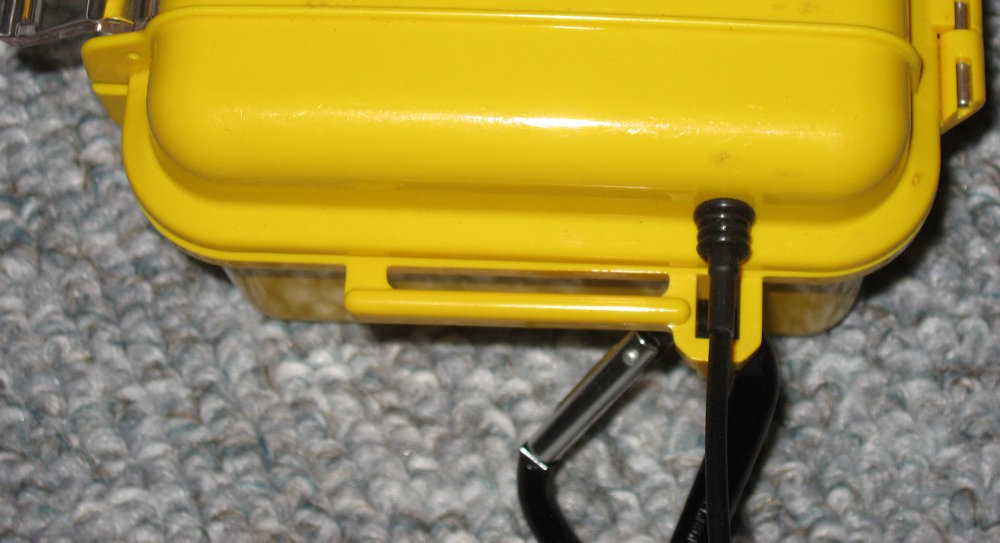
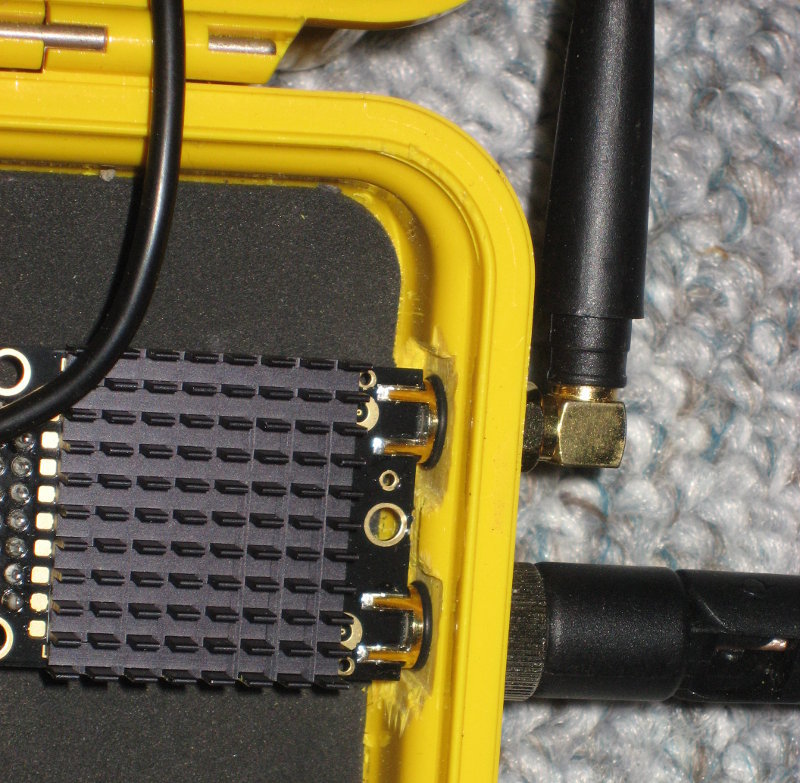
- RFD900 radio is securely held by the antennas. Thin o-ring seals are sandwiched in there.
- Reach could be connected better. I noticed that the antenna connects with a very positive click, so I put several very tight fitting o-rings on the antenna cable plus one larger one for better seal. They were positioned so that when the antenna is clicked in to the socket, there is some force holding the bigger o-ring against the case. I did it this way so that Reach or the antenna could easily be removed. A better way might be to bring the antenna cable inside the box and seal on the outside of the cable with some goop.
There’s still room for improvement!
showing the o-ring seals on the RFD900 radio:
4 Likes
@bide Nice looking setup! Could you share info/deets about your tripod rig/setup? The pelican cases are a great idea.
1 Like
That looks awesome! Nice Work!
I’ll have to check out that case for me…
1 Like
(Does anyone make a waterproof case for reach devices? - #12 by amadson):
Details for you: The tripod is a Slik 504QF II. Circa 2000 I believe, but it might still be in production. It is a video tripod which came with a pan/tilt head and that has been removed leaving the standard 1/4"-20 mounting stud on top. The center tube is hollow, so I was able to remove the mounting stud (actually it was a hex-socket cap screw). I drilled through the middle so I could pass the plumb bob string through and tie a knot. That way I can quite accurately center the antenna over the marker.
The antenna ground plane has a hole drilled in it and a 1/4"-20 round-head machine screw dropped through. The head stuck up too far underneath the antenna, so I used the angle grinder to shorten it. Then a standard 1/4"-20 rod coupling nut was used to join the antenna to the tripod.
Again, there’s room for improvement here, but this is what could be done quickly with readily available materials.
1 Like
Just a comment for people operating in hot environments:
I made a closed plastic housing with foam inside, and get some heat problems, with partly melting inner case:
2 Likes

5 Likes
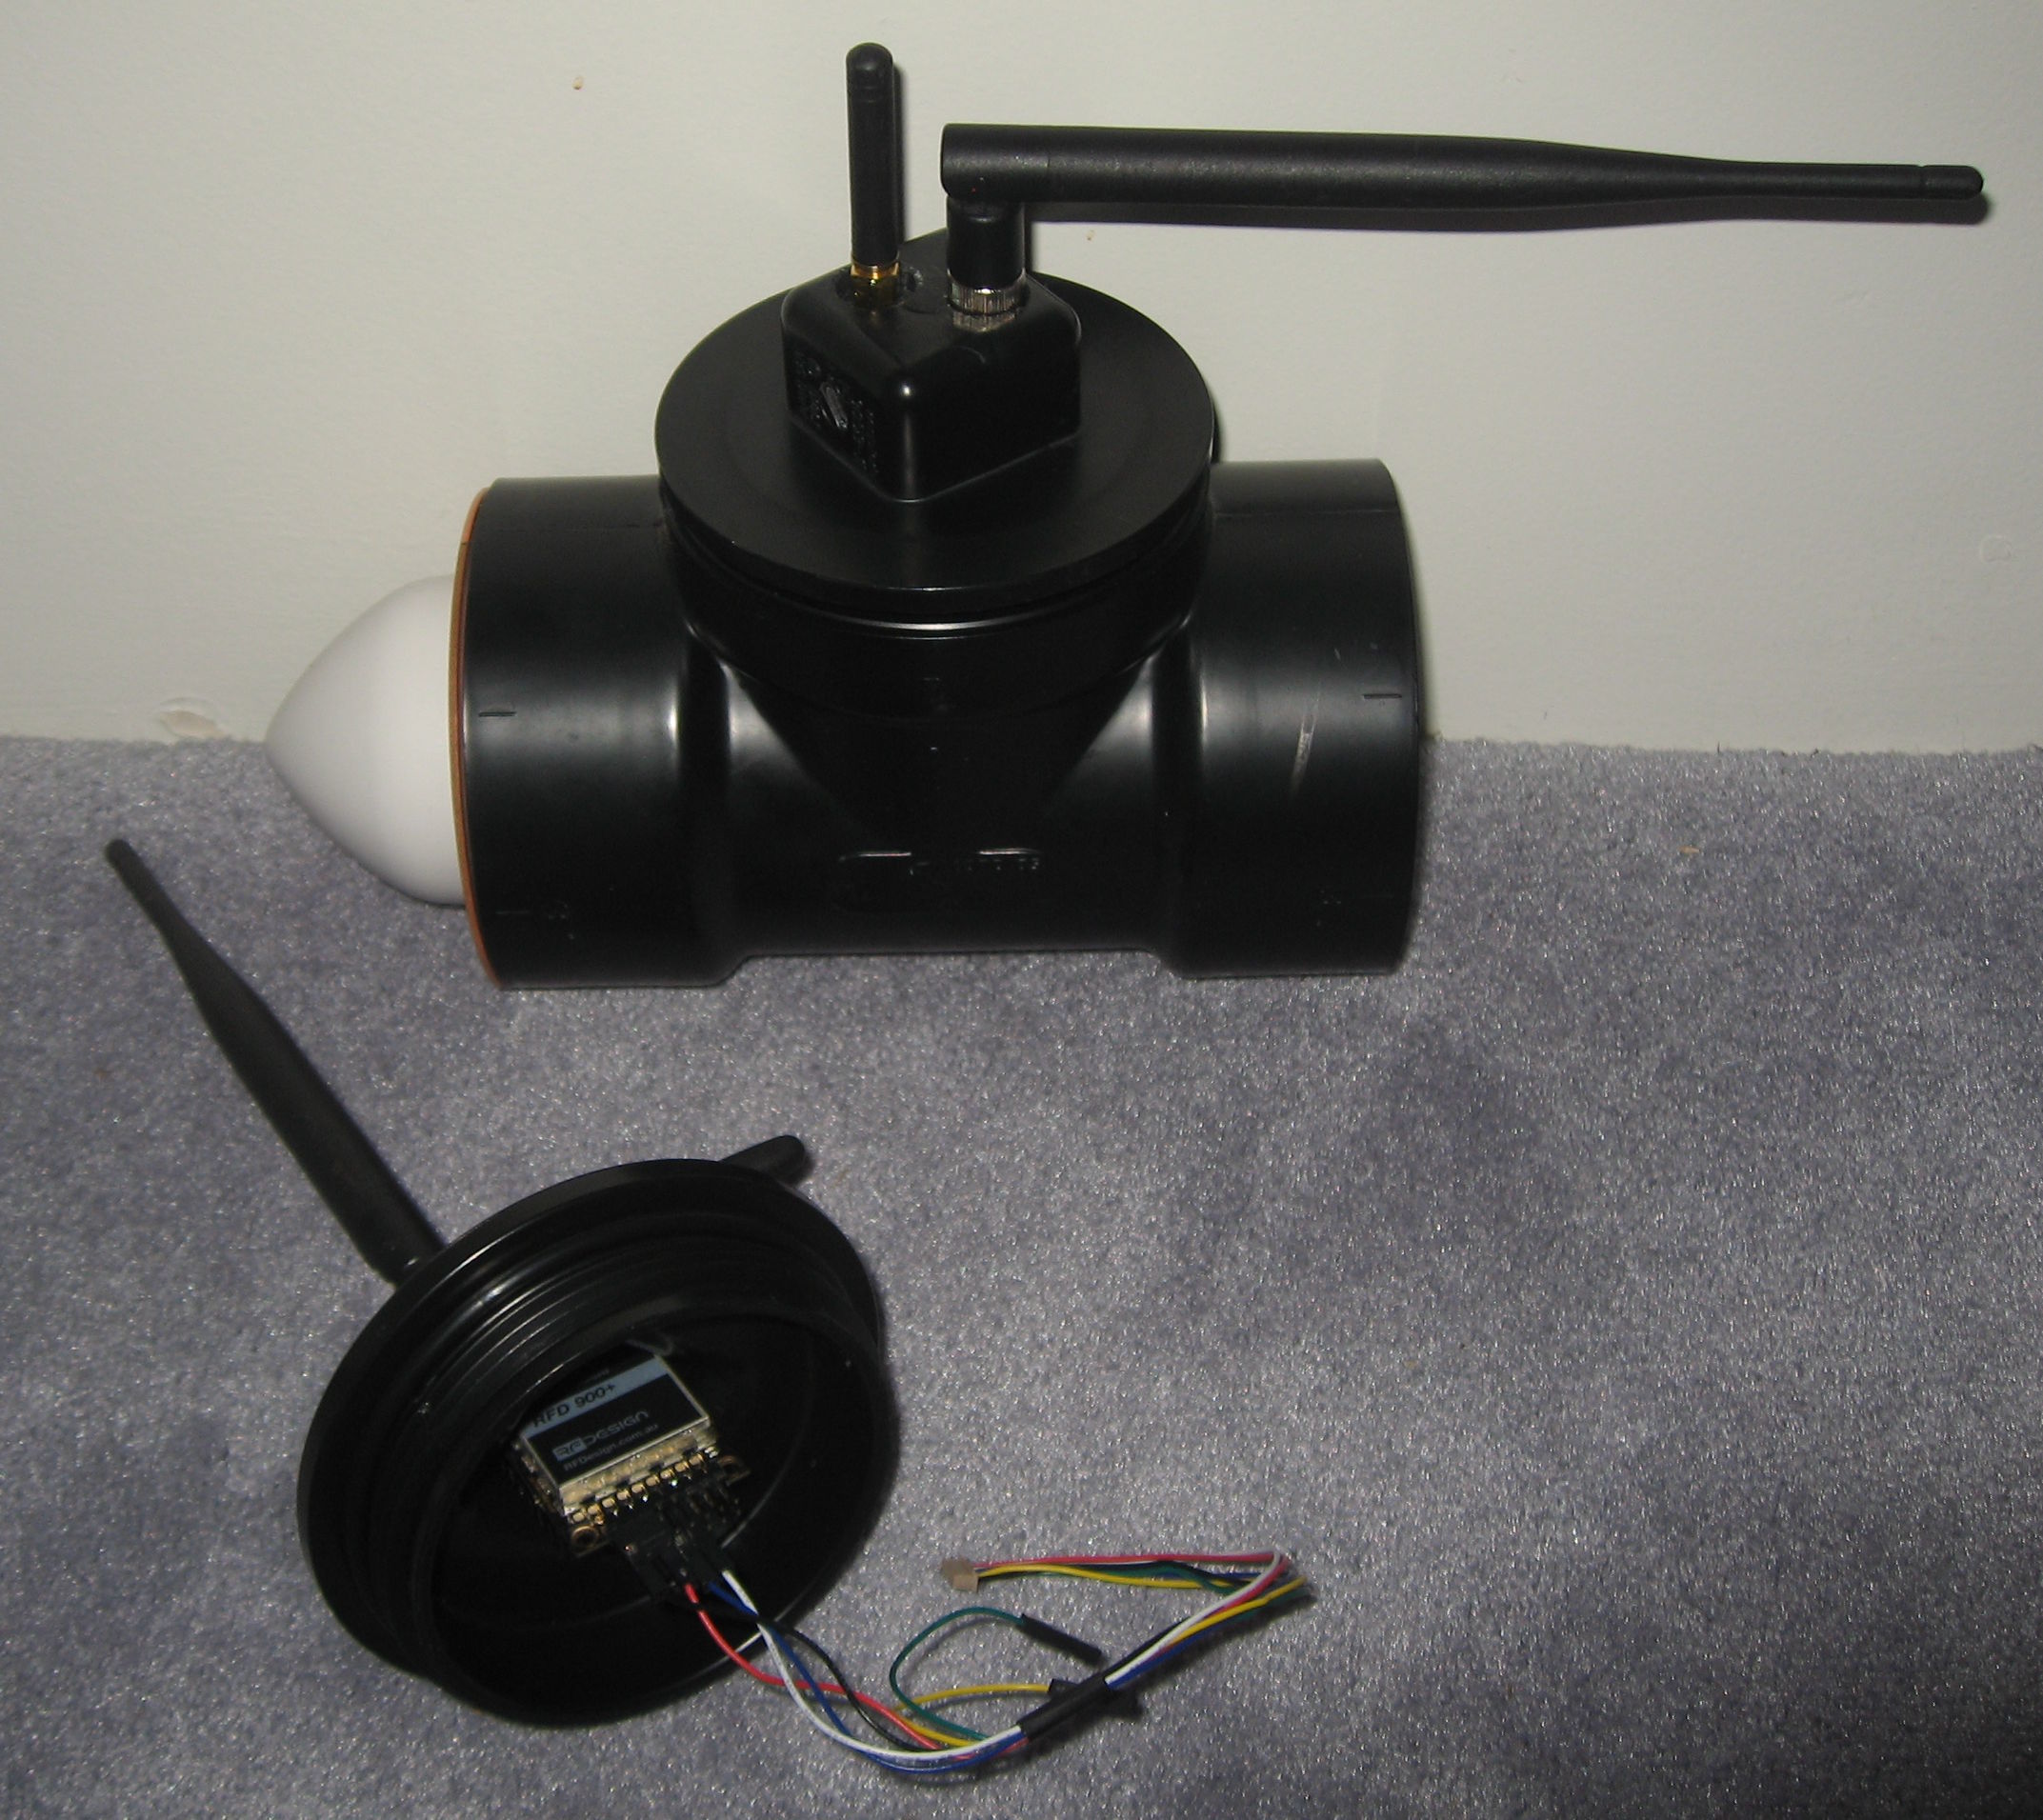
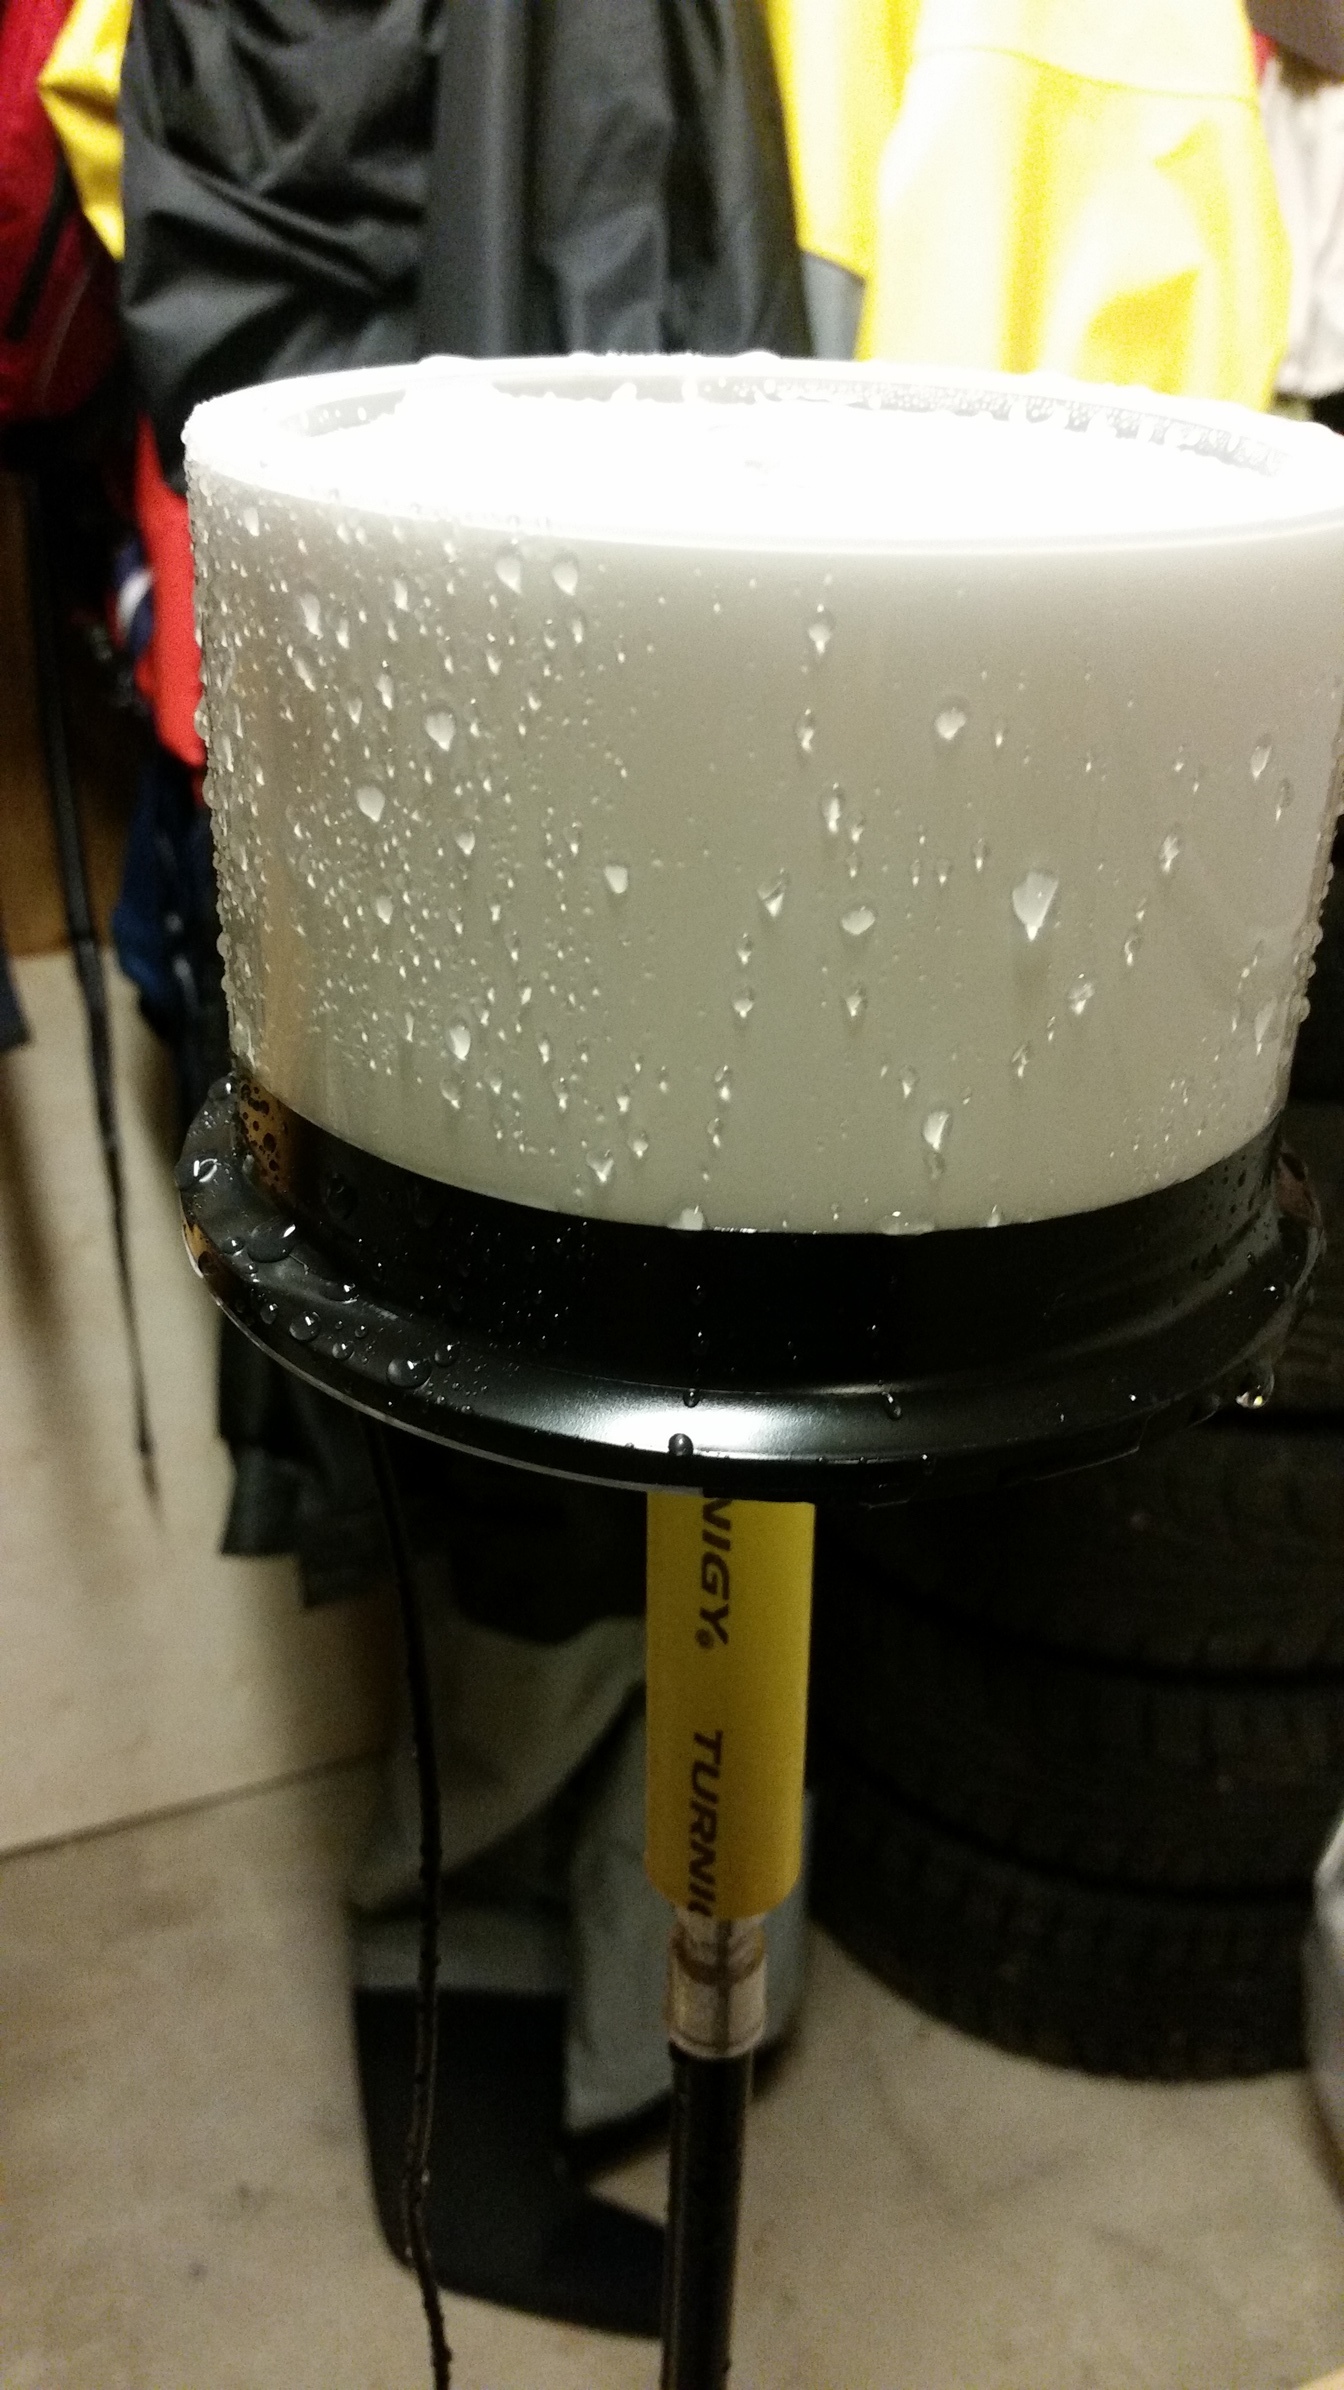
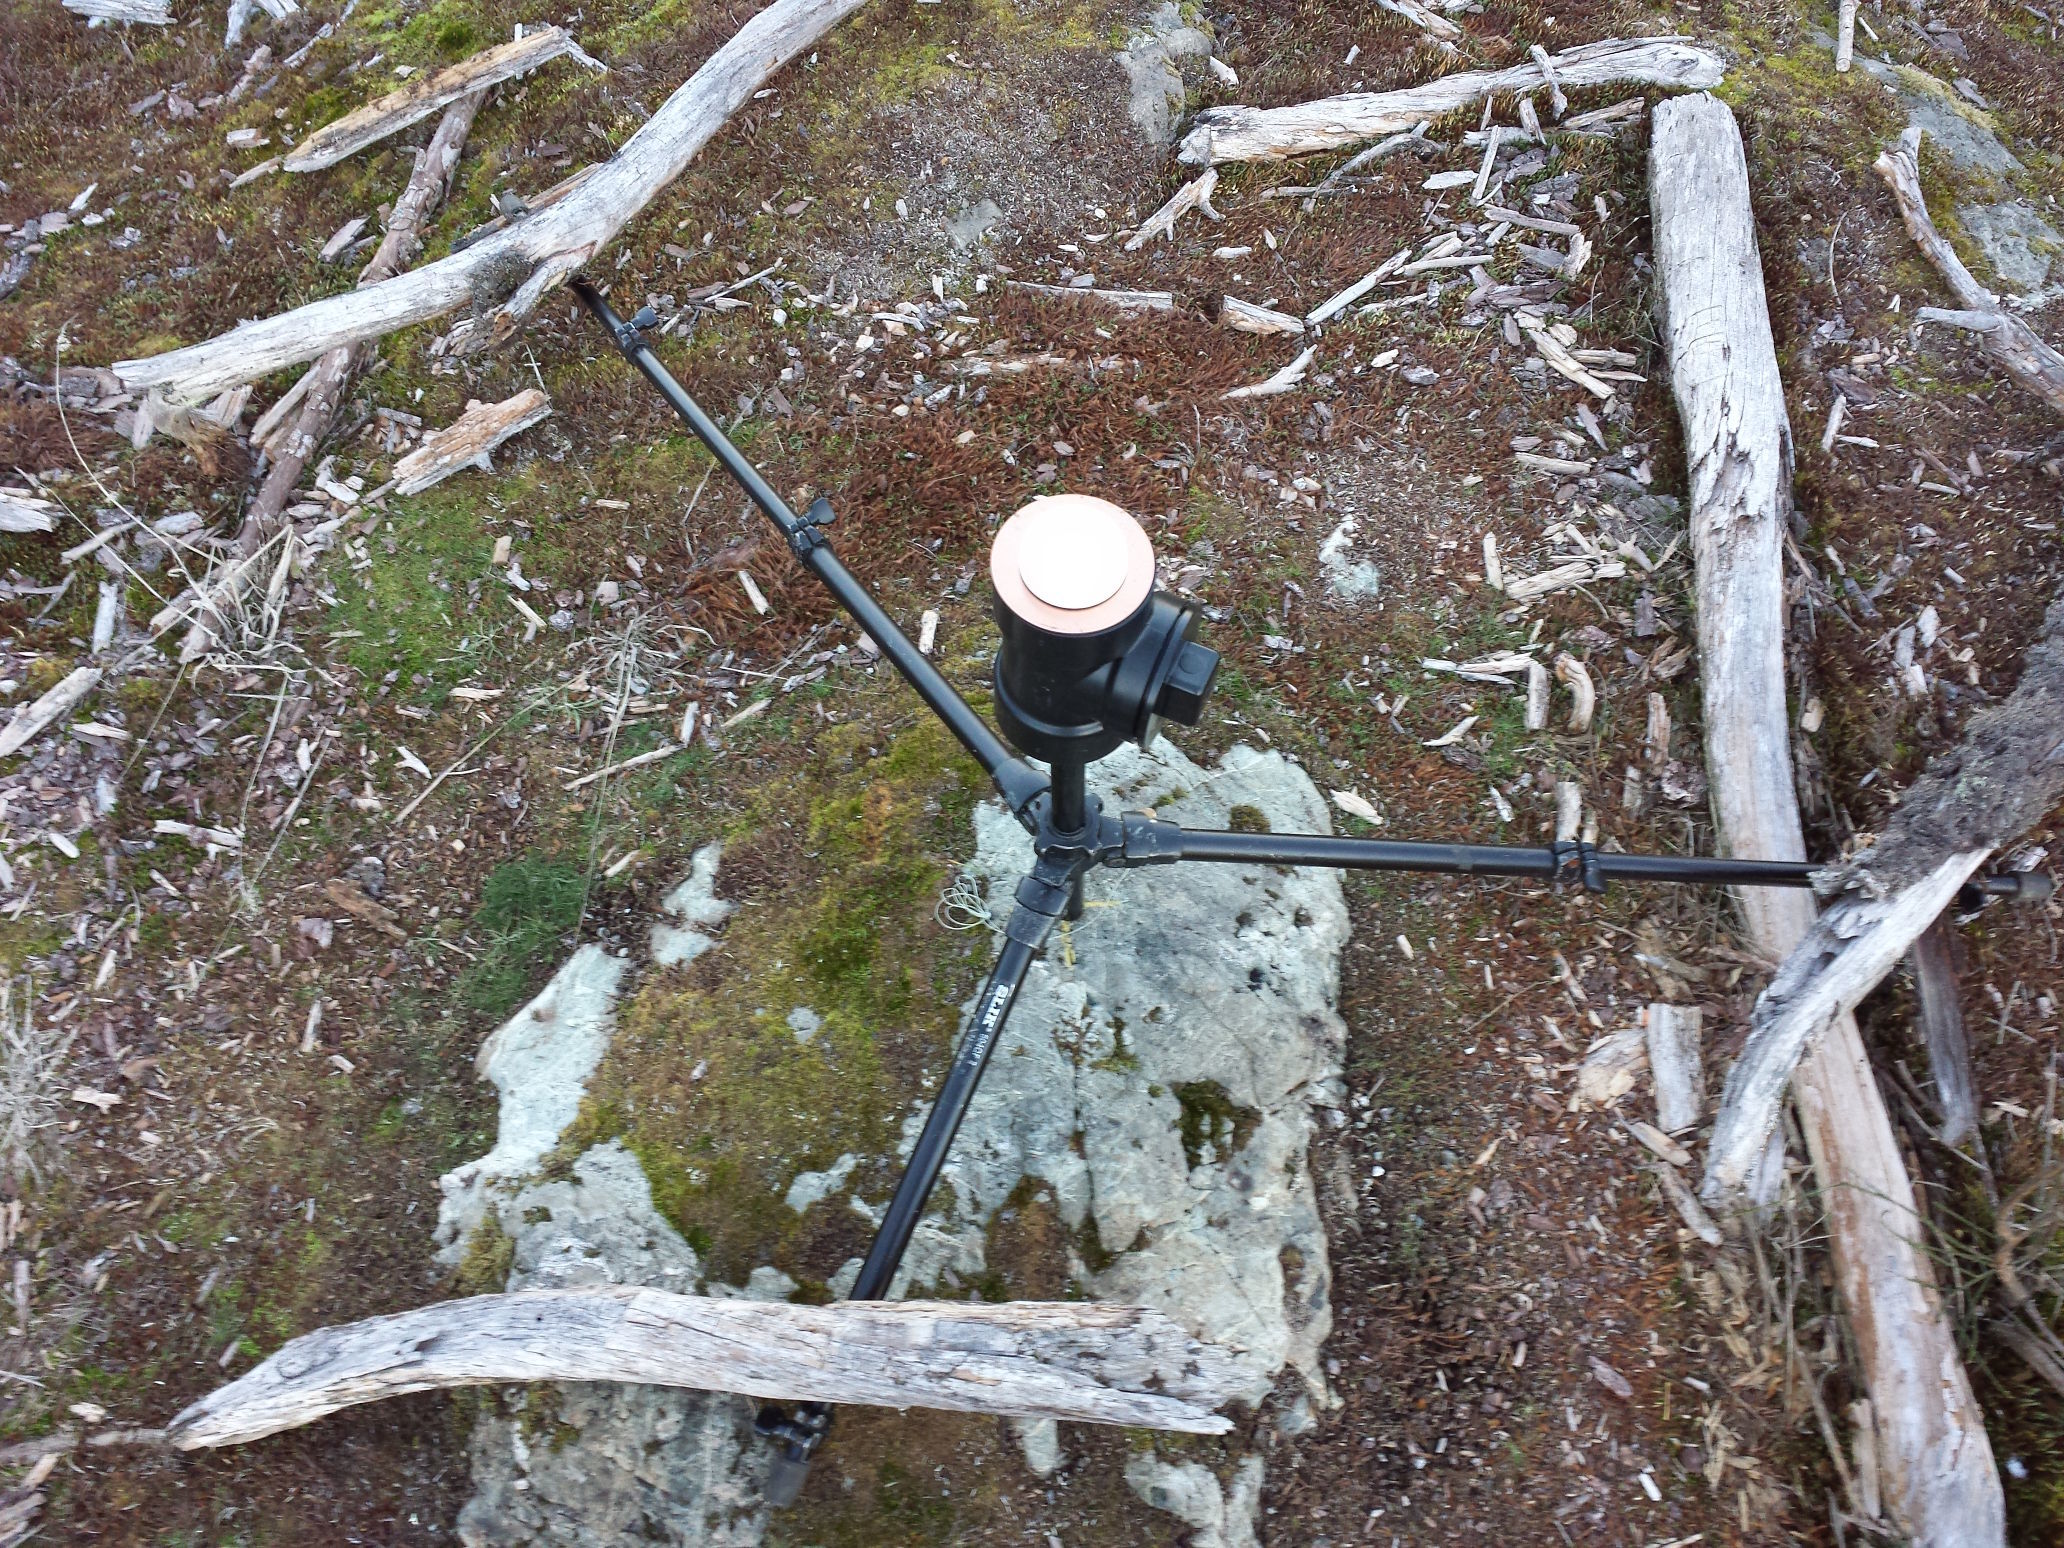
trying out my version 3 DIY base/rover container:

- a: surveyor’s tripod with threaded connection (5/8"UNC) and plumb bob string through center of bolt
- b: video tripod with threaded connection (1/4"UNC) and plumb bob string through center of bolt
- c: threaded adapter 5/8"UNC male to1/4"UNC female
- d: bottom of container showing 5/8"UNC nut epoxied in the (approximate) center
- e: open container showing circuit board of USB power supply and also Reach in behind
- f: top of container showing 100mm copper ground plane and Tallysman TW3710 (33-3710-01-01).
- g: USB power supply (ADATA PV150). the case is removed and placed inside each container. this 6300mAh battery has run a single Reach for 1.5 days. the power is applied by switch on/off. it can be powering Reach and be charged at the same time. (think solar panel - or a second battery pack that you bring on day 2 to recharge the battery inside the container)
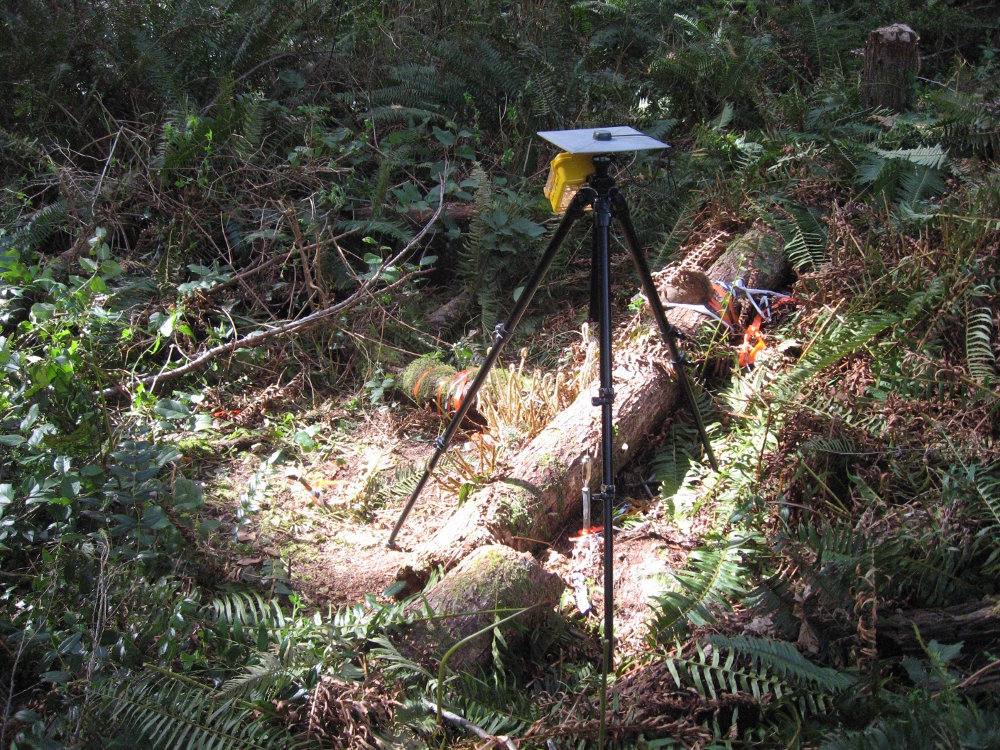
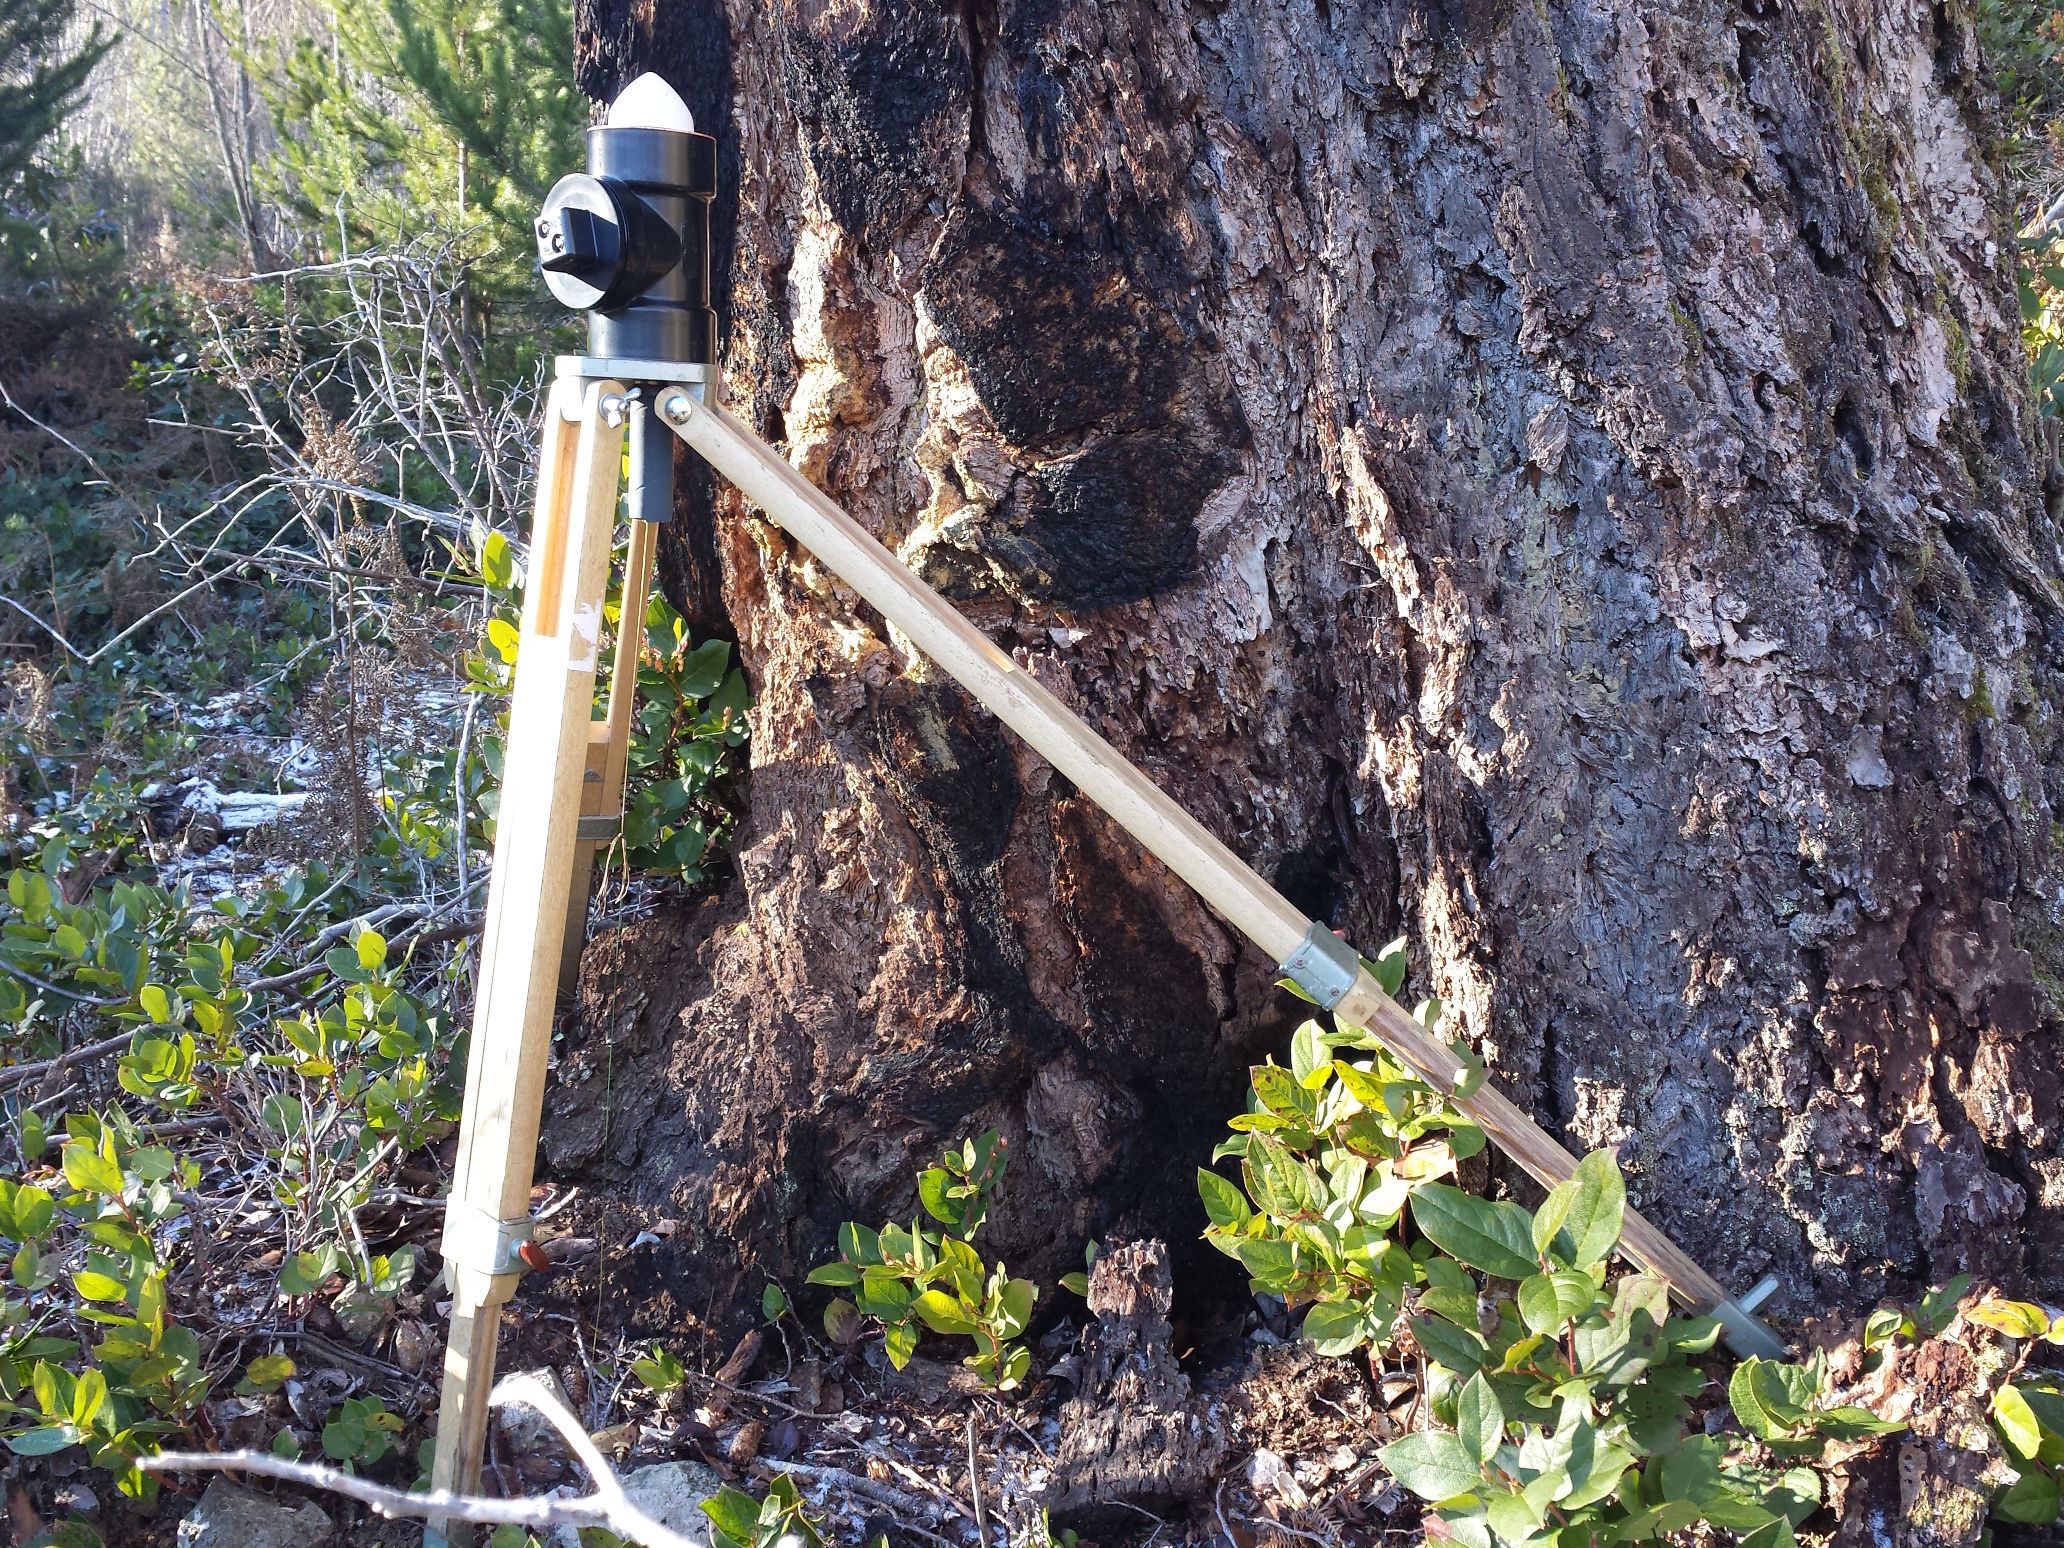
rover on surveyor’s tripod over the root crown of a bearing tree (rough placement - plumb bob not used here)
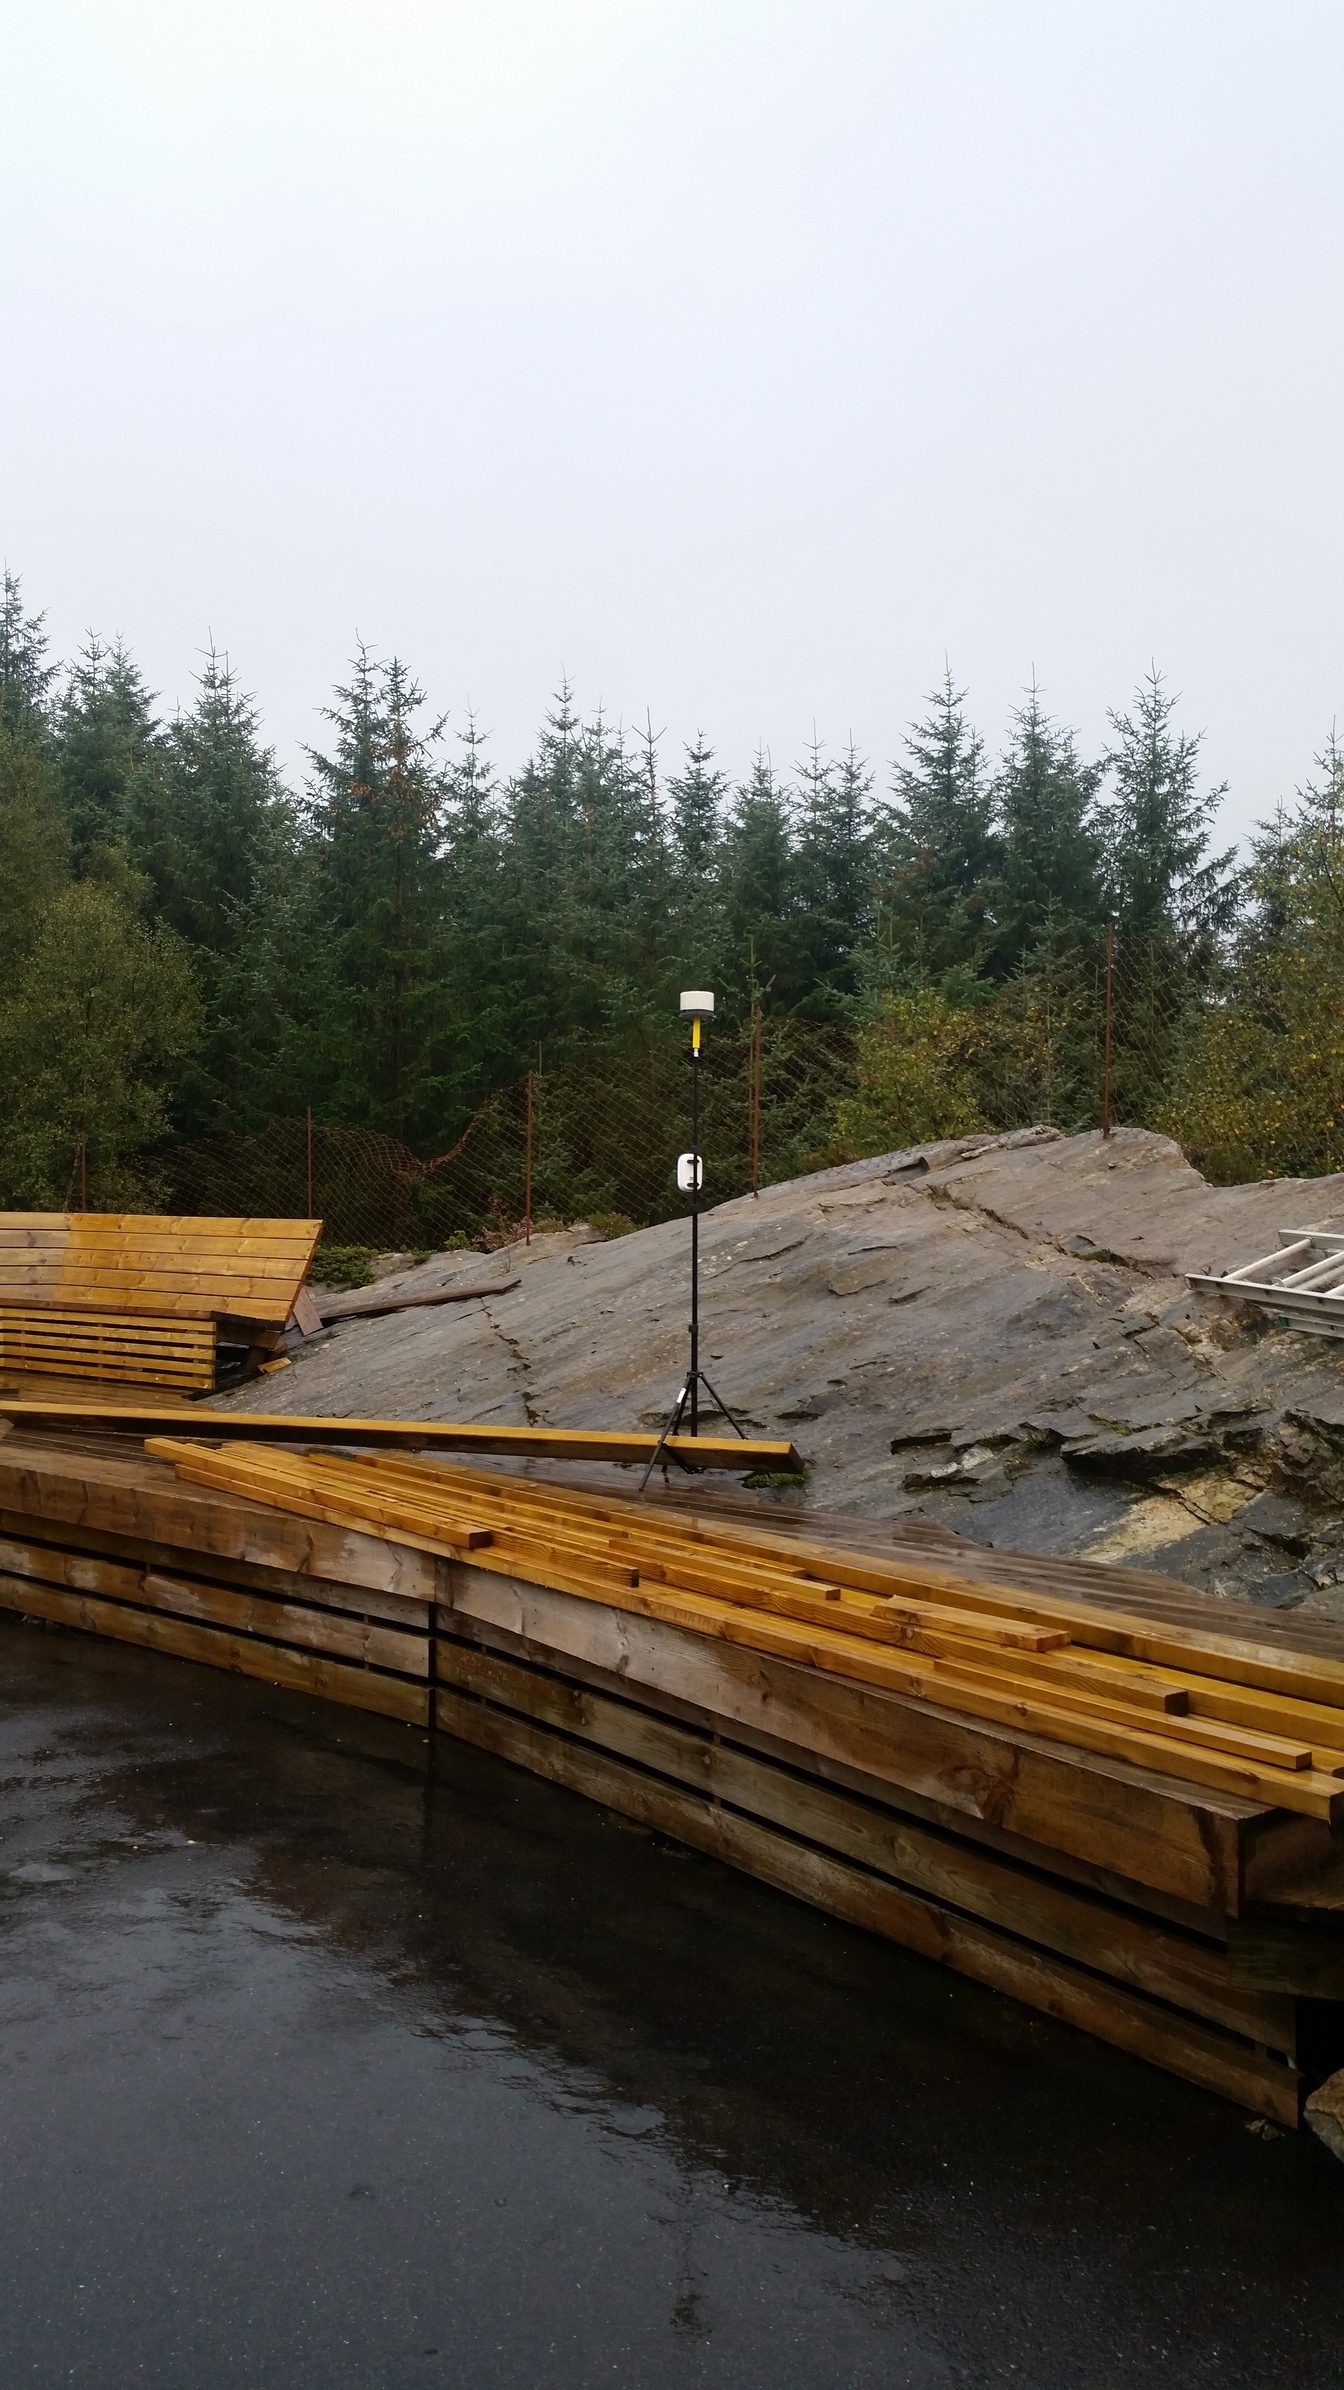
base on known location marked by painted cross. normally a taller tripod used with plumb bob, but because of high winds this video tripod was used in the lowest configuration possible and the legs weighed down.
7 Likes
Bide
You have come up with a very low cost, very rugged waterproof container. The only part that would be hard to come by would be the white colored base plug. Did you find the plug in a hardware store or did you 3D print it?
Larry
Yes, as you see, the container is made from plumbing fittings available at the local hardware store.
- The black body is a 3 inch ABS line clean-out for ABS pipe.
- The white bottom is a 3 inch PVC slip-on cap for PVC pipe.
- Underneath the ground plane, the top has the same white PVC cap as the bottom.
For those not familiar, these fittings are sold for sewer and drainage pipe. I think the fittings vary from region to region, so yours may not be the same. These fittings are solvent-weld, which means you buy a can of solvent cement (or glue) to hold them together. I used transition cement which is supposed to bond the black ABS to the white PVC. The ground plane and top cap will be bonded to the socket with RTV silicone, so it can still be disassembled. The white PVC pipe is a bit smaller than the black ABS, so the white PVC cap is inverted and being used as a plug in the socket of the ABS line clean-out. I trimmed a few mm from the edge so it is slightly sunken in the socket because I did not want it to protrude. I think the sockets of the black ABS line clean-out are pretty square and also this gives a little bit of compression flex when the bolt of the tripod is tightened into the base of the container. This way it will not rock on the tripod head.
However, when mounting the container on the video tripod, the tripod head is not large enough to contact the edge of the line clean-out, so I must get a thin 110mm diameter metal plate to go between the container and the tripod head to keep it absolutely square.
The antenna mounting hole in the top PVC cap was made a little large to accommodate the alignment procedure. After leveling the tripod head, the antenna on top was aligned to the center of mounting nut +/- 1mm by dangling the plumb bob and sighting from the side at 2 perpendicular locations. I used a theodolite for this, but I can think of other ways to do it without a fancy instrument.
Comments and criticism welcome.
1 Like