DIY - Reach and antenna box. Poor mans solution

How to build your own cheap and portable survey basestation and roverpole

Requirements:

  1. 10-20cm of your or anybody elses favourite broomstick and chop in to suitable lenght
  2. 1x A lunchbox, plastic and waterproof.
  3. 2 xgaskets or similar to seal wire going throug a hole. Recommende to keep your device secure and dry.
  4. 2 x clamps that will fit to what ever pole you use.
  5. 1 x pcs of aluminiufoil that fits inside CD box
  6. Double sided tape and one normal wide tape
  7. and some paint to style everything up.

I`ll just let the pictures talk for it self and wil answer any questions below.


And now, finished with the rover.


Misc features added.

19 Likes

I`m not sure if the hole for antenna cable will interfere with the ground plate, time will show.

This is pure awesomeness :grinning:

1 Like

You have done well!! I might end up doing the same thing… It looks pretty much waterproof, and CD/DVD cases are easy to come by.

Good Work!

1 Like

@TB_RTK,

Now this, IS VERY COOL!!!

Awesomeness and great JOB!!!

1 Like

It looks like it will stay nice and dry, although you might have to worry about thieves wanting to steal your CD collection!

I suppose you intend to use it with the cover off? I wonder how much the cover would affect accuracy?

It shouldn’t affect it at all, remember, the standard reach antenna functions with the plastic it has surrounding the actual antenna.

Thanks for feedback.
Just finished my roverpole and added more pictures to the first post. Enjoy

2 Likes

:heart_eyes::heart_eyes::heart_eyes:

This is great!

Does the tinfoil provide enough of a ground plane?

Can you tell us about the poles?

I’m guessing a tripod from a halogen work lamp (but your looks nicer than that), and an extension pole for a washing brush?

I used one of my tripods i use for photographing - http://www.kaffebrus.com/2-meter-max-belastning-2-kg-81.html
But you get cheaper stands then that.

The rover is a extension shaft for painting and stuff (and washing yes) - http://jordanvethvordan.no/produkter/verktoy/forlengerskaft/2865001p

Regarding tinfoil, i`m not sure this is good enough. Need more testing

Very nice cheap setup!
Did you test the antenna?

Yes, antenna works, but i havent compared it any other solutions yet.

1 Like

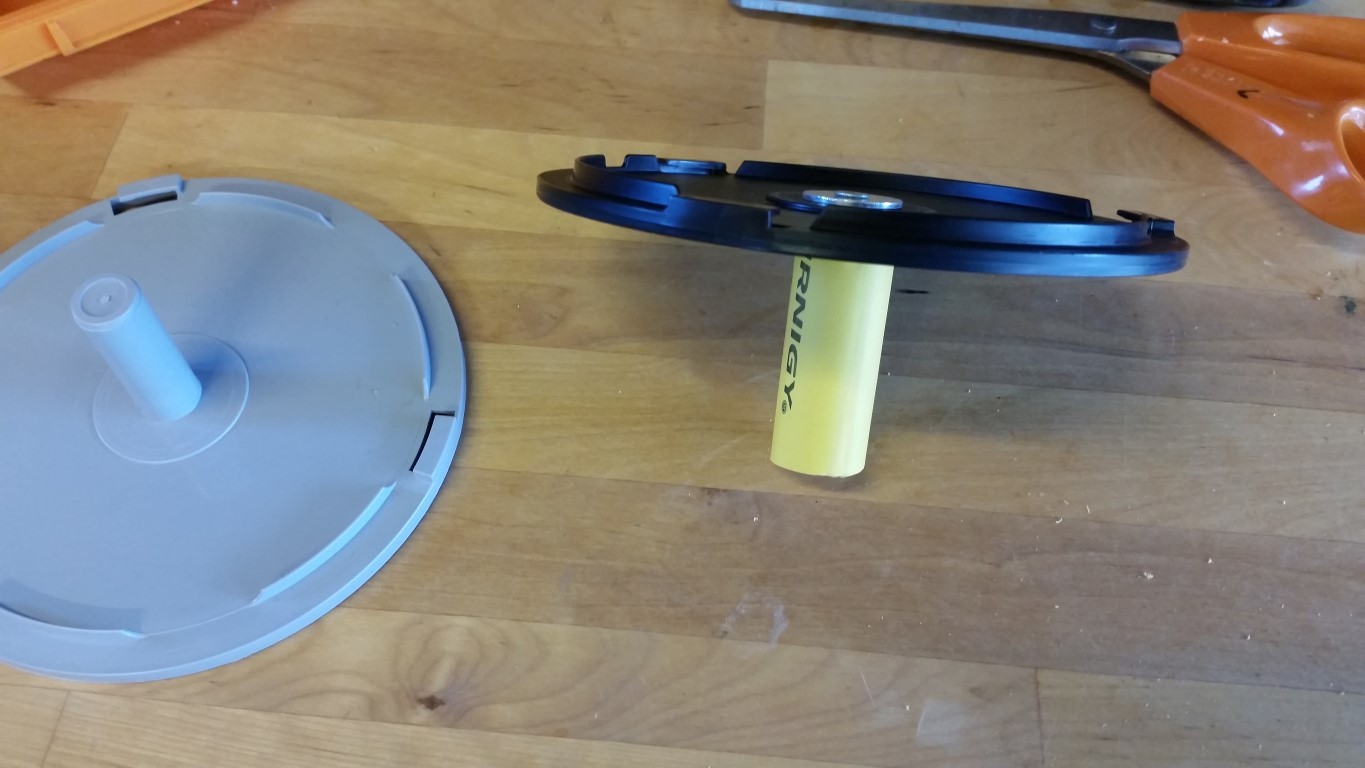
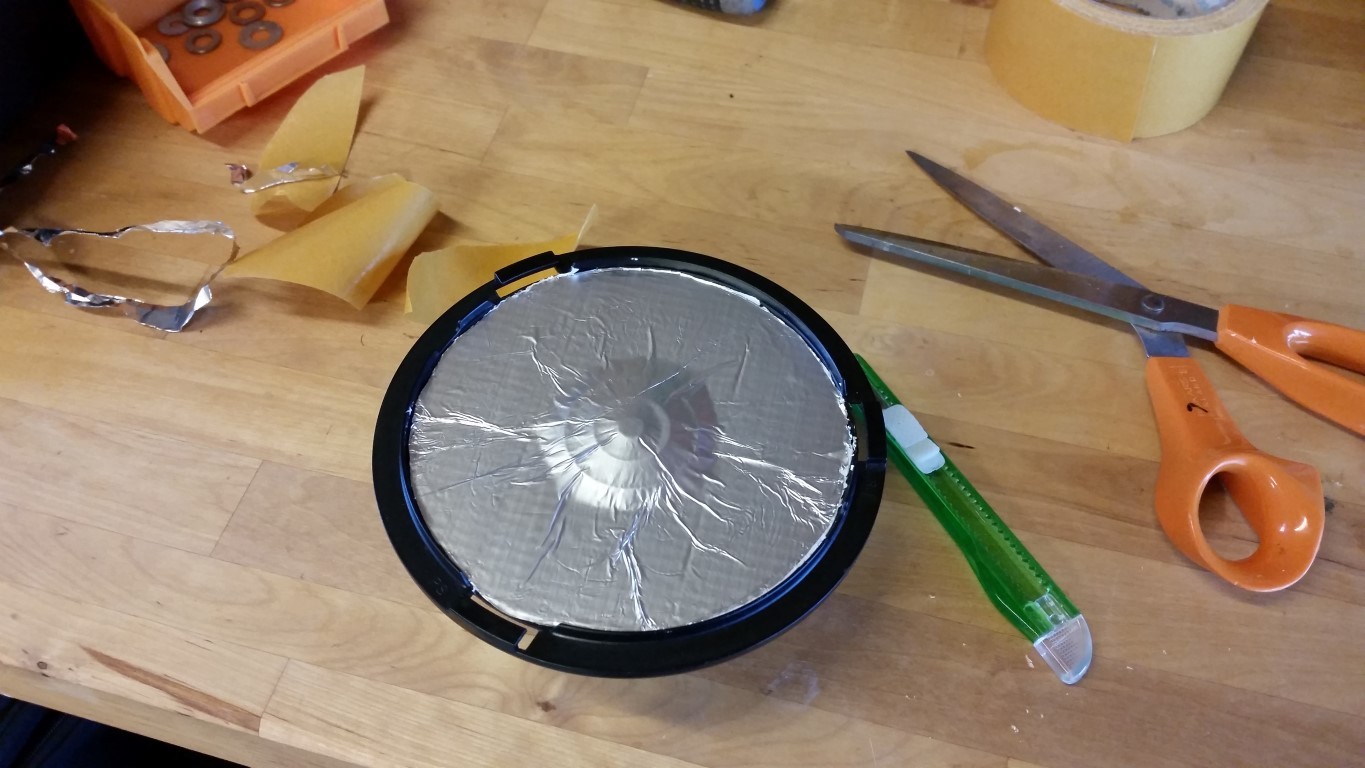
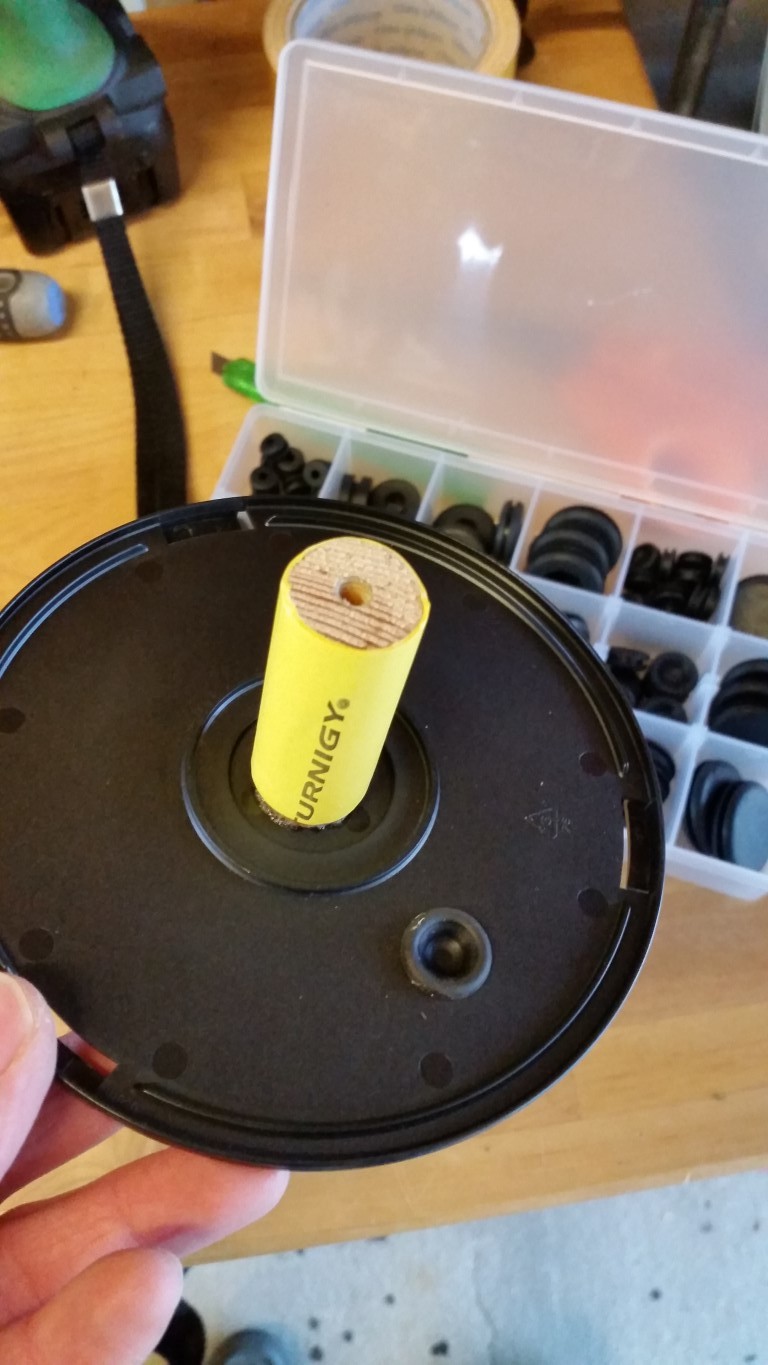
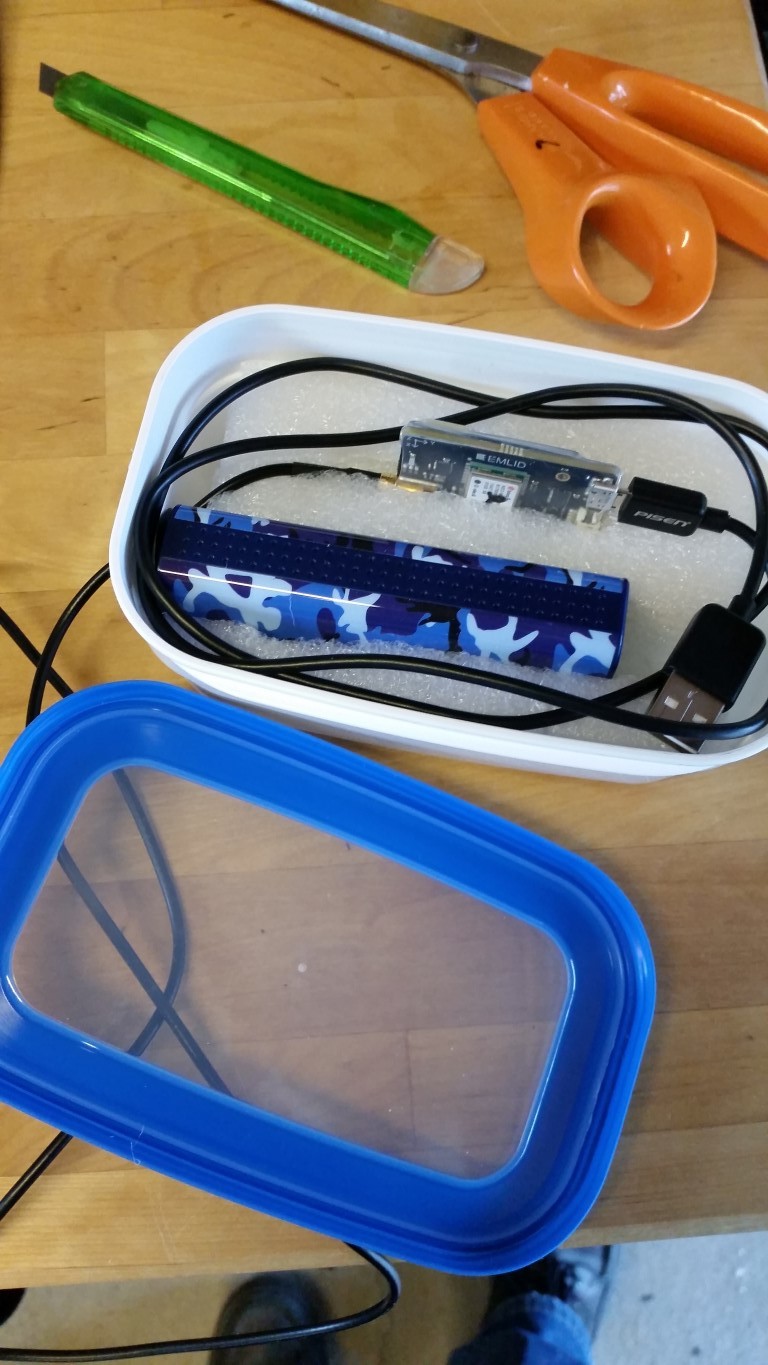
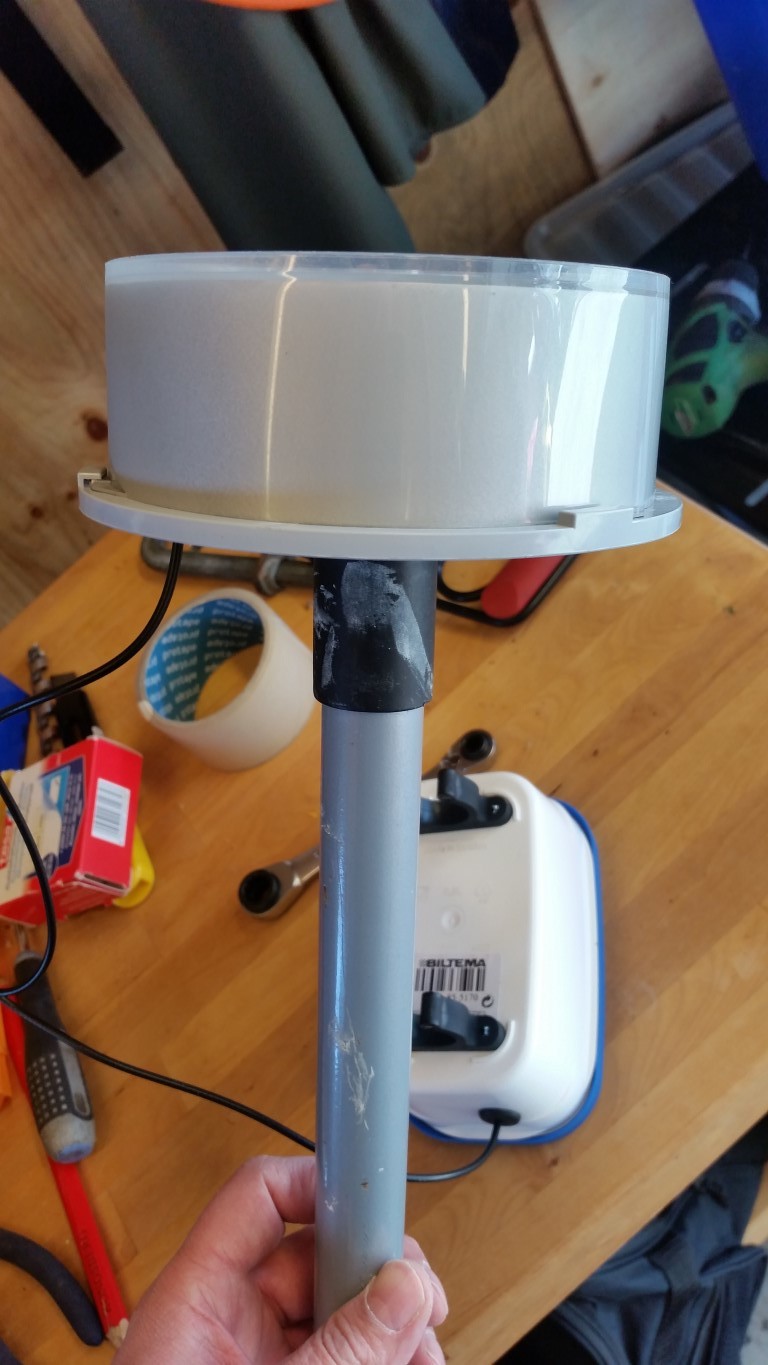
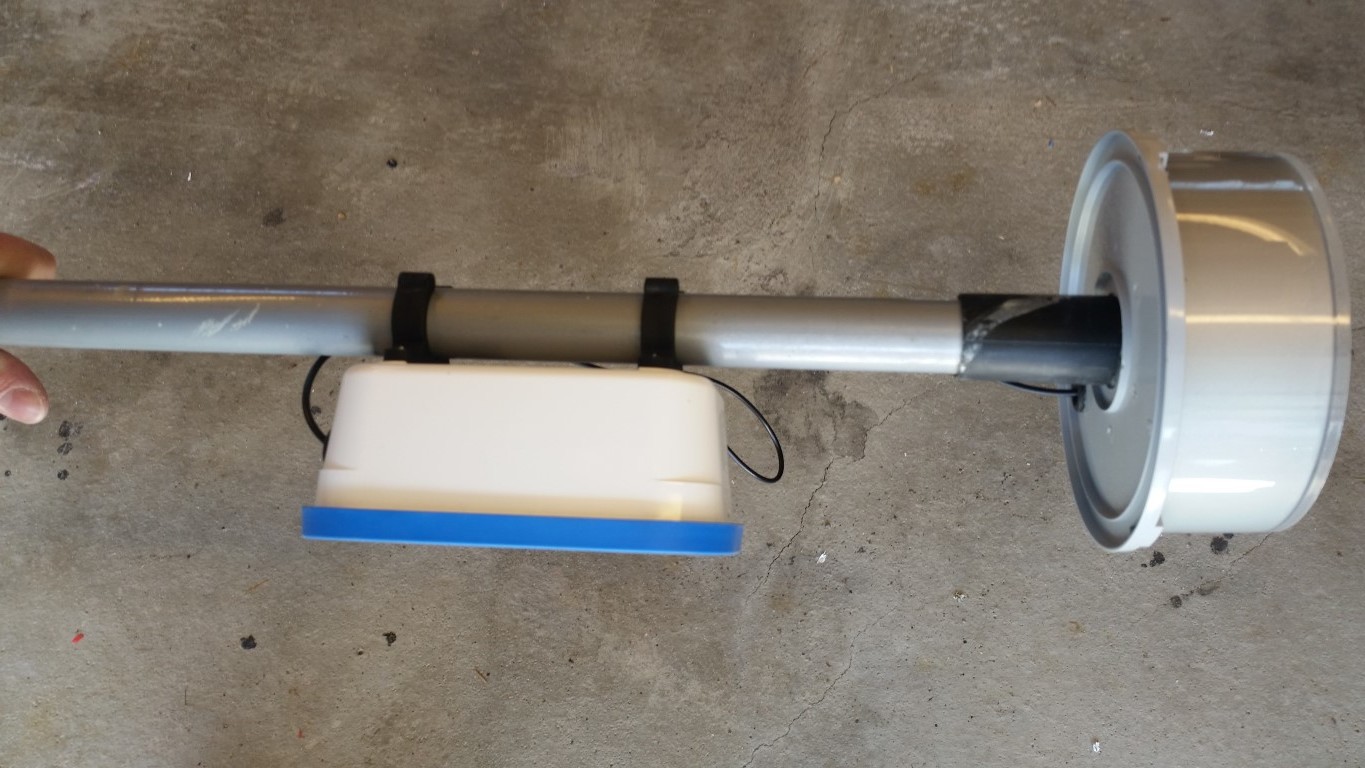
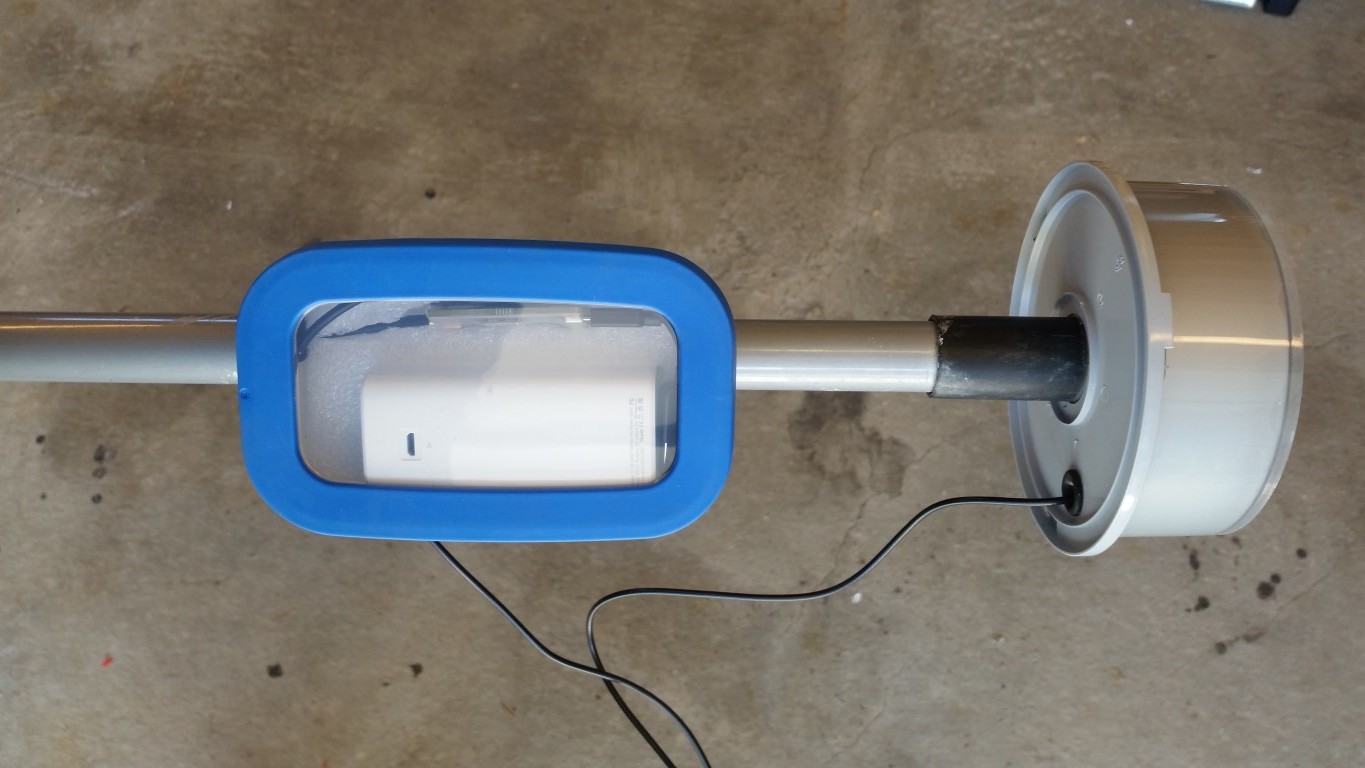
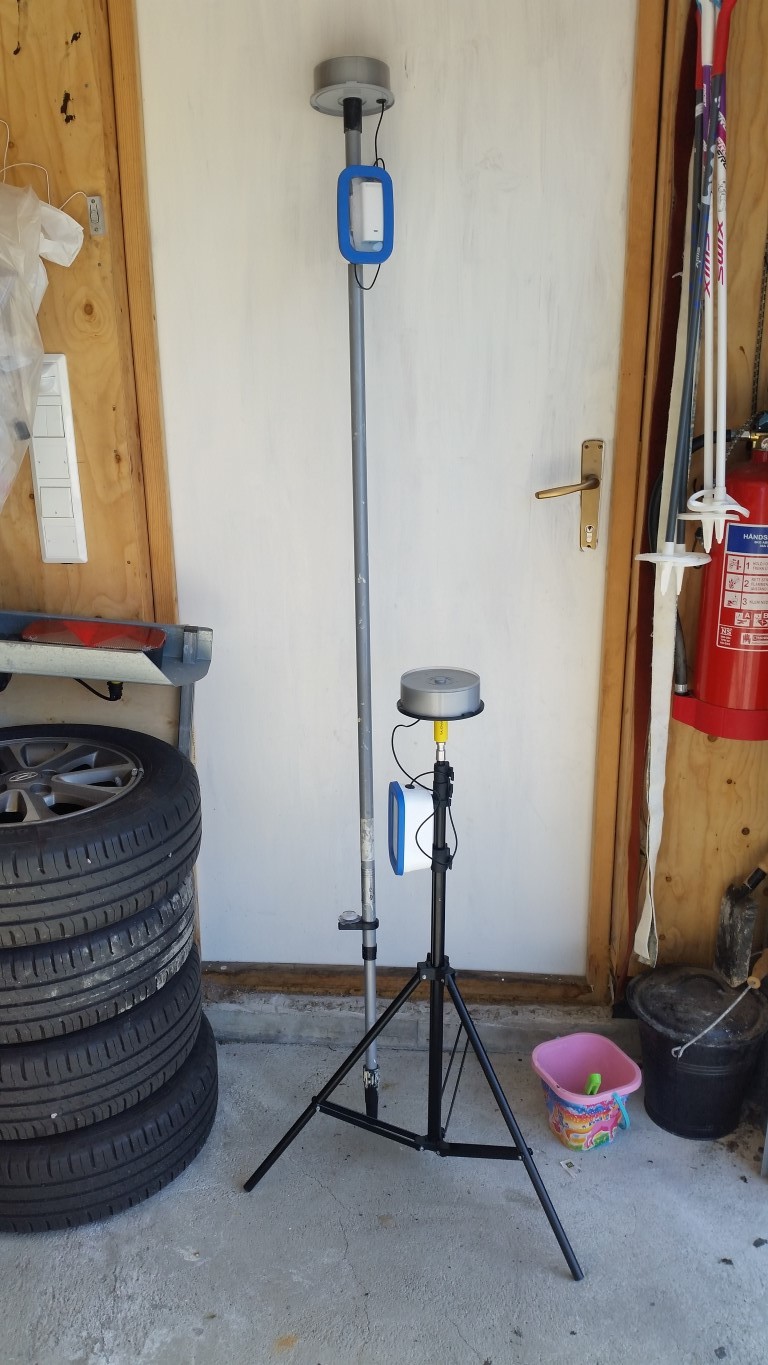
I understand you have power pack attached to the reach module in the base station and the rover and also attached the antennas in both of them , what I would like to know is how do the rover talk with the base station , do you have a radio communication setup , please elaborate, thanks

For now its just local wifi router connecting rover and base.
But hopefully will this provide internet , or my phone as local hotspot. Base will be place either at my work on local wifi and with baseline no more then 10km away, or use base over a known point with another router or with the same wifi as the rover.

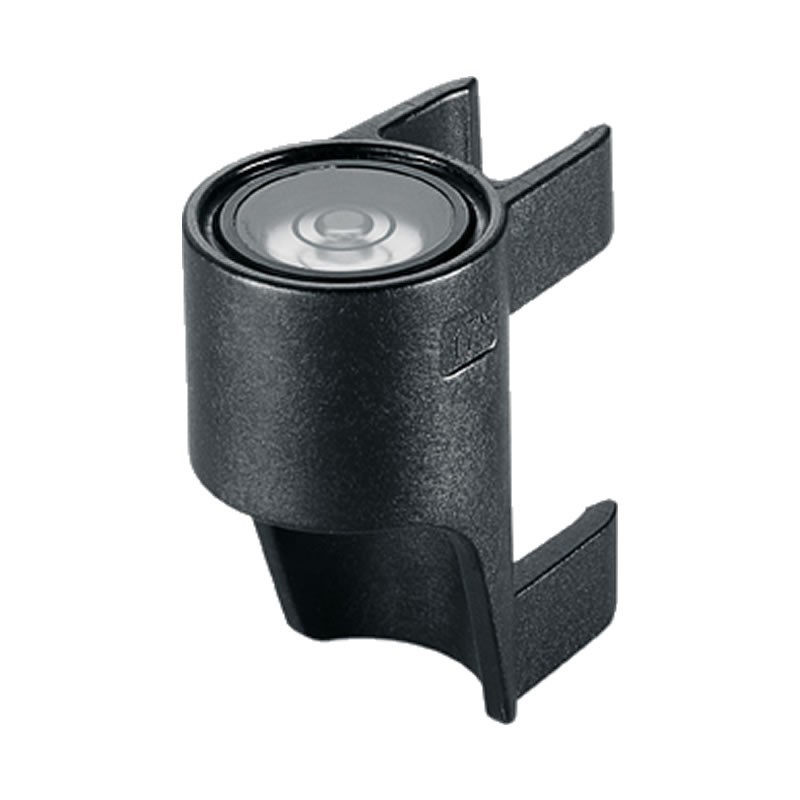
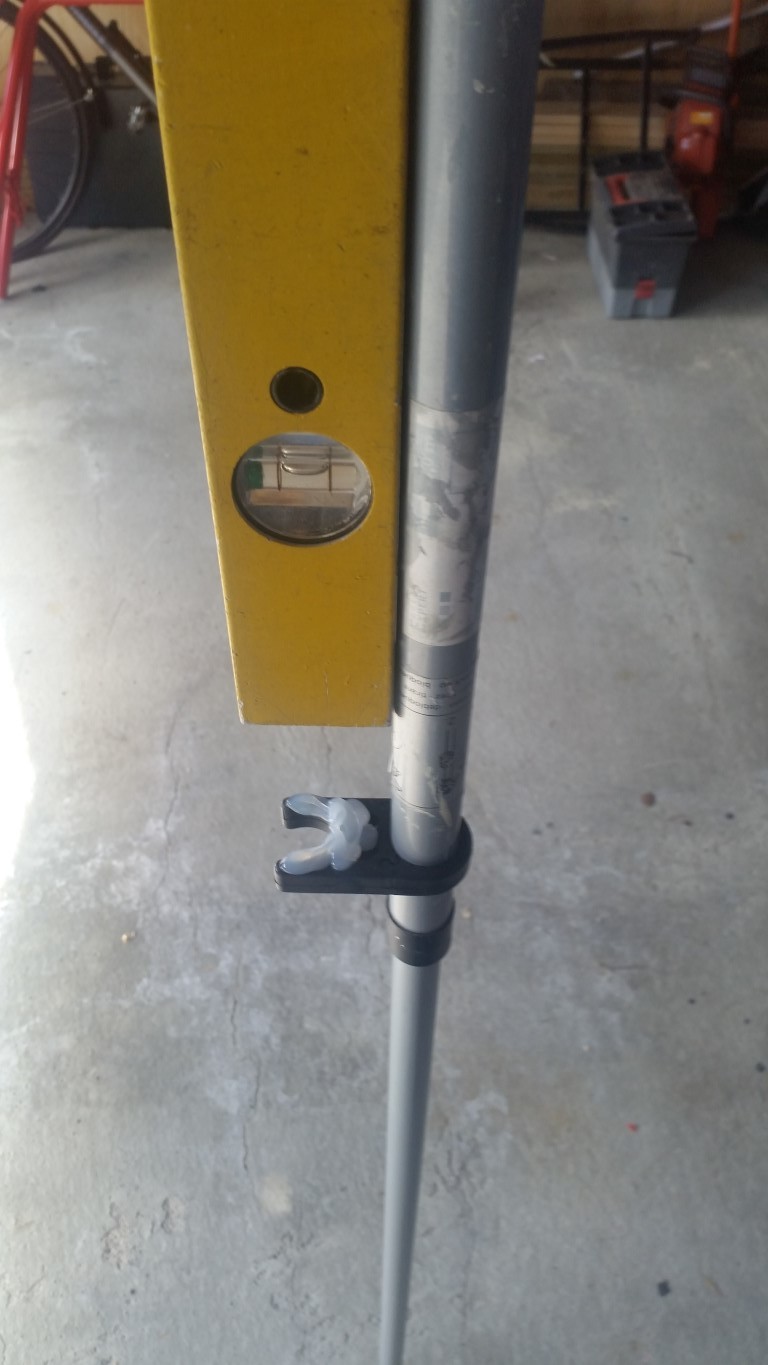
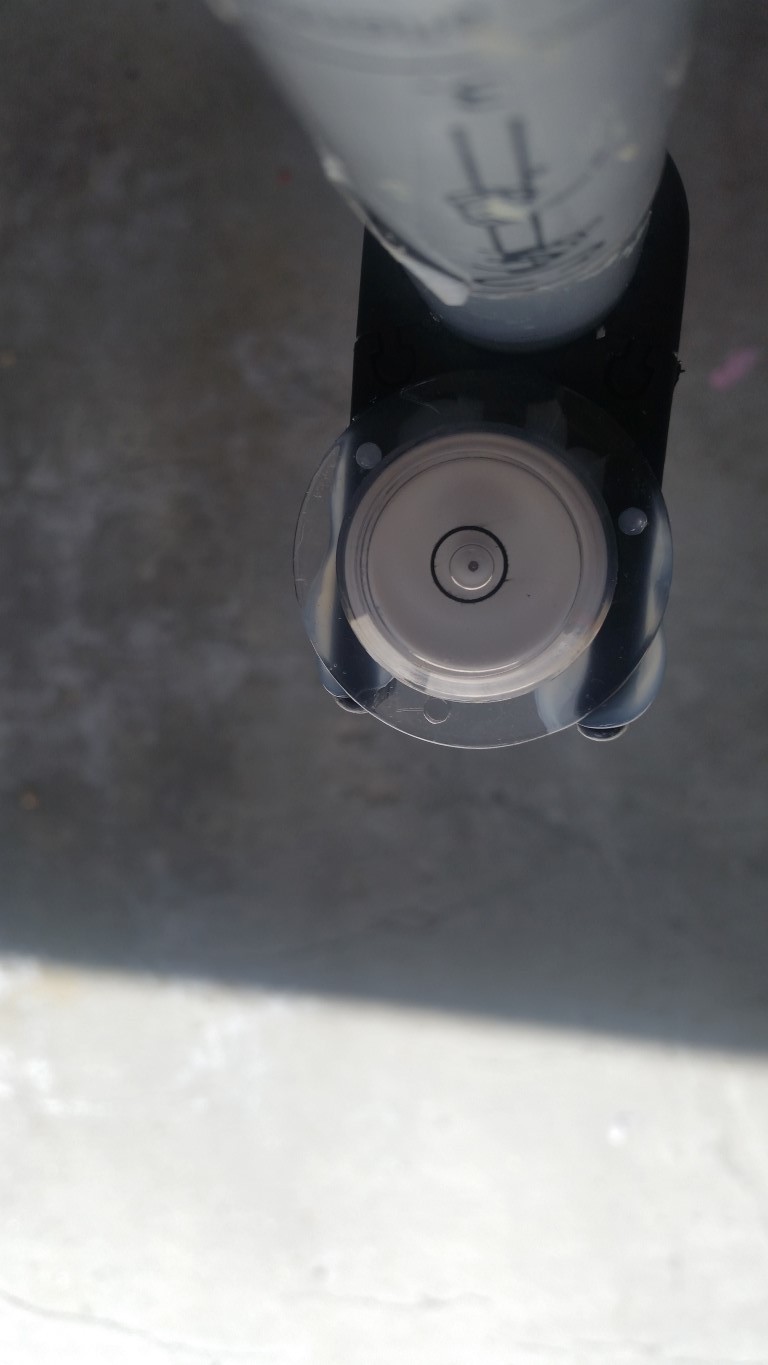
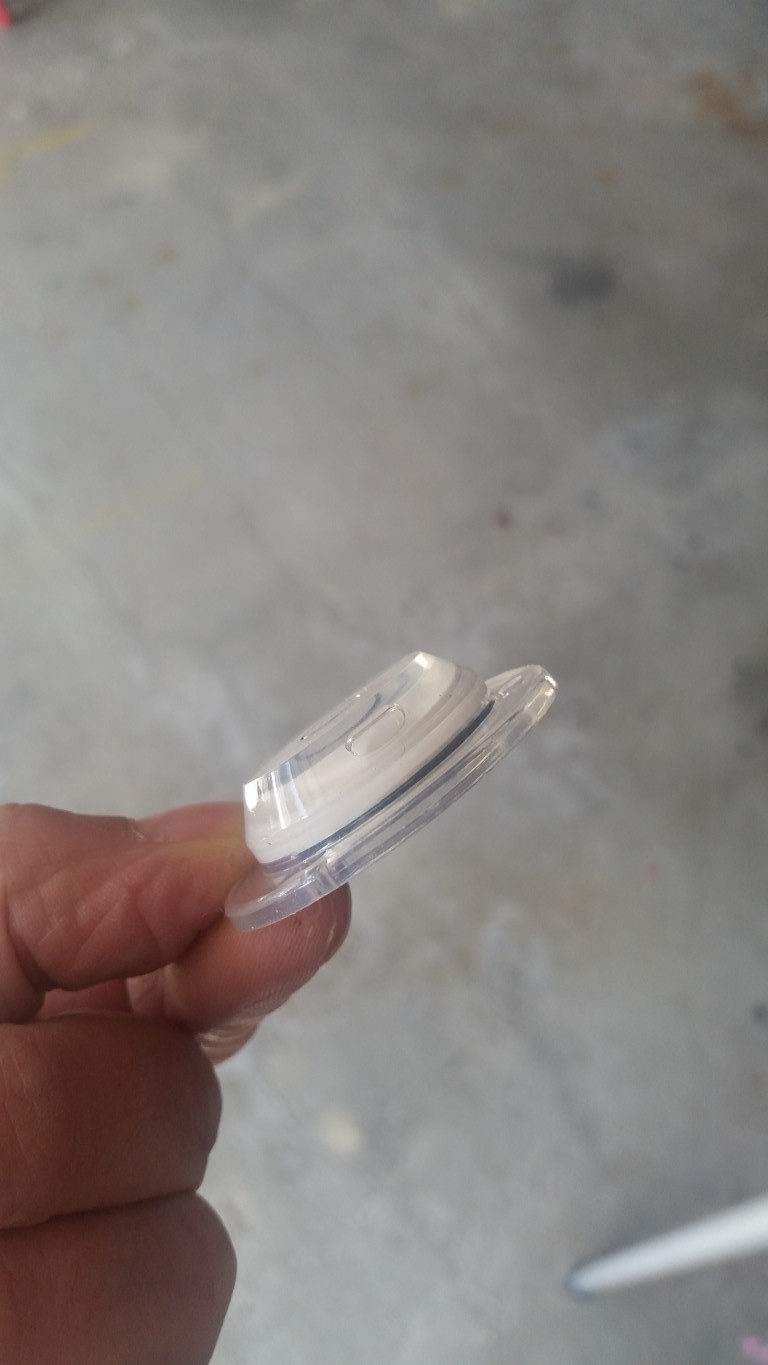
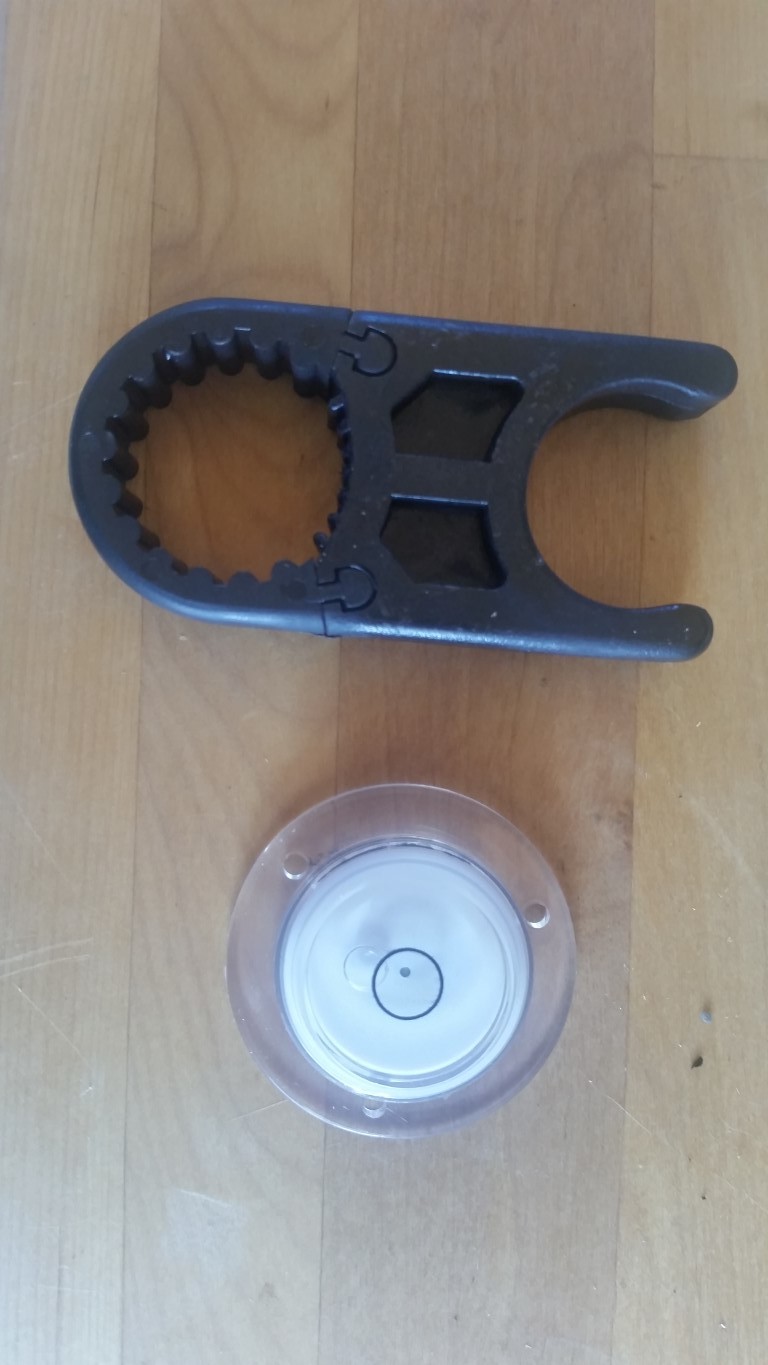
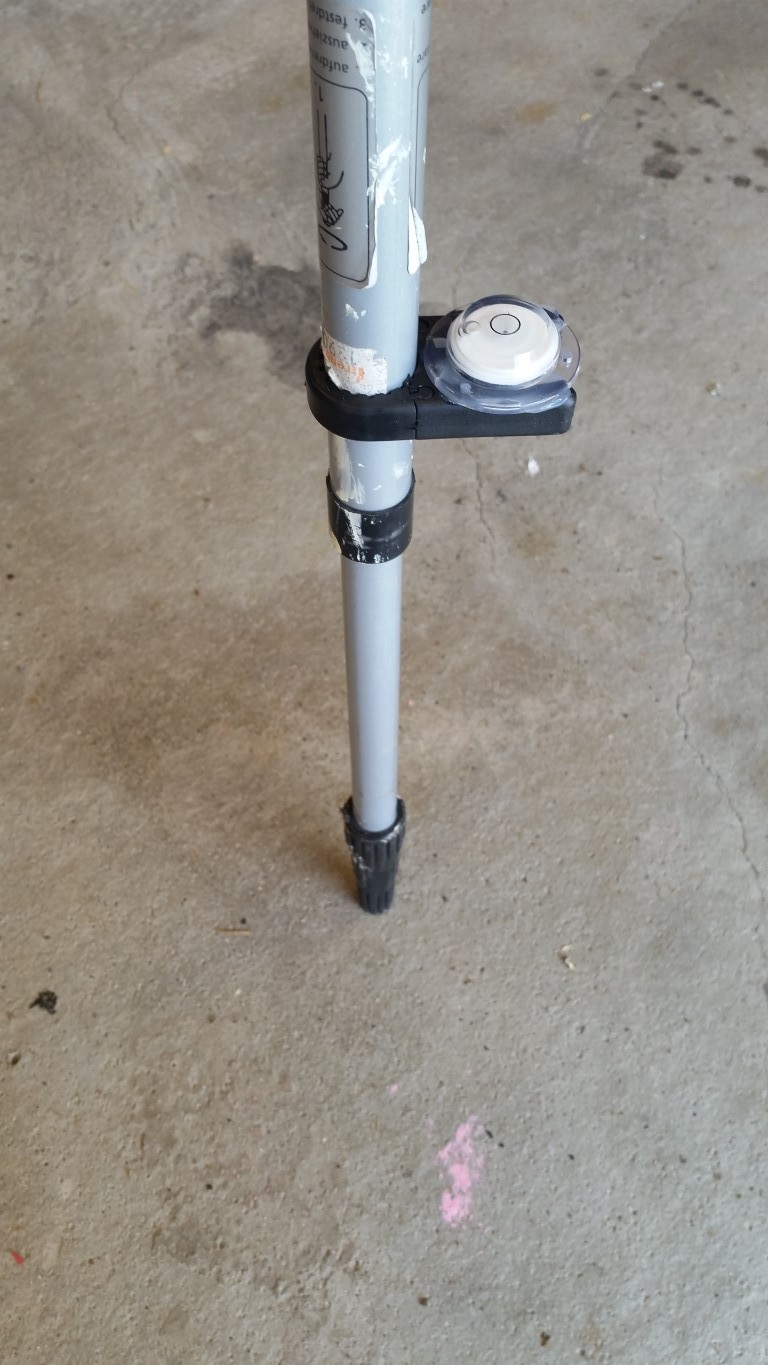
Great work and a good looking setup! A couple of things for the rover pole. You can buy a pole mounted bubble pretty cheap from a survey supply store. These can be adjusted to get the best plumb possible. Additionally, the bubble should be mounted higher on the pole as it will be more sensitive higher. Any error in the bubble will be compounded the lower it is on the pole.

Sorry for derailing the thread here, but are you sure about that? I can understand that the lateral movement is greater at the top than the bottom and so the bubble would seem more unstable or “active” at the top. e.g. showing that my hands are shaky and I should not become a surgeon.

However, if the pole is tilted 1 degree from vertical, then won’t the bubble read 1 degree at the top and also 1 degree at the bottom? The accuracy being the same at the top and the bottom?

Something like this would have 3 set screws for adjustment on the bottom. Hang plumb bob from ceiling, secure pole directly underneath, bi-pod or tape :slight_smile: , adjust your bubble to center and you have survey grade pole for survey grade accurate RTK!
Not sure about the position but all of our 2.0m poles have the bubble at or around the 1m mark.

1 Like

OK, I think I get it now:

  • You have a plumb-bob hanging from above.
  • Drop it to the floor and mark the spot.
  • Center the bottom of your rover pole on the marked spot.
  • Then raise the plumb-bob to the top of the rover pole and keep the pole centered under the plumb bob.
  • Now you know the pole is perfectly plumb and it is time to set up your bubble level.
1 Like