


I’ve seen it mentioned a few times around the internet and I have a need for it, so I did a quick prototype this evening just getting all the Navio2 examples up and running with my pi compute. It works well and requires no special bit-fiddling of GPIOs/etc!
I did investigate what was on the HAT EEPROM just to make sure and found this - nothing special, just defaults and vendor info you can find in /proc:
# Start of atom #0 of type 0x0001 and length 45
# Vendor info
product_uuid 0f8b16e6-51d2-4125-ae44-ae21f0e0c9db
product_id 0x0003
product_ver 0x0001
vendor "Emlid Limited "   # length=14
product "Navio 2"   # length=7
# End of atom. CRC16=0x4b62


# Start of atom #1 of type 0x0002 and length 32
# GPIO map info
gpio_drive 0
gpio_slew 0
gpio_hysteresis 0
back_power 2
#        GPIO  FUNCTION  PULL
#        ----  --------  ----
# End of atom. CRC16=0x6d6d
You can verify between your two systems that you actually have the same settings using raspi-gpio, but just flashing the card with the 20170922 emlid image and using the defaults worked great for me.
Obviously, the hard part is getting all of the wire crossings correct. I just used the included extension header to help me wire up 1 through 40 according to this pinout of the Raspberry Pi 3:
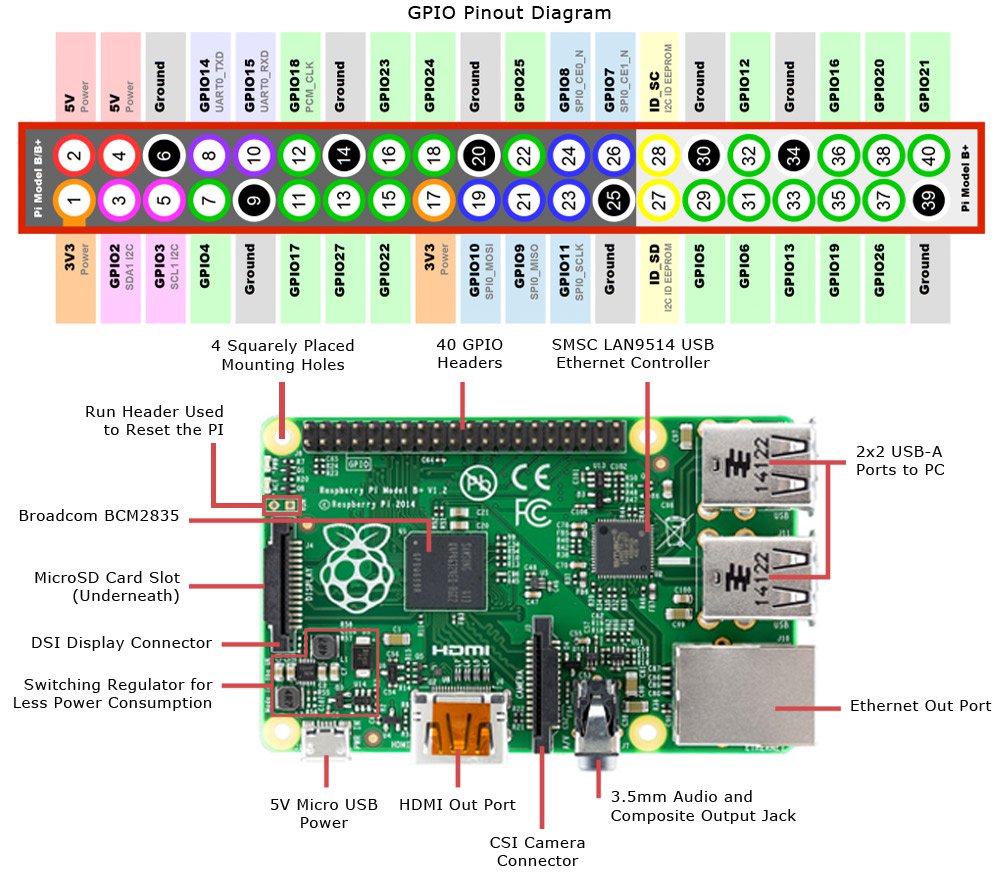
(original link: https://www.jameco.com/Jameco/workshop/circuitnotes/raspberry_pi_circuit_note_fig2a.jpg)
Using multicolored leads made it a lot easier to error-check since you can just go down each side and compare colors at the top and bottom for a quick parity check.
Backpowering works as well with no extra work; just unplug your USB charger and plug in a power source to the Navio2 and it’s up and running.
Photos:
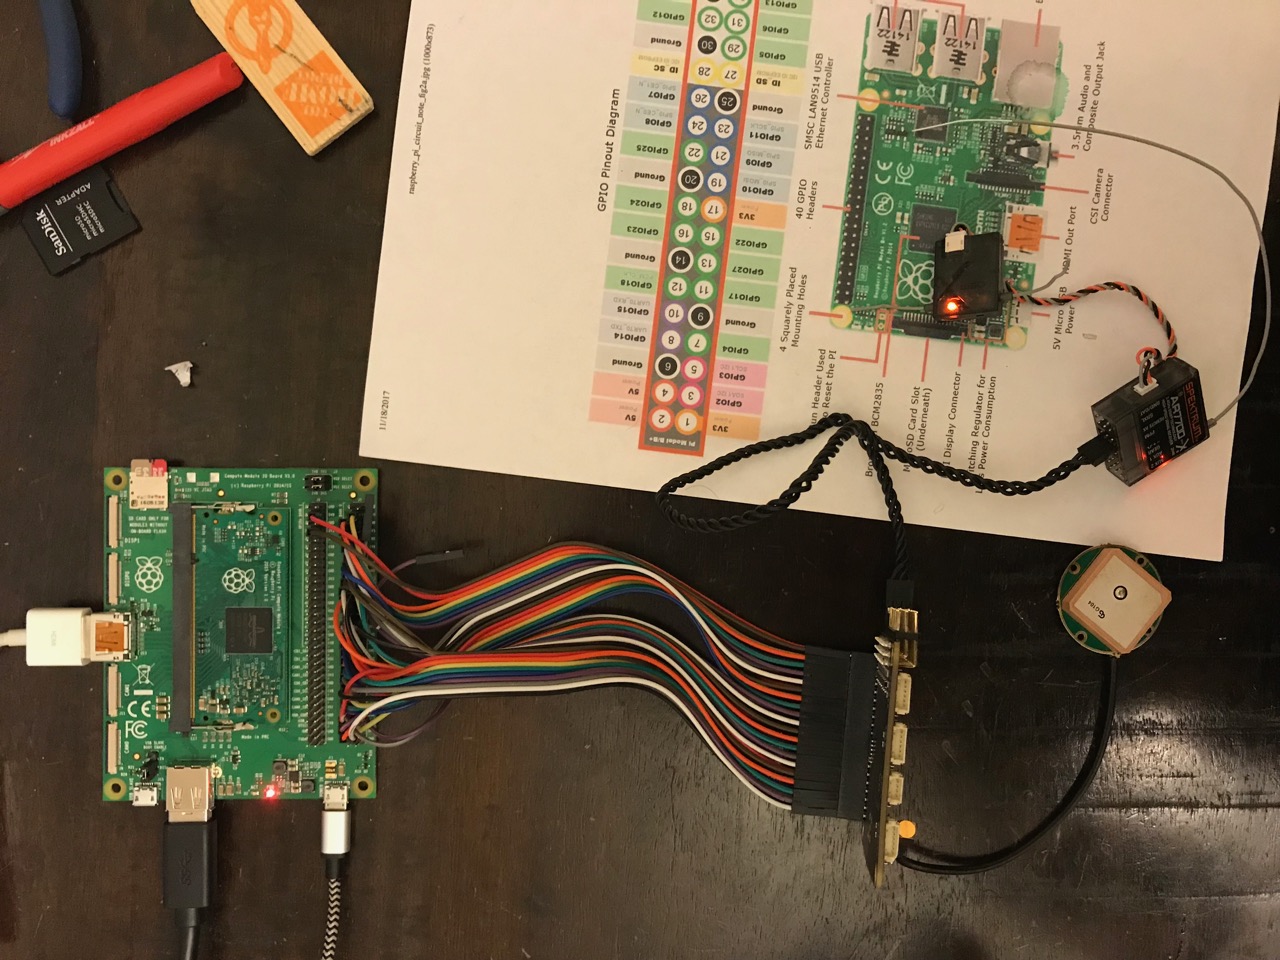
Overall view with USB power
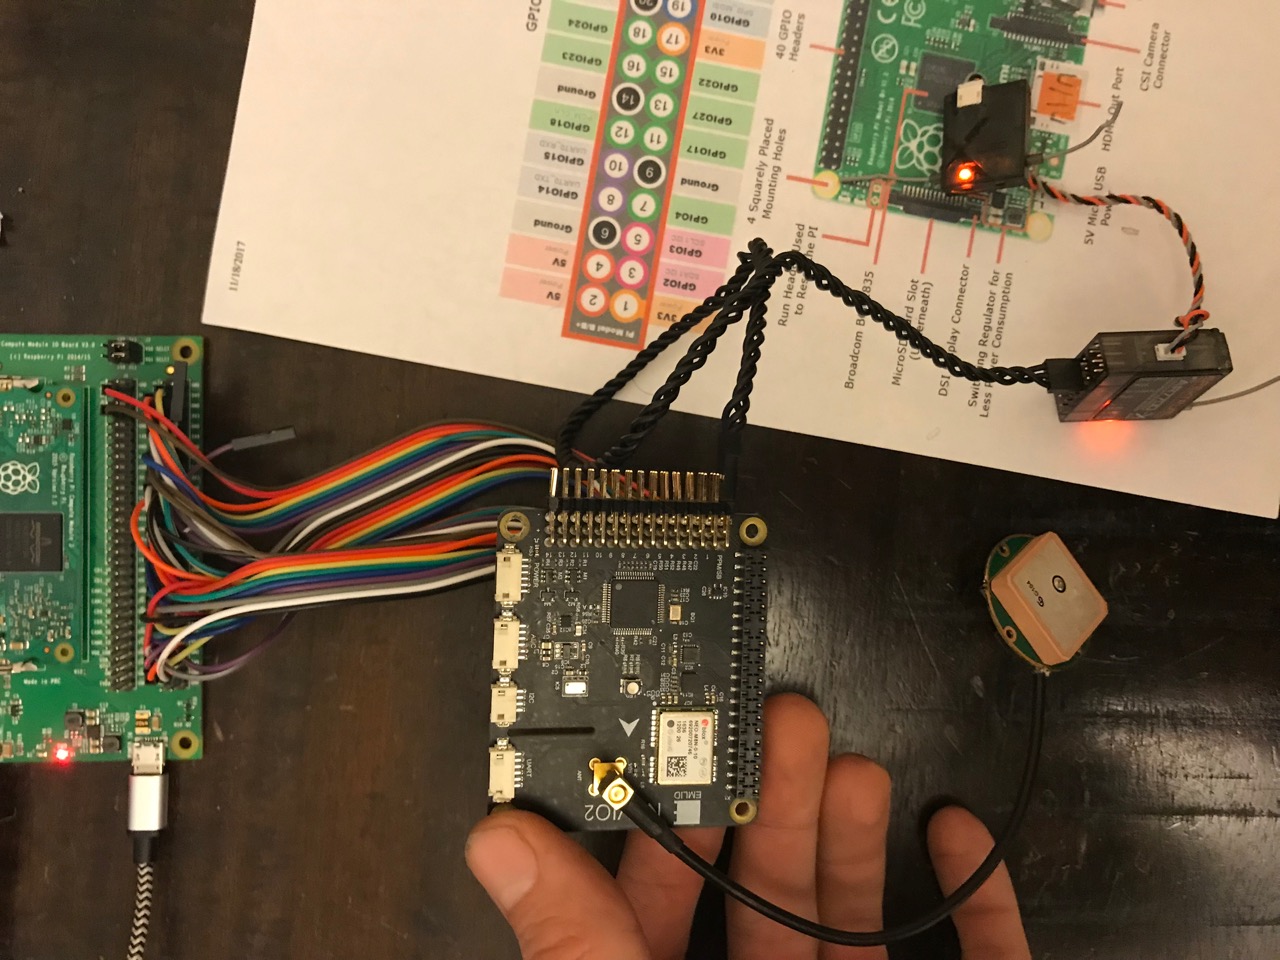
Little closer in of the Navio2
The rat’s nest, but notice around 20-25 free GPIOs!

Running off of battery alone
