Hi Guys! It’s been awhile since I have been on here.
I wanted to share a new build I am working on. I originally built a 650 size quad with the Navio2 and had great results.
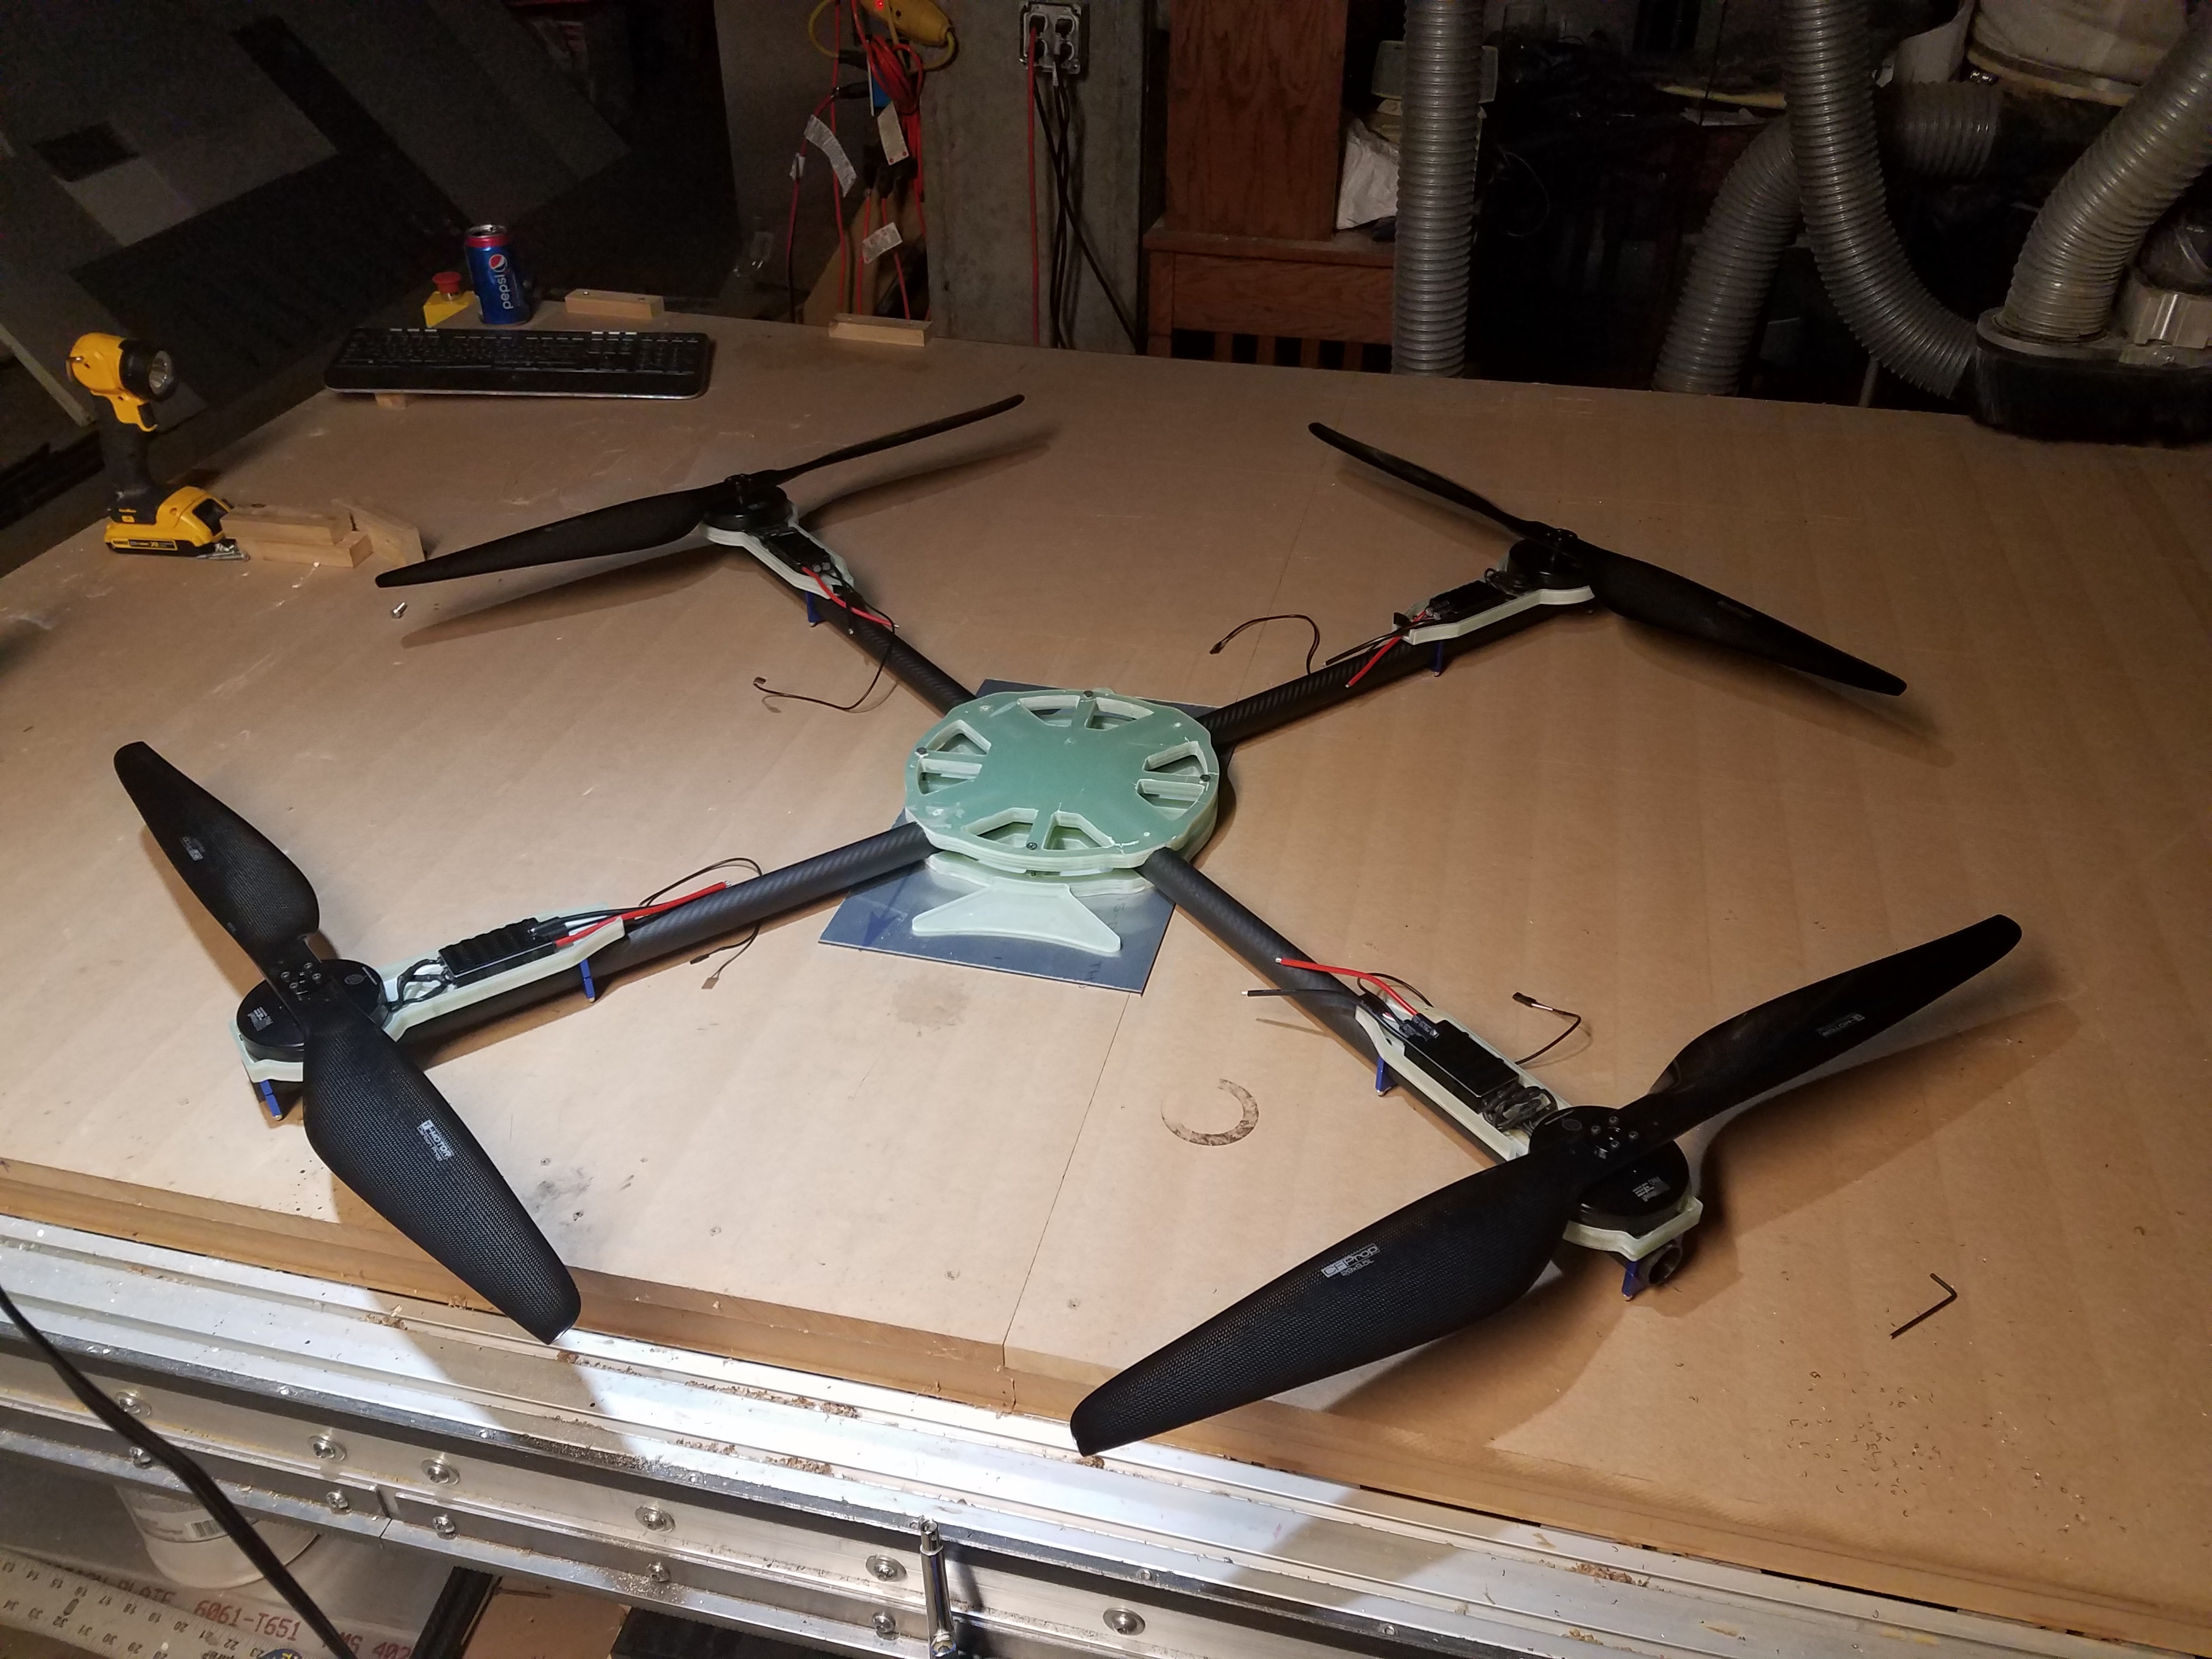
So now I am after a larger copter that can carry more weight and have significantly longer run times. I used G10 for the main body. I routed it out of 1/2" with my CNC router. I don’t really have any sort of engineering background, so trying to decide how much material to remove to reduce weight, and still have a strong, structurally sound frame was sort of a challenge. At this point it is a bit heavy, but no doubt strong. Will likely redo it at some point to reduce weight, but for now I am just going to paint it up with a sweet color and run with it for now.
I also customer machined the motor/esc mounts out of G10 as well. Actually the same 1/2 sheet. Initially I am using 4 Tiger U8 Pro 100kv motors with 29" Carbon Fiber Props. Eventually I would like to convert it to an X8, but these motors and props are pricey. I am using the Tiger Flame 80 esc’s. This is all mounted on 25mm (1") carbon fiber tubes.
I am building custom modular battery packs out of Panasonic Sanyo NCR18650GA 3500mAh 10A Li-ion Batteries. I will be running it as 12s. I purchased 100 cells and I will be dividing these into 4 6s batteries. This will give me 28,000mah at 12s, or the option to run with only 14,000mah at 12s for shorter flights or if I need the extra lifting capacity.
So I have the Navio2 on a RPI3. I have 2 verizon jetpacks with static IP’s. I am streaming video from a Logitech C920. I have since changed to a FrSky Horus radio (LOVE it btw). Windows laptop with mission planner as a ground station (fed by one of the jetpacks).
I am curious what you guys think and if there are any suggestions. I know this isn’t the right place for this question, but I have been reading and trying to understand Reach and Reach RS, and wondering how to incorporate that into my setup. I would love to get this thing into the CM accuracy range vs meter accuracy. I don’t have any real plans of surveying, but would love the accuracy for positioning and holding it still in loiter modes. I am just having trouble understand how Reach works or how to add it to the navio2.
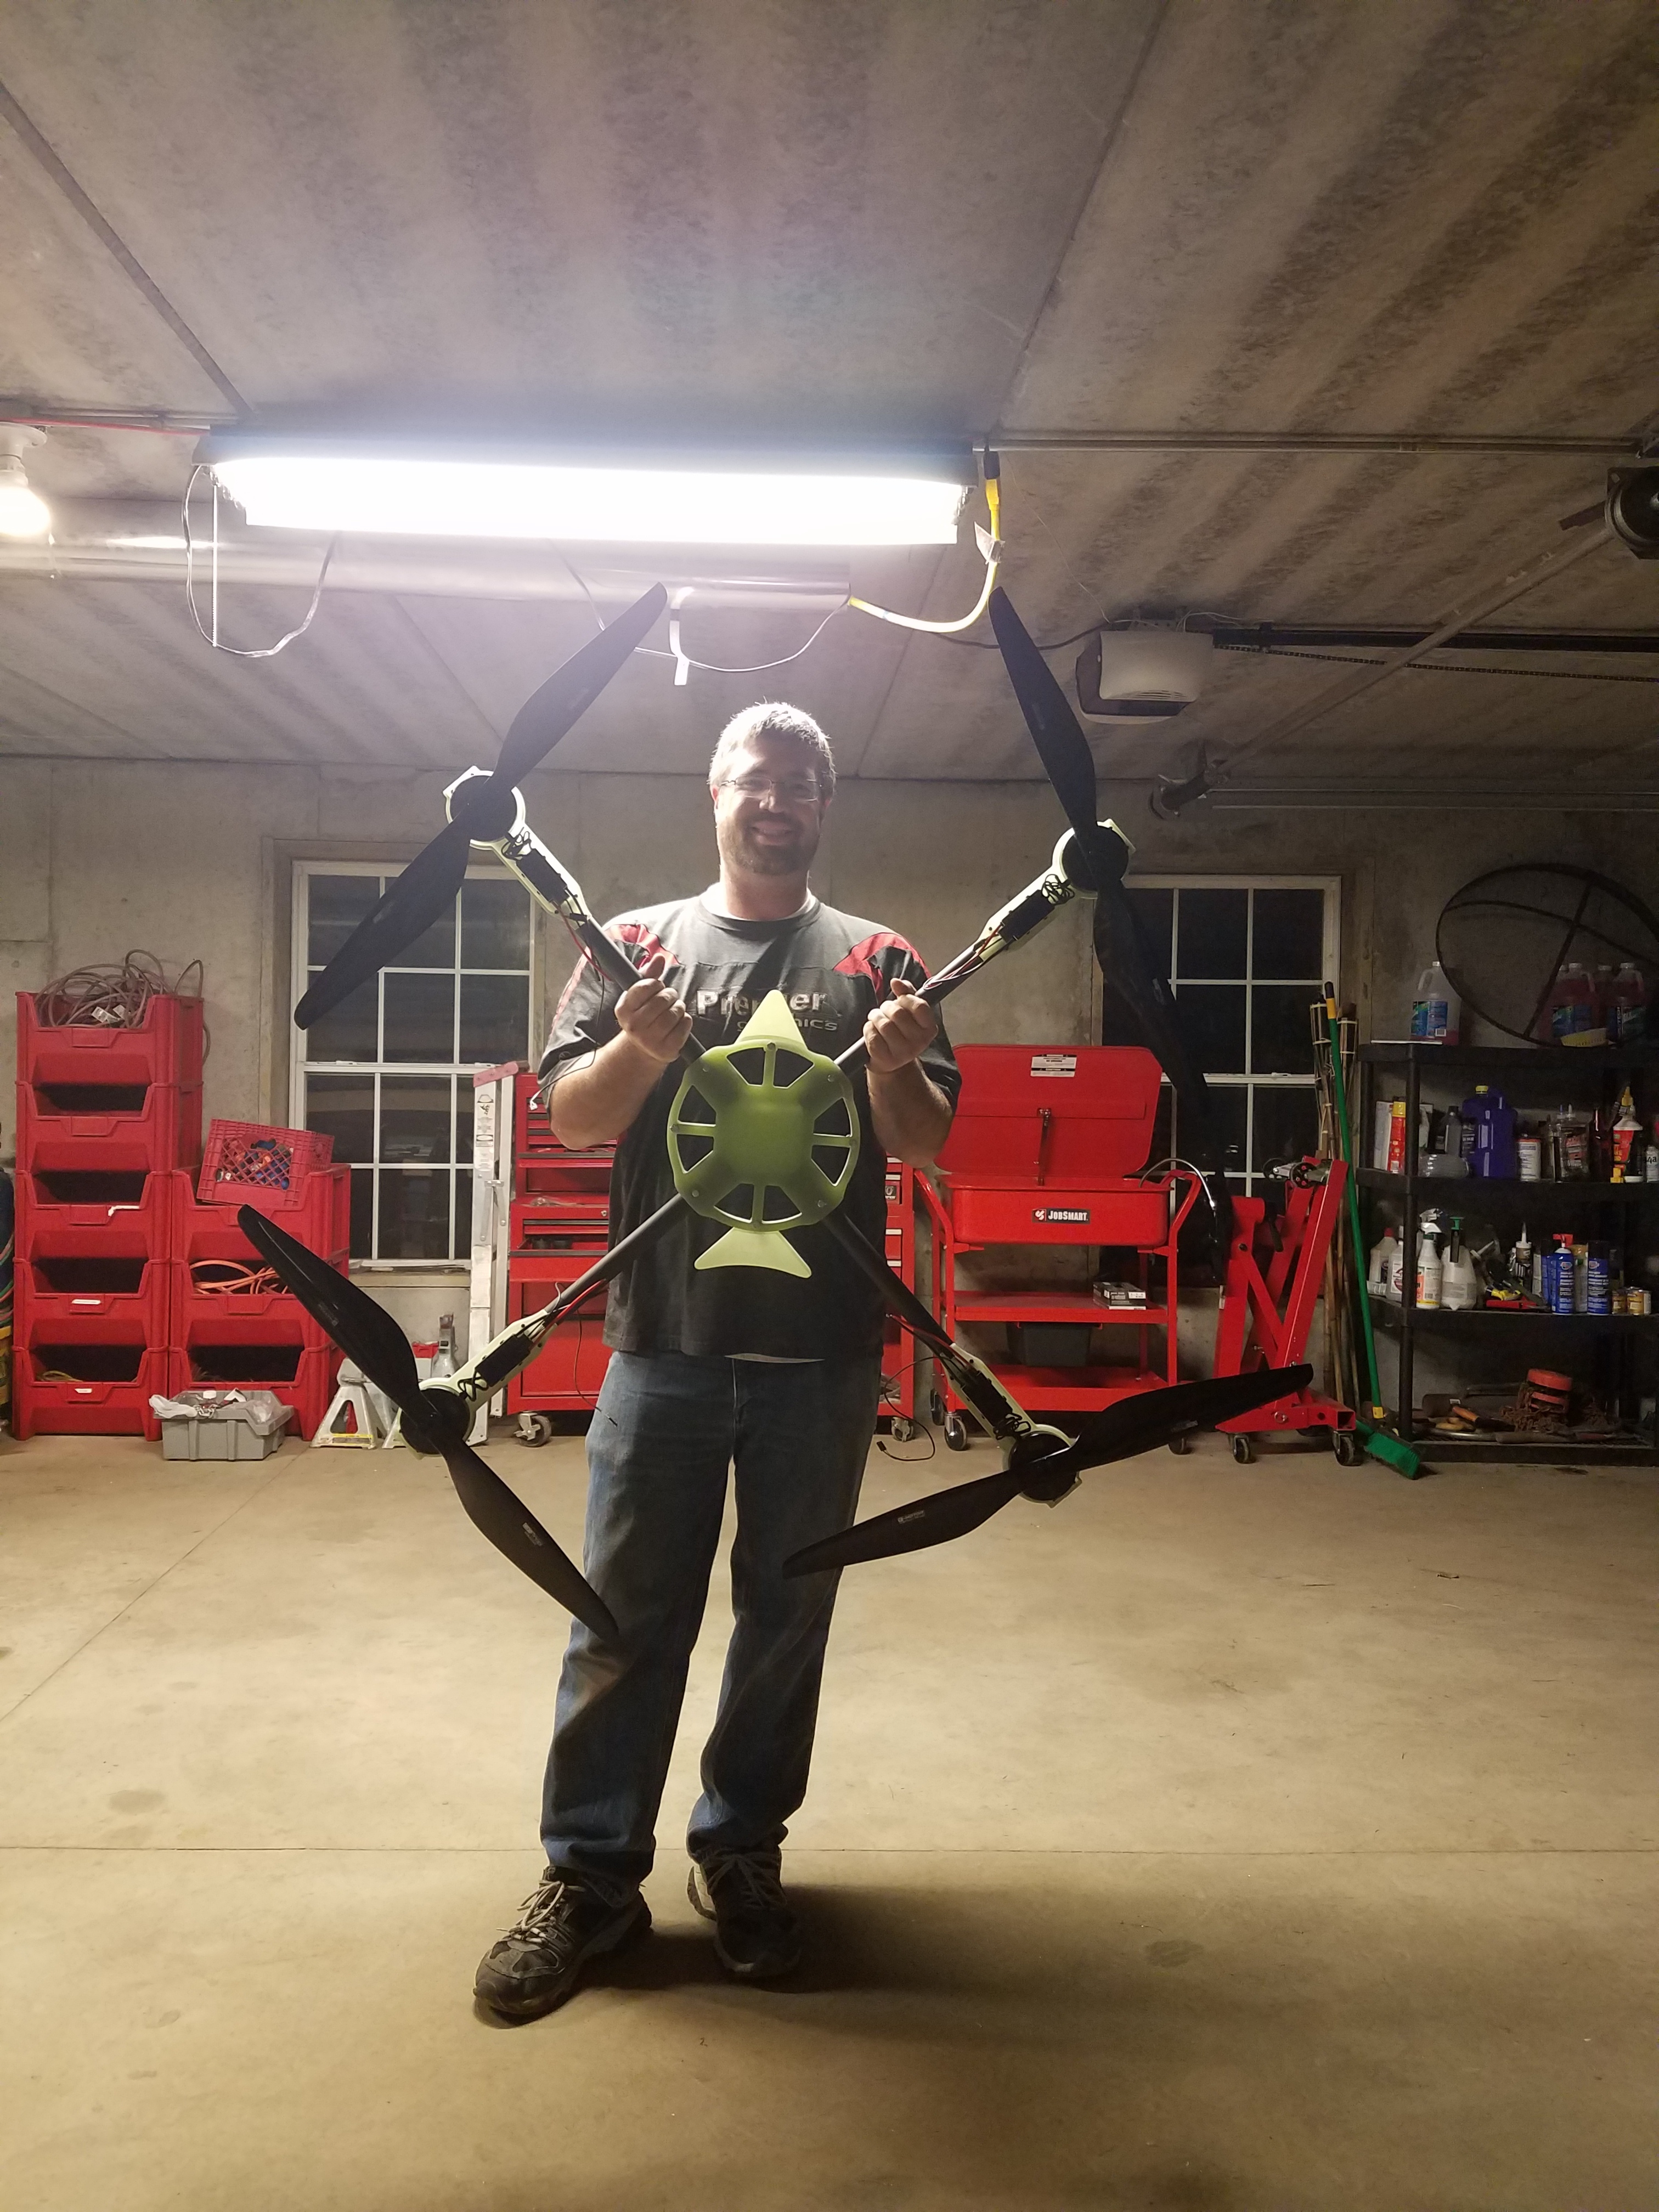
Holy cr**, this thing is huge. I would also go for an X8 setup, just to have some redundancy. If this thing is coming down, the carbon props will chop through anything.
A friend of mine once build a quad similar to this, with aluminium arms. On maiden, a motor mount broke and it came down from 20m high. The then motorless arm was burried to the centerplate in the soil.
Haha, yes it is big! This will certainly command some serious respect for it. Those blades are scary big…and sharp! I made 4 extra motor mounts to convert it to an x8 as soon as I can afford the hardware.
Ouch a broken motor mount. I bet that was a sad day.
WOW! A beauty for sure. Are those 4 separate carbon arms, or 2 arms that have been crossed together? Also whats the OD on those tubes 18-20mm?
Hmmm the mounts seem very long have you considered just mounting them with zip ties? The mounts (part where esc is) seems to add lots of unneeded weight and most definitely some drag/noise. (especially because the cup design)
Keep up the great work and send some pictures when you get everything mounted!
Have any pictures of the 650 build I’m curious to see it I’m working on a 720 right now!
Fantastic monster! What do you plan to do with it, deliver washing maschines?
How far are the props apart at their closest position? It looks like theire is not much space inbetween, shouldn’t it be at least half a blade in between to avoid turbulence?
Yes, they are 4 separate arms. I want to be able to slide them out for transport. They are 25mm OD tubes. The mounts are quite light. I also have 1mm CF plates to put on top so only the heat sink will show. That will prevent airflow from entering them. I tossed around the idea of just using zip ties, but wanted a more fixed solution. The clearance between the blades and the top of the esc is very small so I wouldn’t want them moving at all.
Sorry, the 650 was completely dismantled. It was basically just a test bed for the electronics to make sure I understood how everything worked. It was a simple hobby king H-frame. Nothing really special. I’ll look, but I’m not sure I even took any pictures of it.
Yes half a blade distance would make the arms ridiculously long. It’s already pretty damn big. There is a couple inches of space in between. I am hoping there isn’t to much turbulence, but I guess we shall see. I am hoping for a very stable machine. I want to do photography with it when it is not monitoring an equipment lot. I hope to carry a full frame dslr camera at some point.
Progress has been slow on the copter but still progressing. Finally got my quick disconnect arms figured out. I have started the basic wiring, but it lead me to a thought. Up to this point I have been using a webcam for the camera and it has been working well to transmit the live feed. However I was wondering if anyone has used any sort of video capture device with RPI3 to transmit live video feed. At some point I plan to mount a DSLR on a gimbal, and I would like to see a live feed from the DSLR, which would only make sense for taking photos and video. I may end up transmitting that feed with a connex prosight, but would be nice to know if I can send it through the RPI so it can be sent over 4g.
Jason,
Easiest is likely to just use an rpi camera module. Biggest issue may be routing of ribbon cable. We have used up to 12in long cables. You have to shield them so it does not mess with gps. We use copper tape on the cable and then electrical tape over that. Make sure you use a drain wire. Just strip an end of small gauge wire and capture it on the copper tape with the electrical tape. Run the other end to ground. Puts out really nice h.264 video for the price. Should move well over 4g if you keep your size and frame rate realistic. See the emlid docs for example gstreamer pipelines.
Thanks for the response coby. I have tried both the RPI camera and the webcam. Both working well, found the performance a little better with the webcam. Unfortunately neither options are ideal. I need to find a solution that let’s me view a live feed from the DSLR so I can actually see what I am filming. If I can’t find that option, then will just go back to transmitting it. Was just hoping to find another way.
Hmm, that is interesting. So does the PIE just think it’s the camera module, or do you think there would be special programming involved? Not to good with Linux.
Thanks! This look promising!!
I like @schuermannsebastian 's link. Never tried one. Looks like HDMI to CSI converter for RPi. So gstreamer should work like it would for rpi cam module. Looks good on paper anyway.
I did not try this device myself. There is a manual linked on the website. It seems the encoder supports only certain input formats and no interlaced pictures. Other than that it should appear as a camera module to the Raspberry Pi.