Hi guys,
I wanted to share my project here.
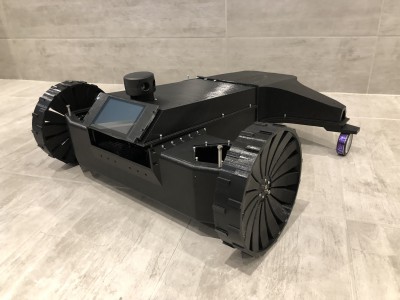
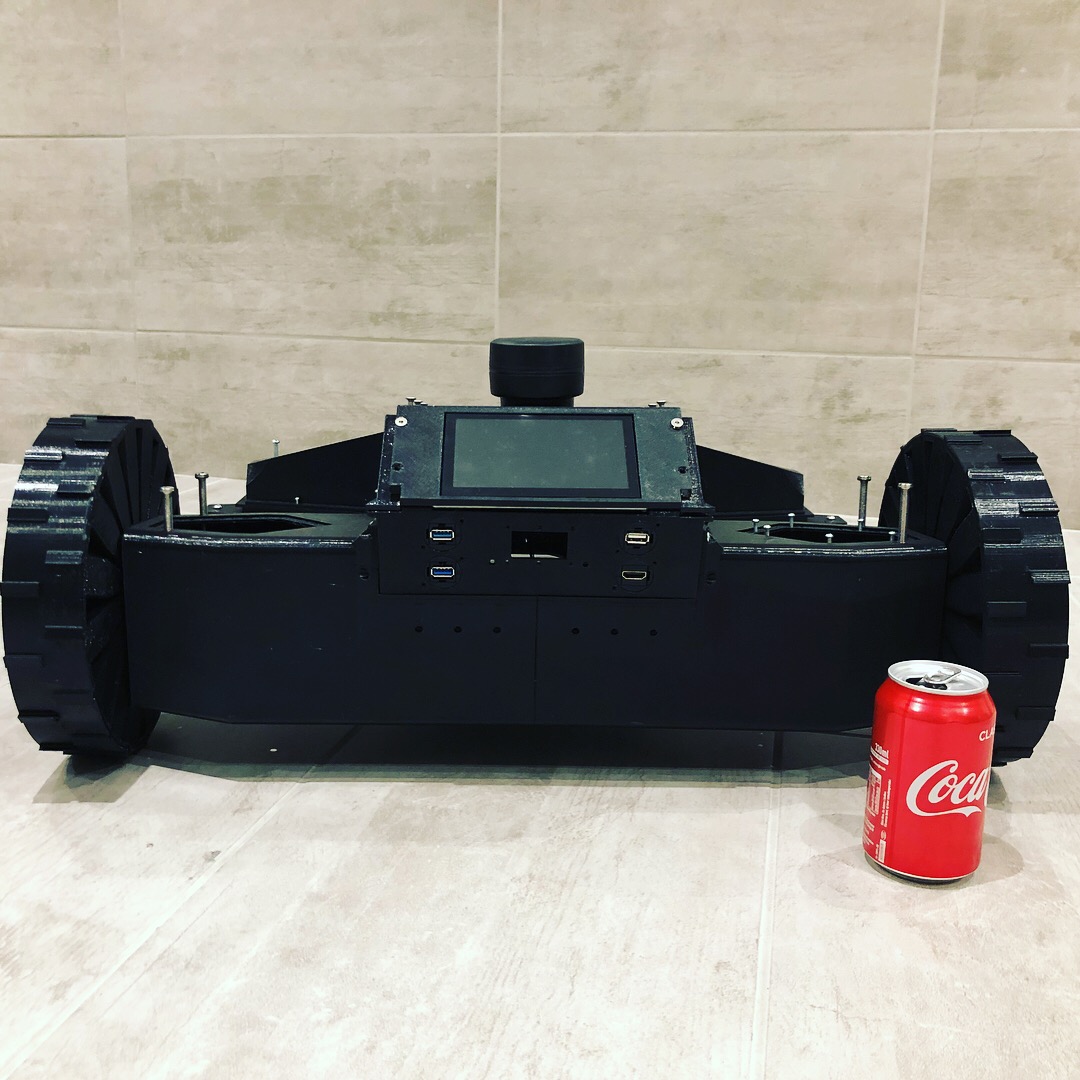
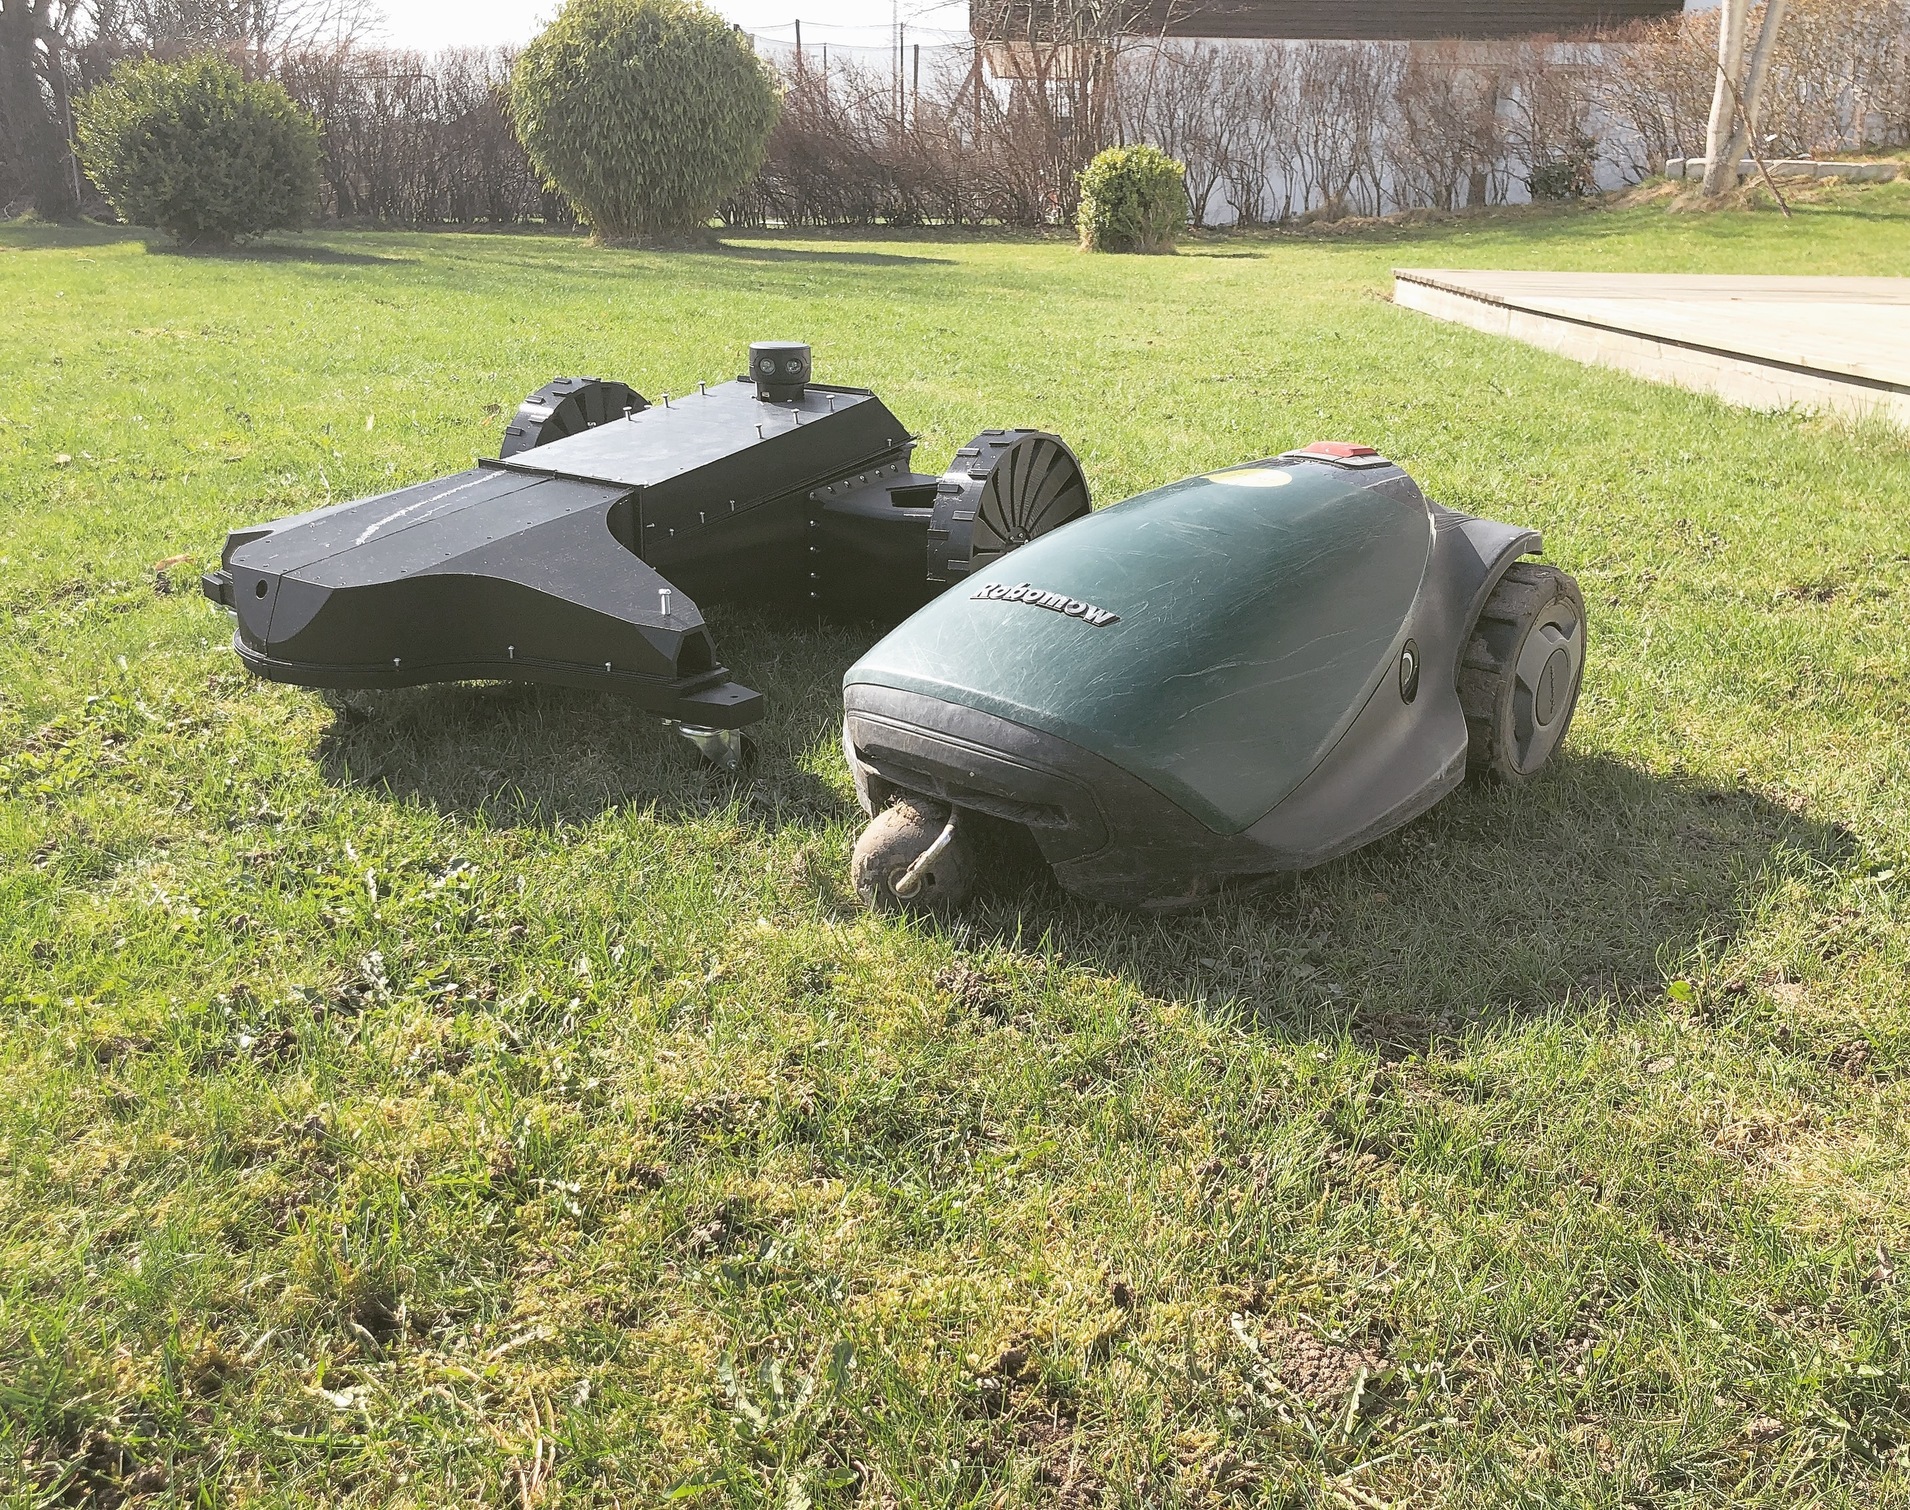
Valify is an Jetson TX2 based “smart” robot lawnmower using open technology.
I was so damn frustrated after owning a Robomow for two years soon. Problem after problem. Robot lawnmowers today lack the “brains” to be smart enough to make there own decisions. So here will be my attempt to build something smarter.
Please note: This is a hobby project and there will be a lot of areas that I have not touched before, so I will also learn by doing!
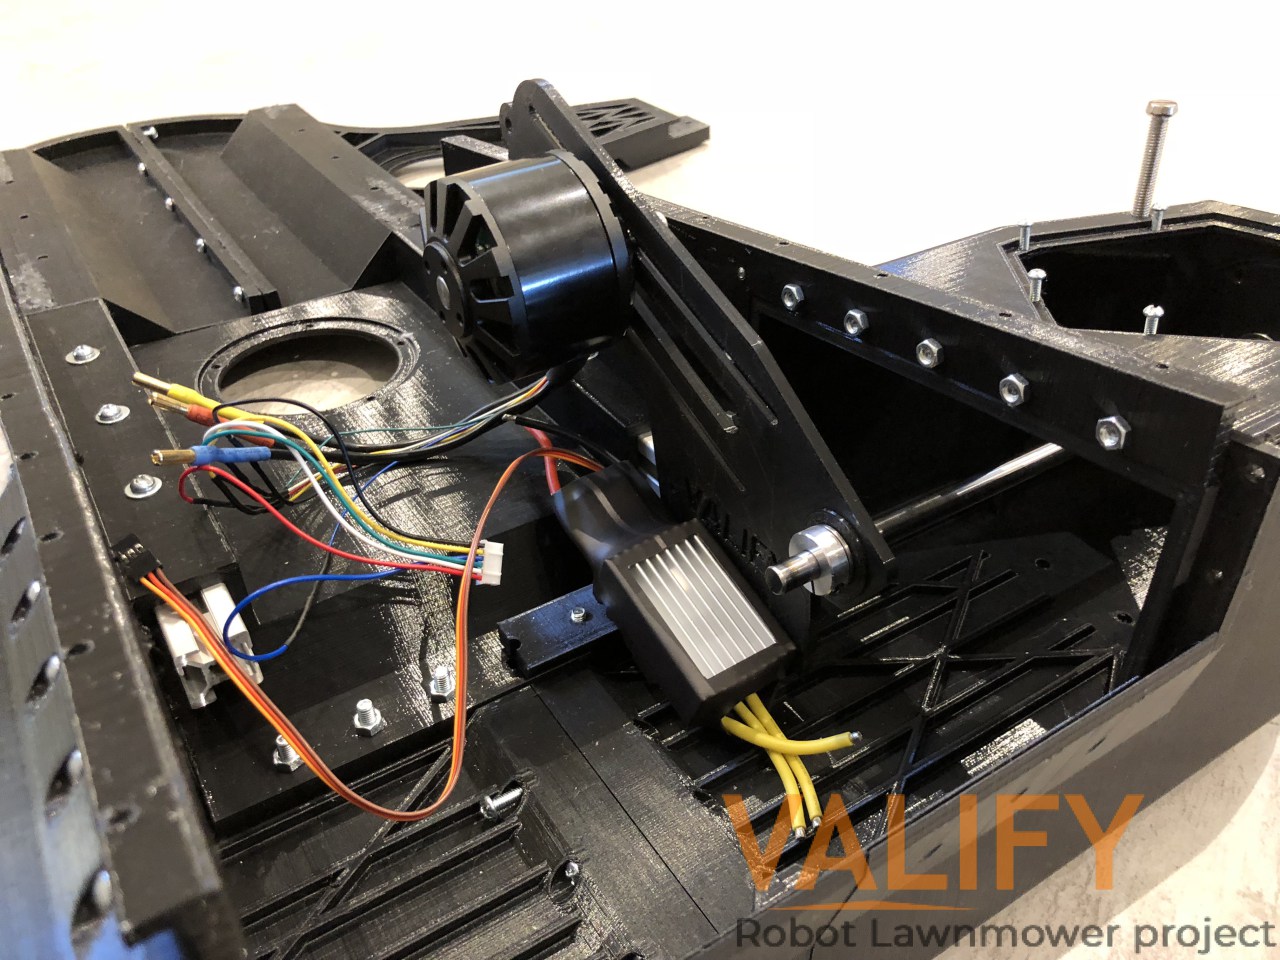
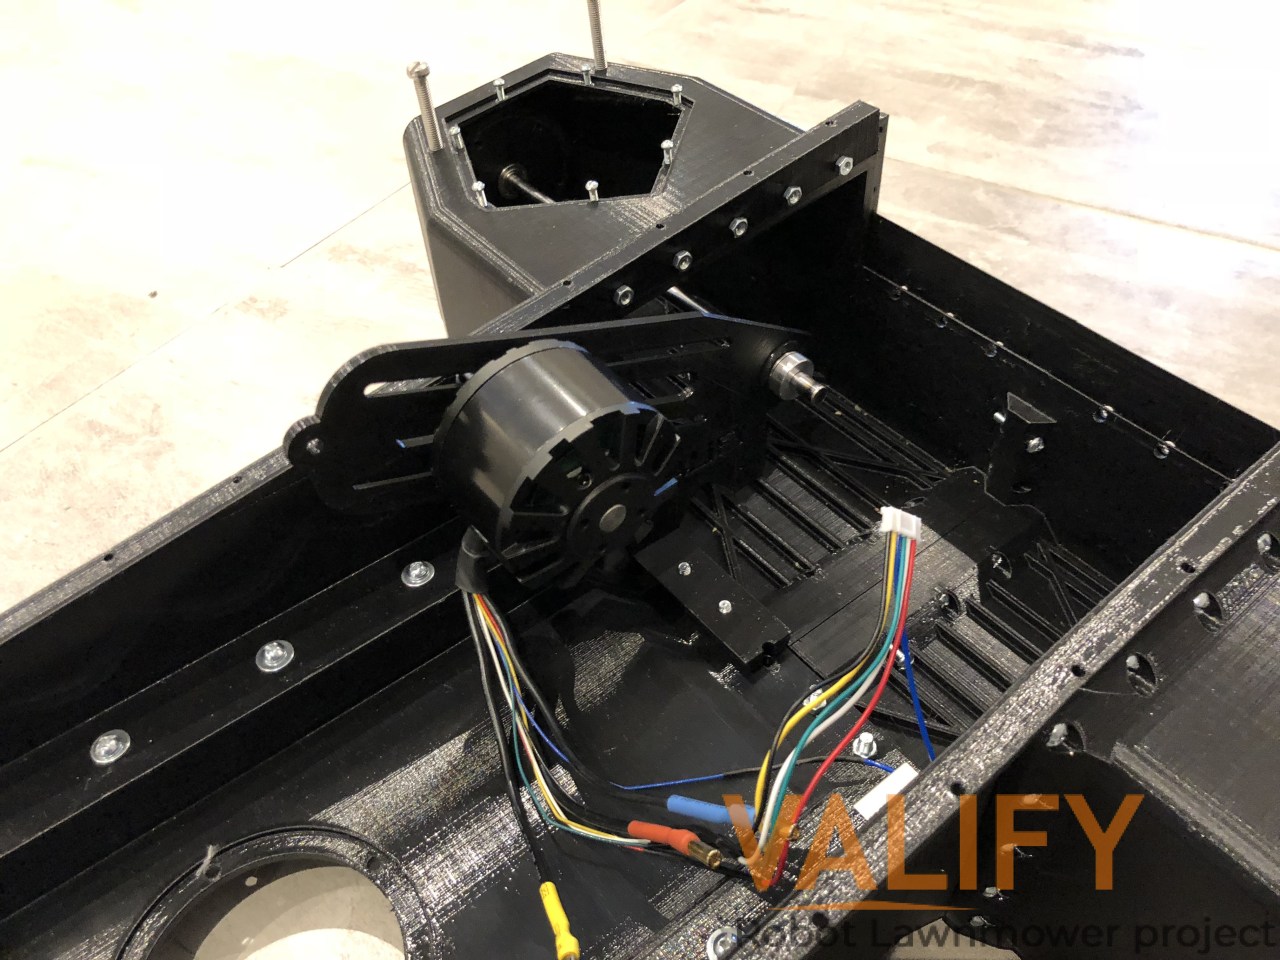
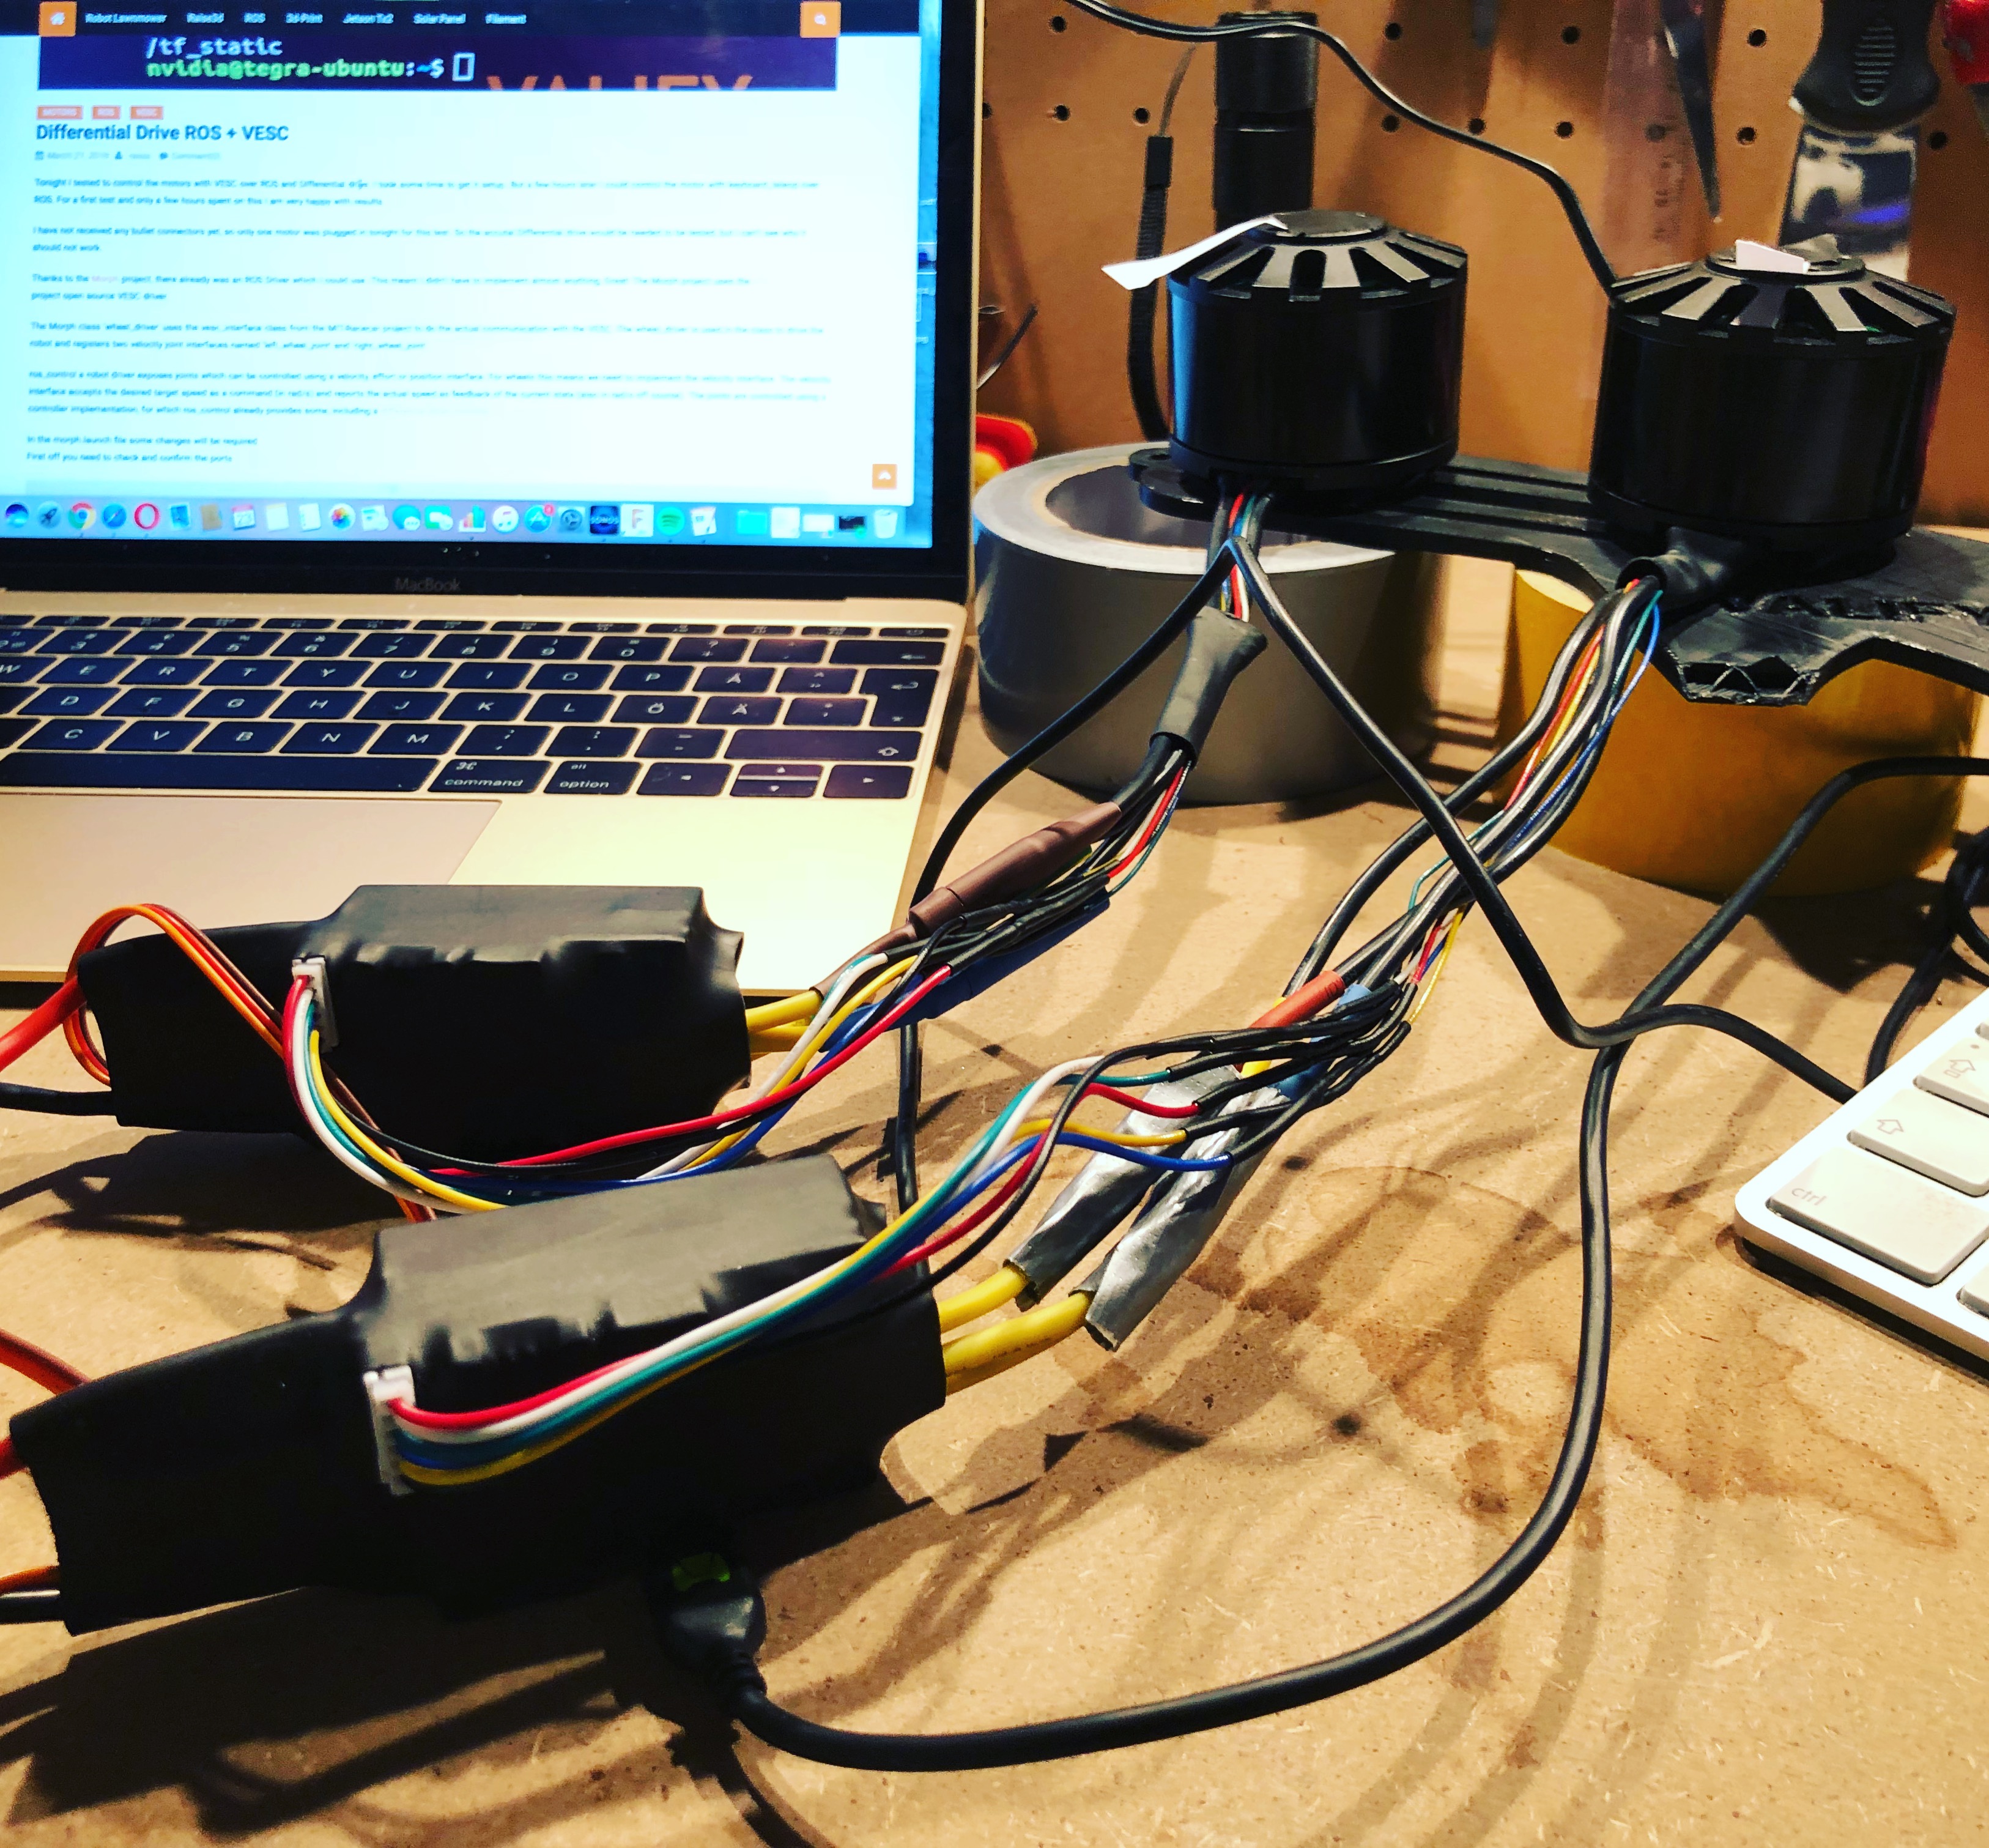
Today I received the new BLDC motors & the VESC controllers for the Valify robot lawnmower.
Here is some pictures from test mounting on the prototype motor brackets:
Tonight I continued to work with brushless motors, VESC and ROS. The Differential drive works. I hooked up a DS4 running turtlebot_teleop_joystick In order to control the motors with a joystick. I also adjusted a few settings. I Have a good start torque with low speeds. But Its not always running smooth from low speed start (Because of the hall sensors don’t know where the rotor position is) To be able to control the low speeds with a better start torque I am thinking off getting encoders to the motors.
The VESC´s have integrated support of the AS5047P which is a high-resolution rotary position sensor for high speed (up to 28krpm) angle measurement over a full 360-degree range. I was trying to buy this, but could not find a place which had this encoders on stock. So I started looking at AS5047D and the AS5048A. The AS5048Ahas 16384 positions per revolution which will make the rotor position very precise. I am trying to find out if the VESC´s supports them “out of the box”. Lets see.
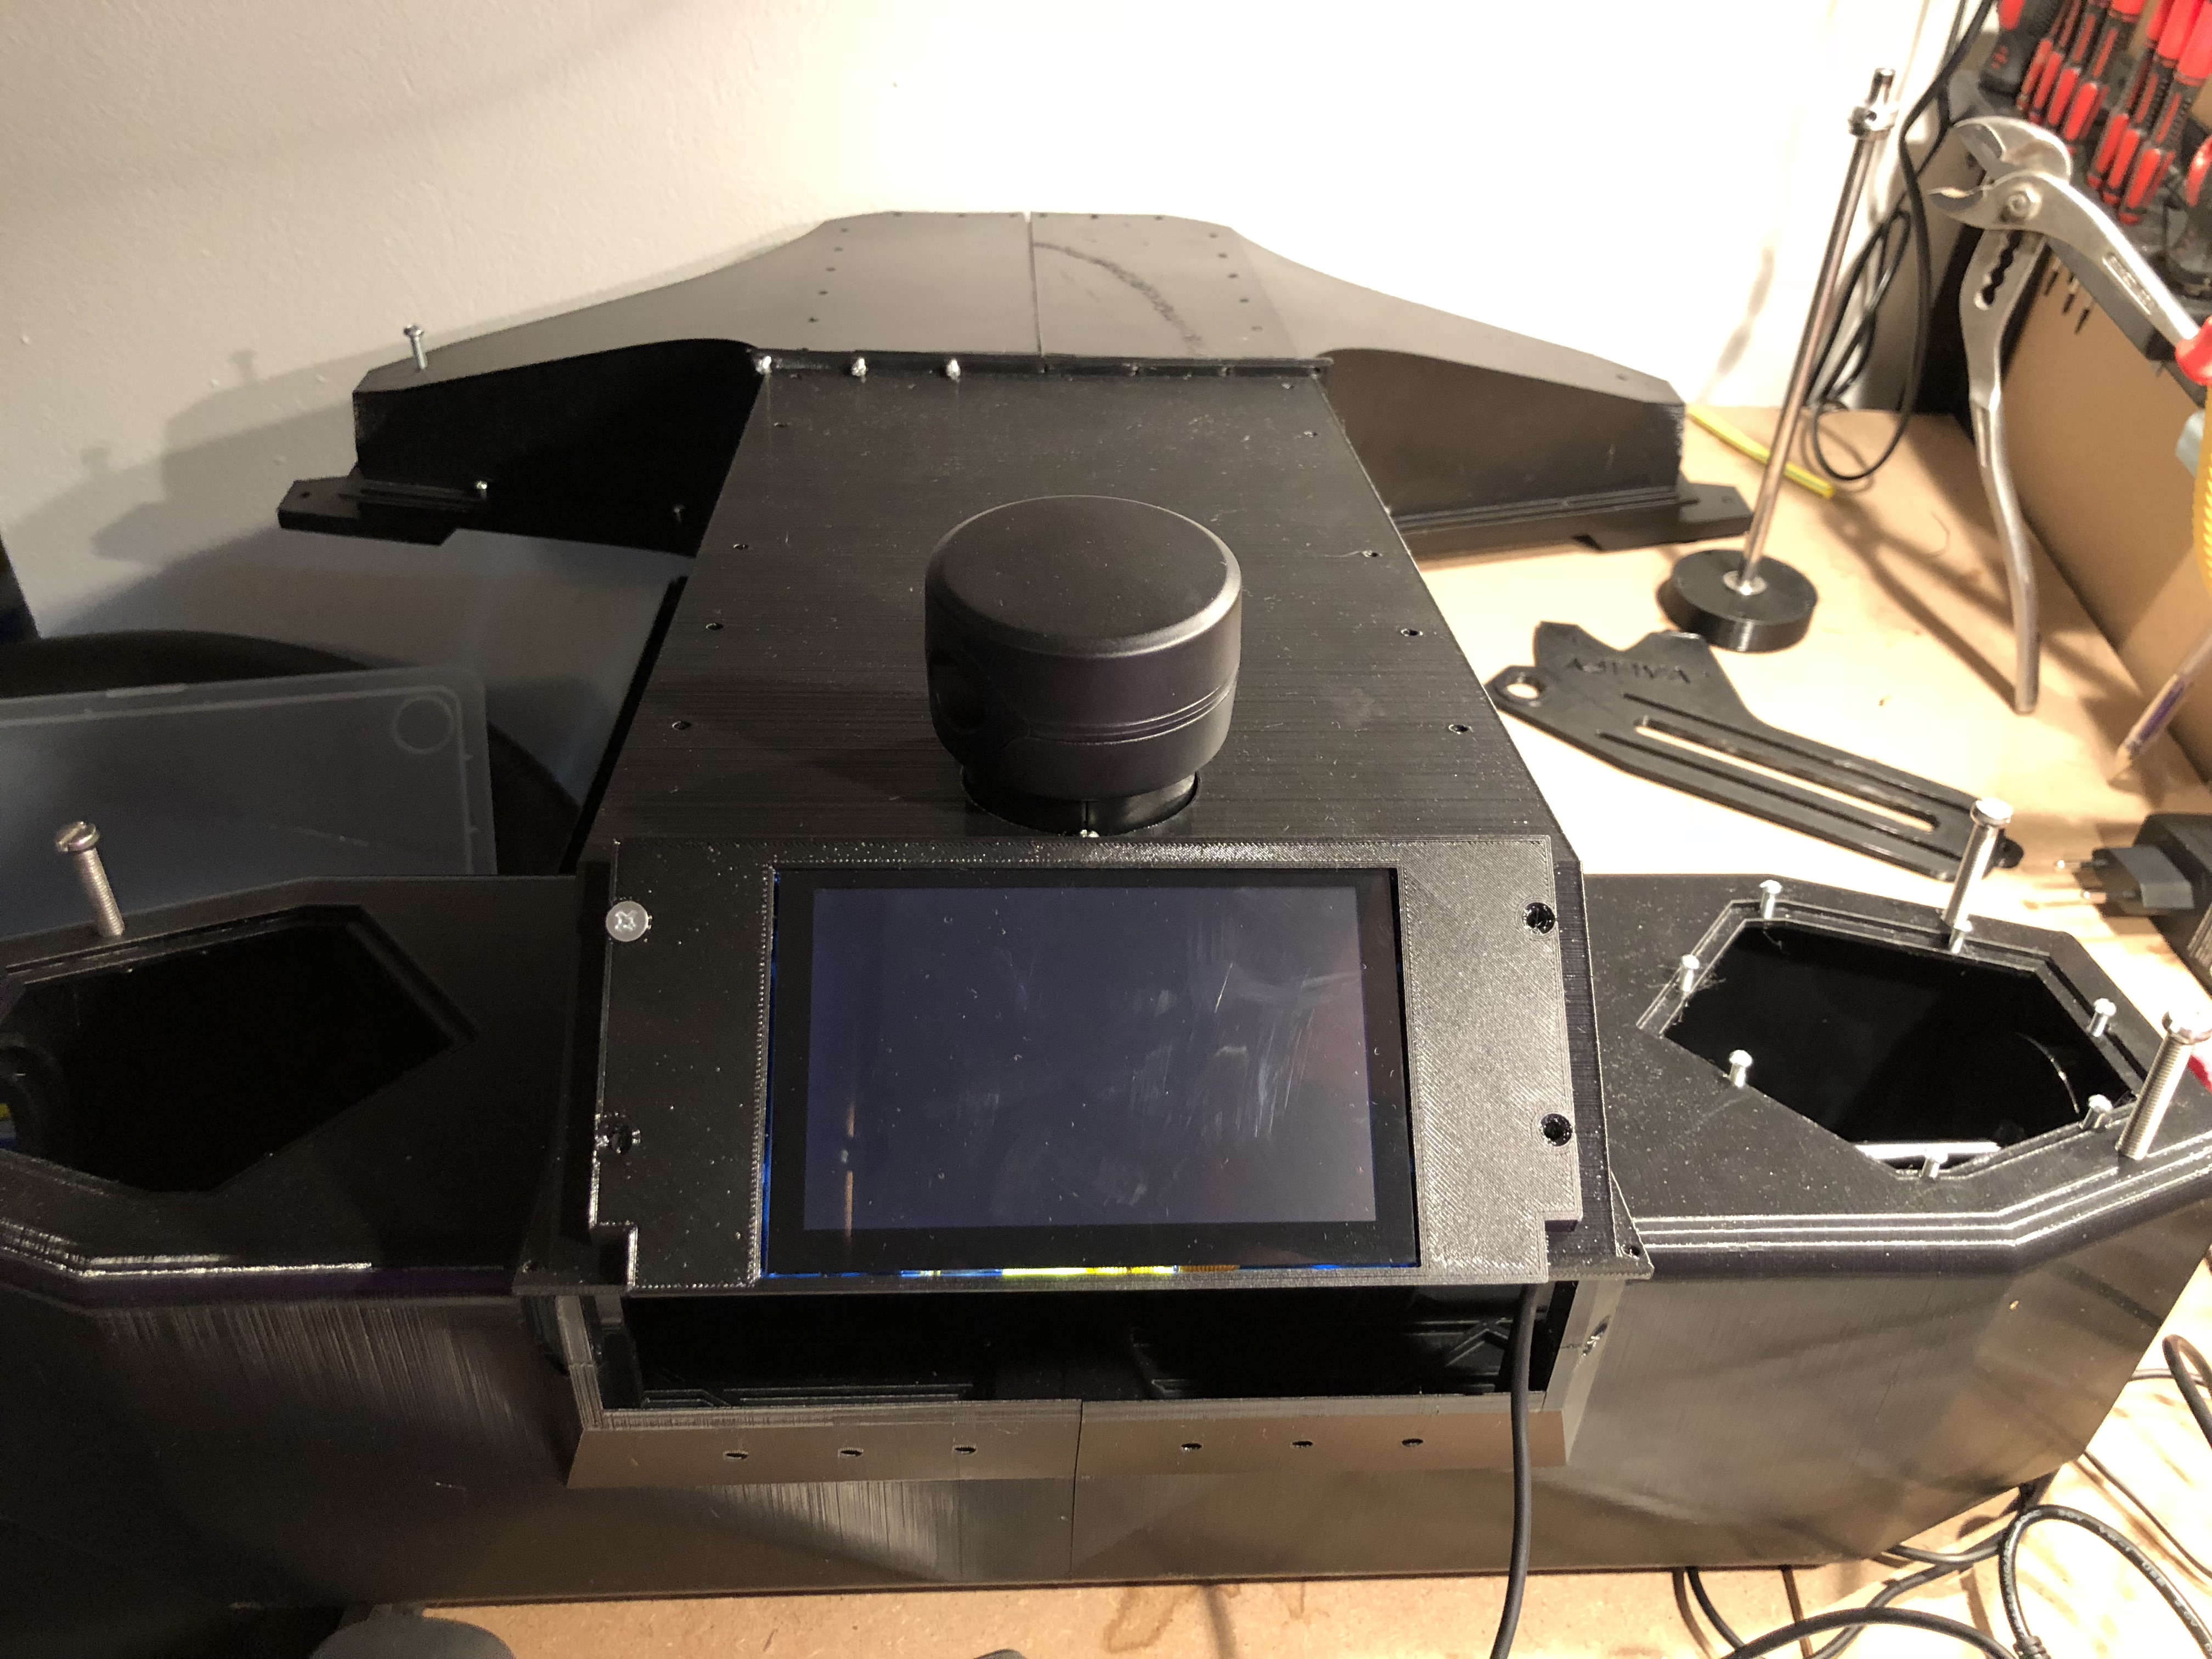
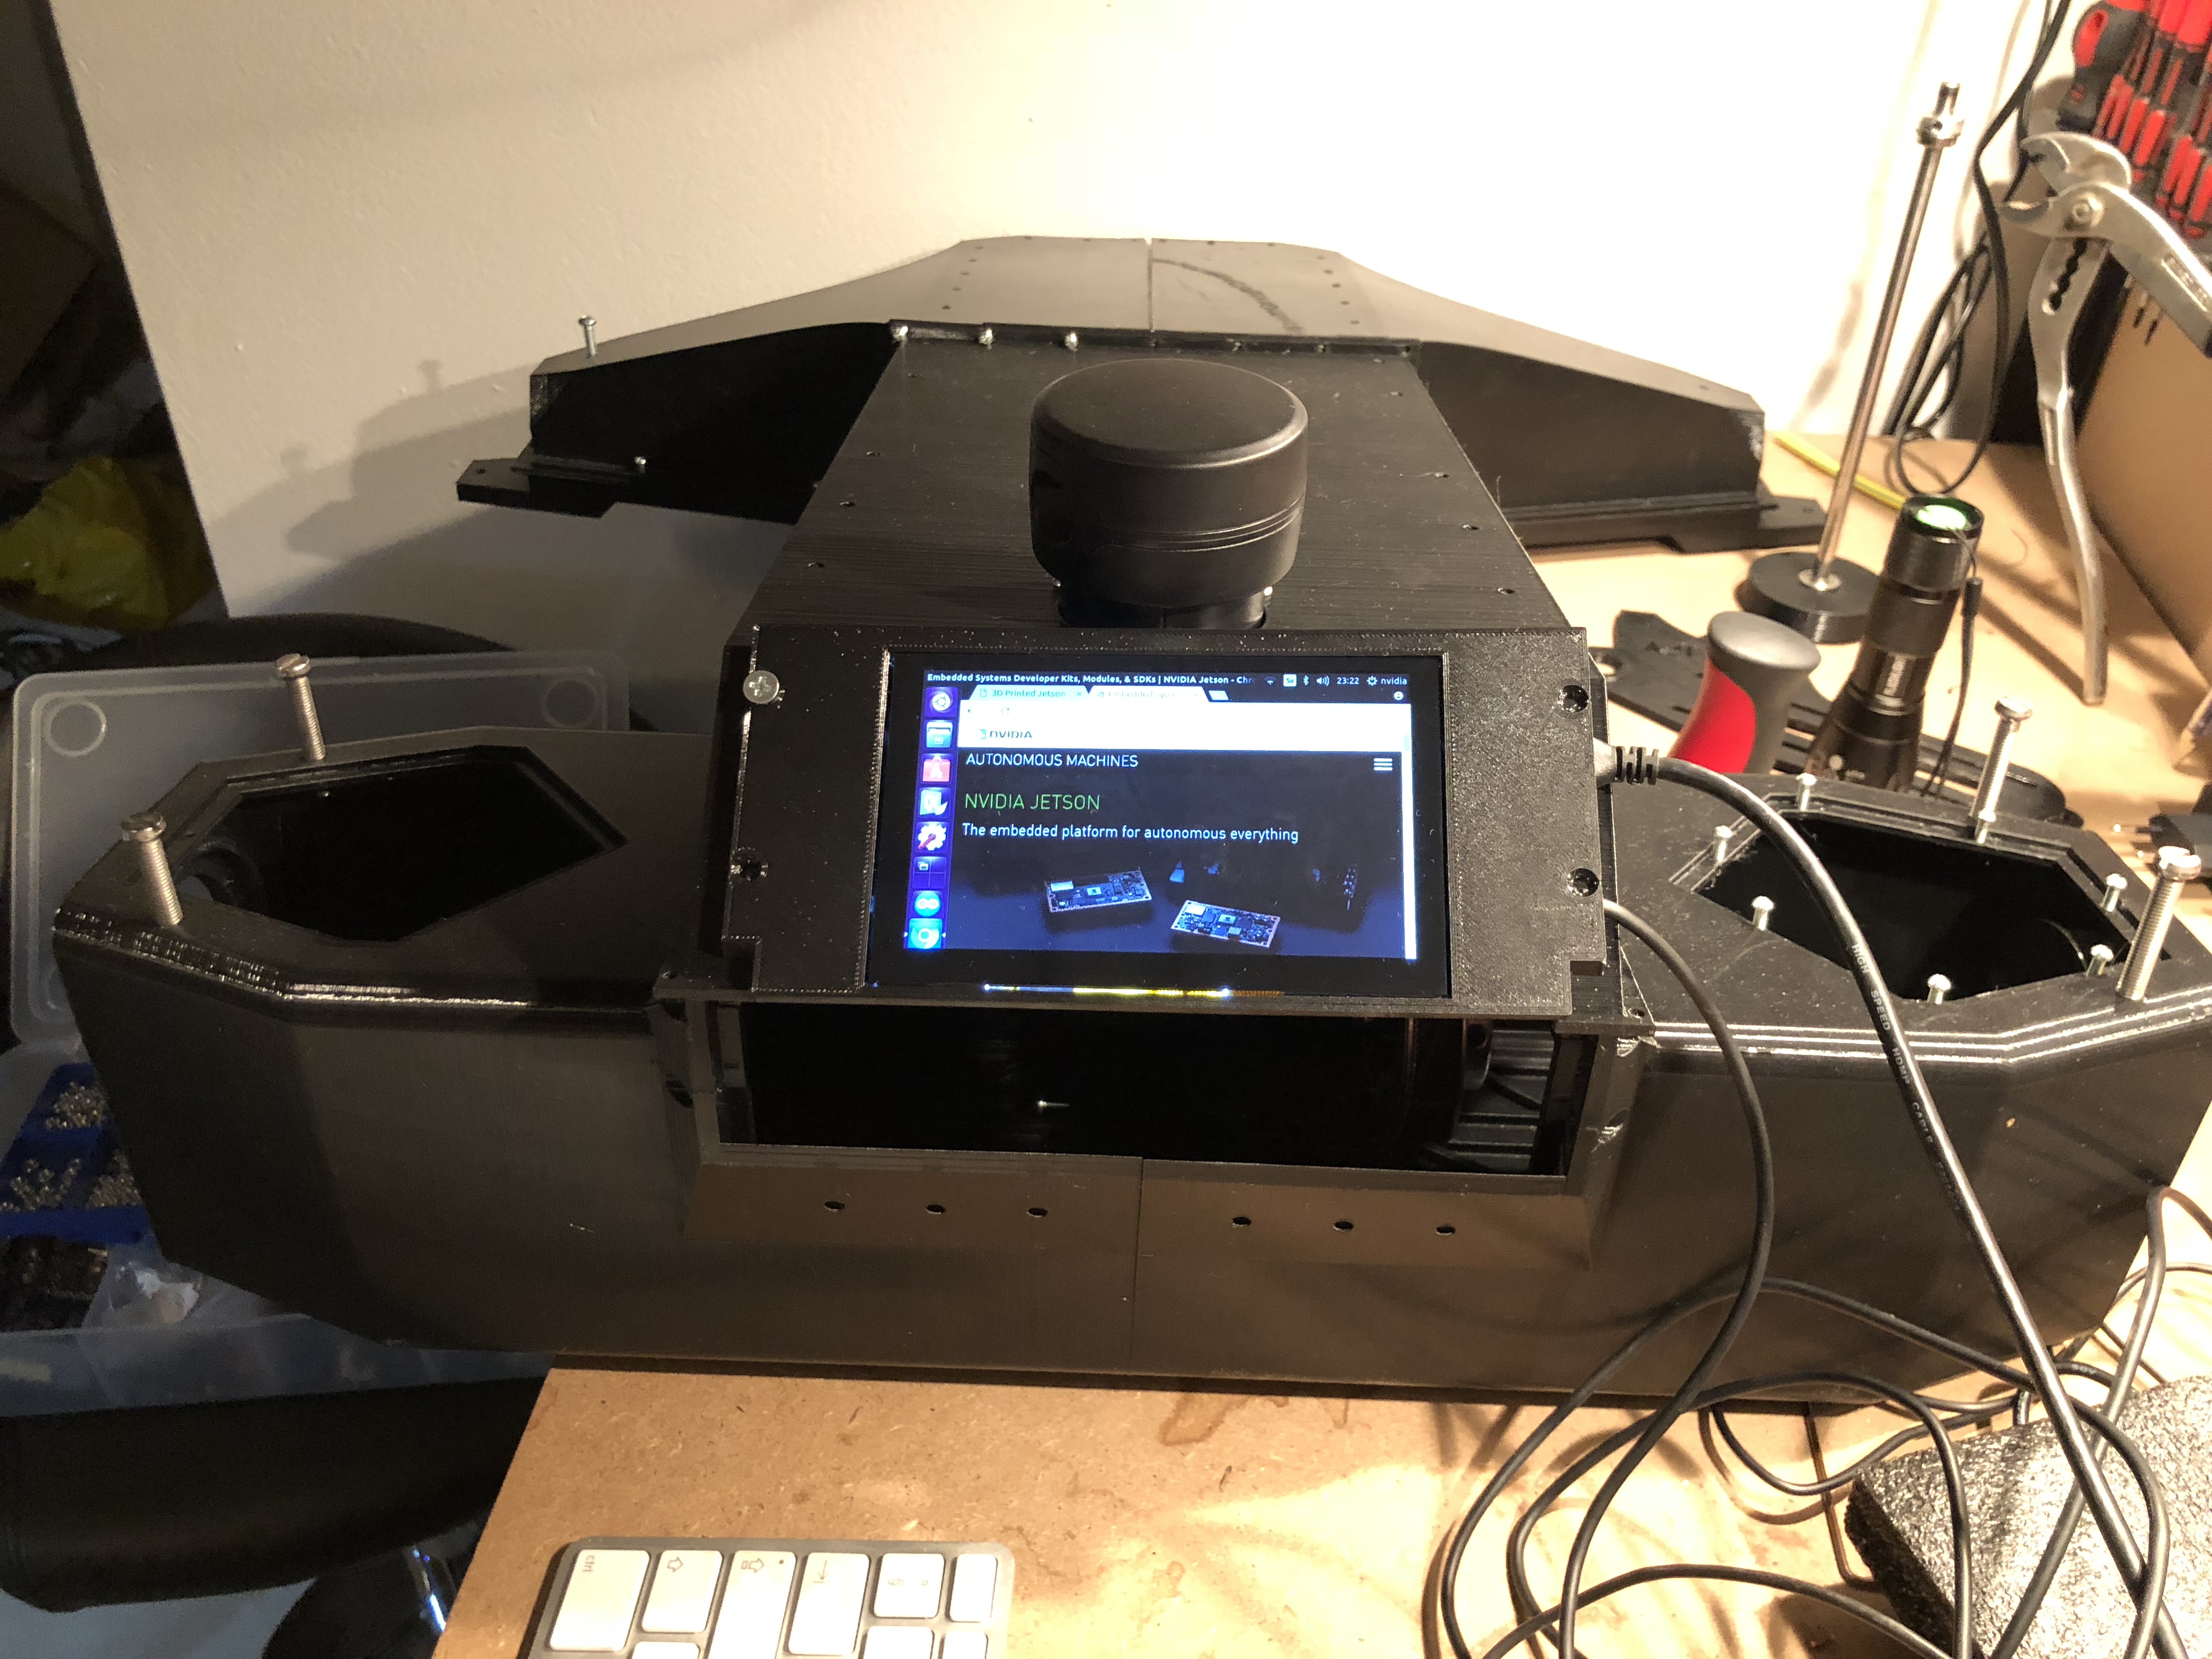
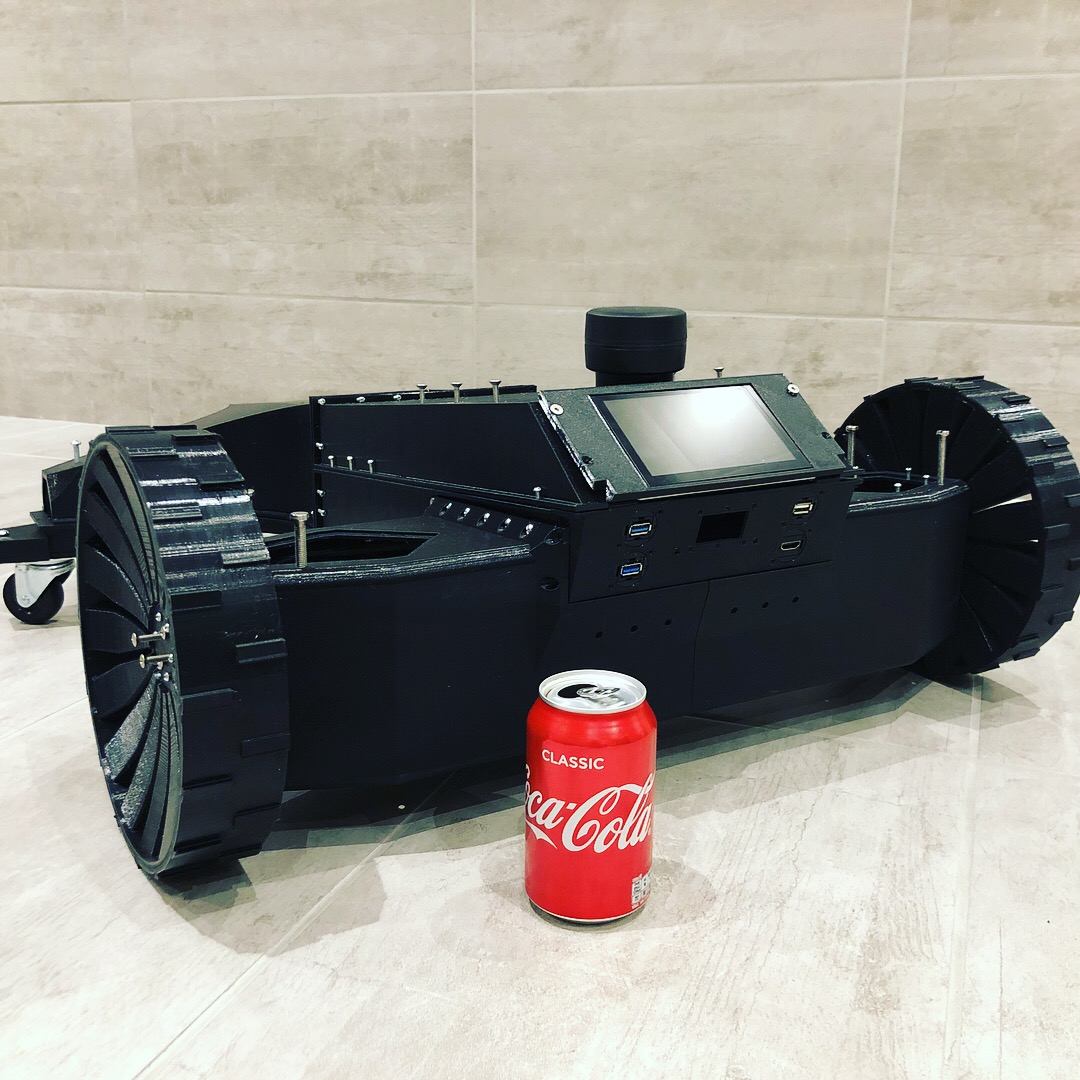
Today I received my touchscreen for the robot. Did a quick and dirty prototype of the mouting bracket and printed it.
Here is how how it looks mounted on the robot. (Did not have 90-degree HDMI connectors at home, thats why is lifted when powered on).
Saturday’s fun!
Testing the AS5048A encoder with 16384 positions per revolution and with the temporary drive system. Motor brackets are 3D printed and not perfect, therefore some annoying noises! Running VESC FOC Mode @10% Duty.
With the rotary position sensor I get a very smooth start and better torque. Before the start from standstill could be a little choppy and the sensor took care of this issue.
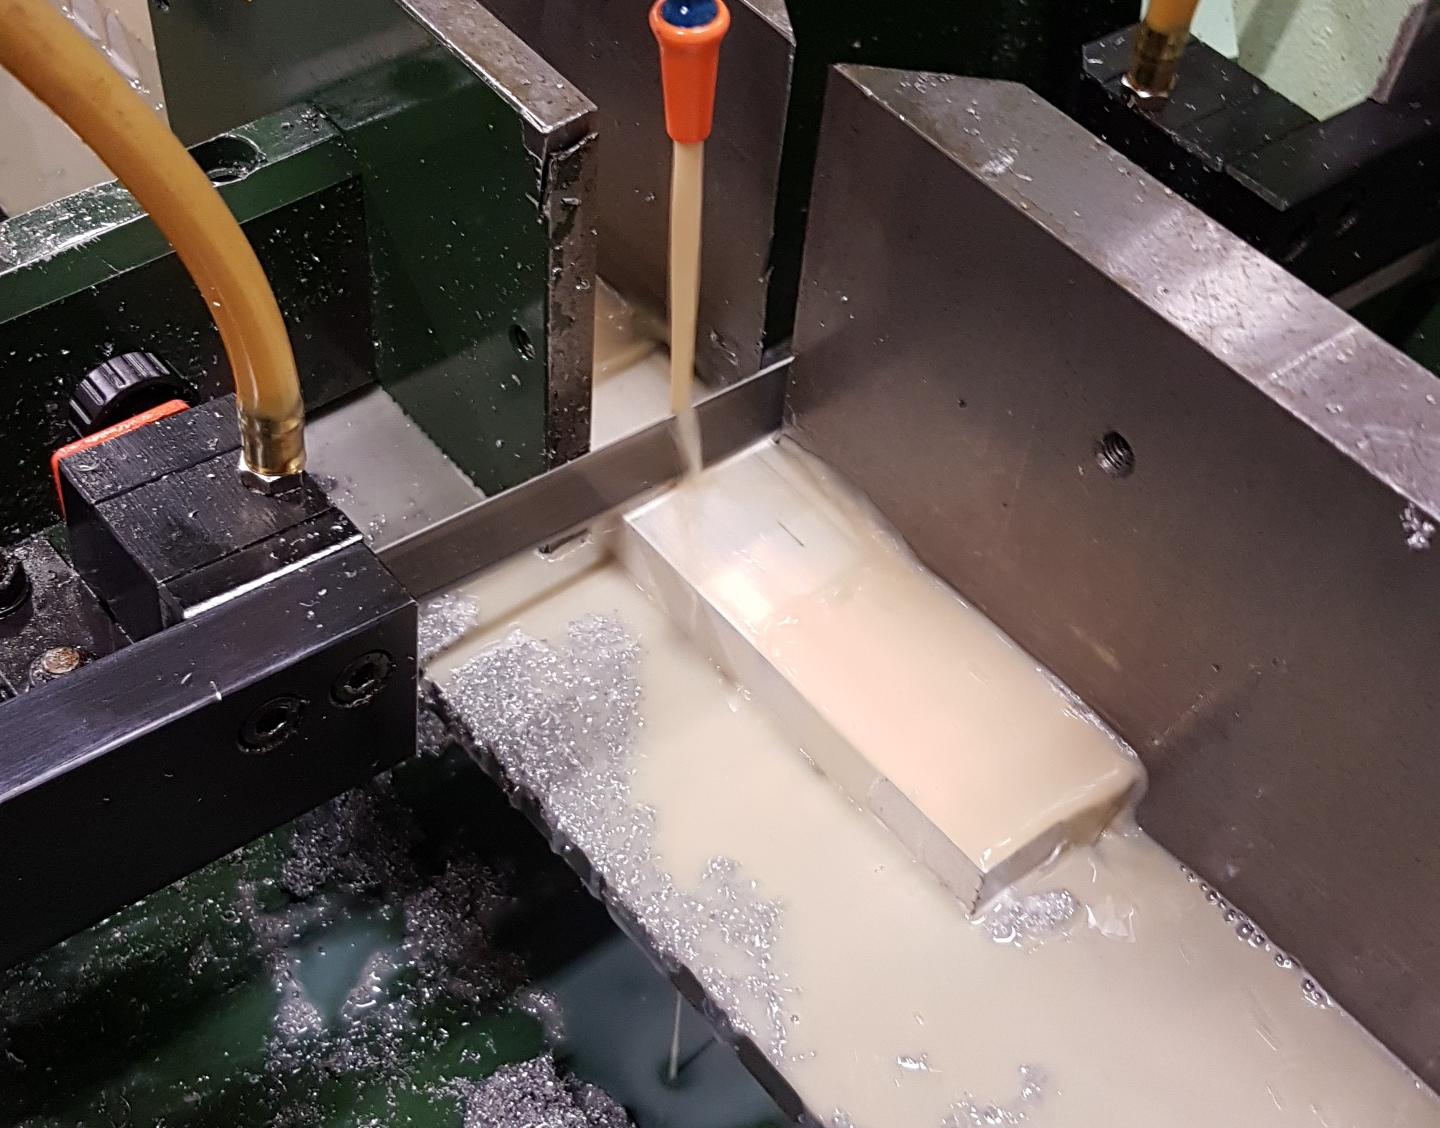
Next week, CNC milling of motor brackets begins.
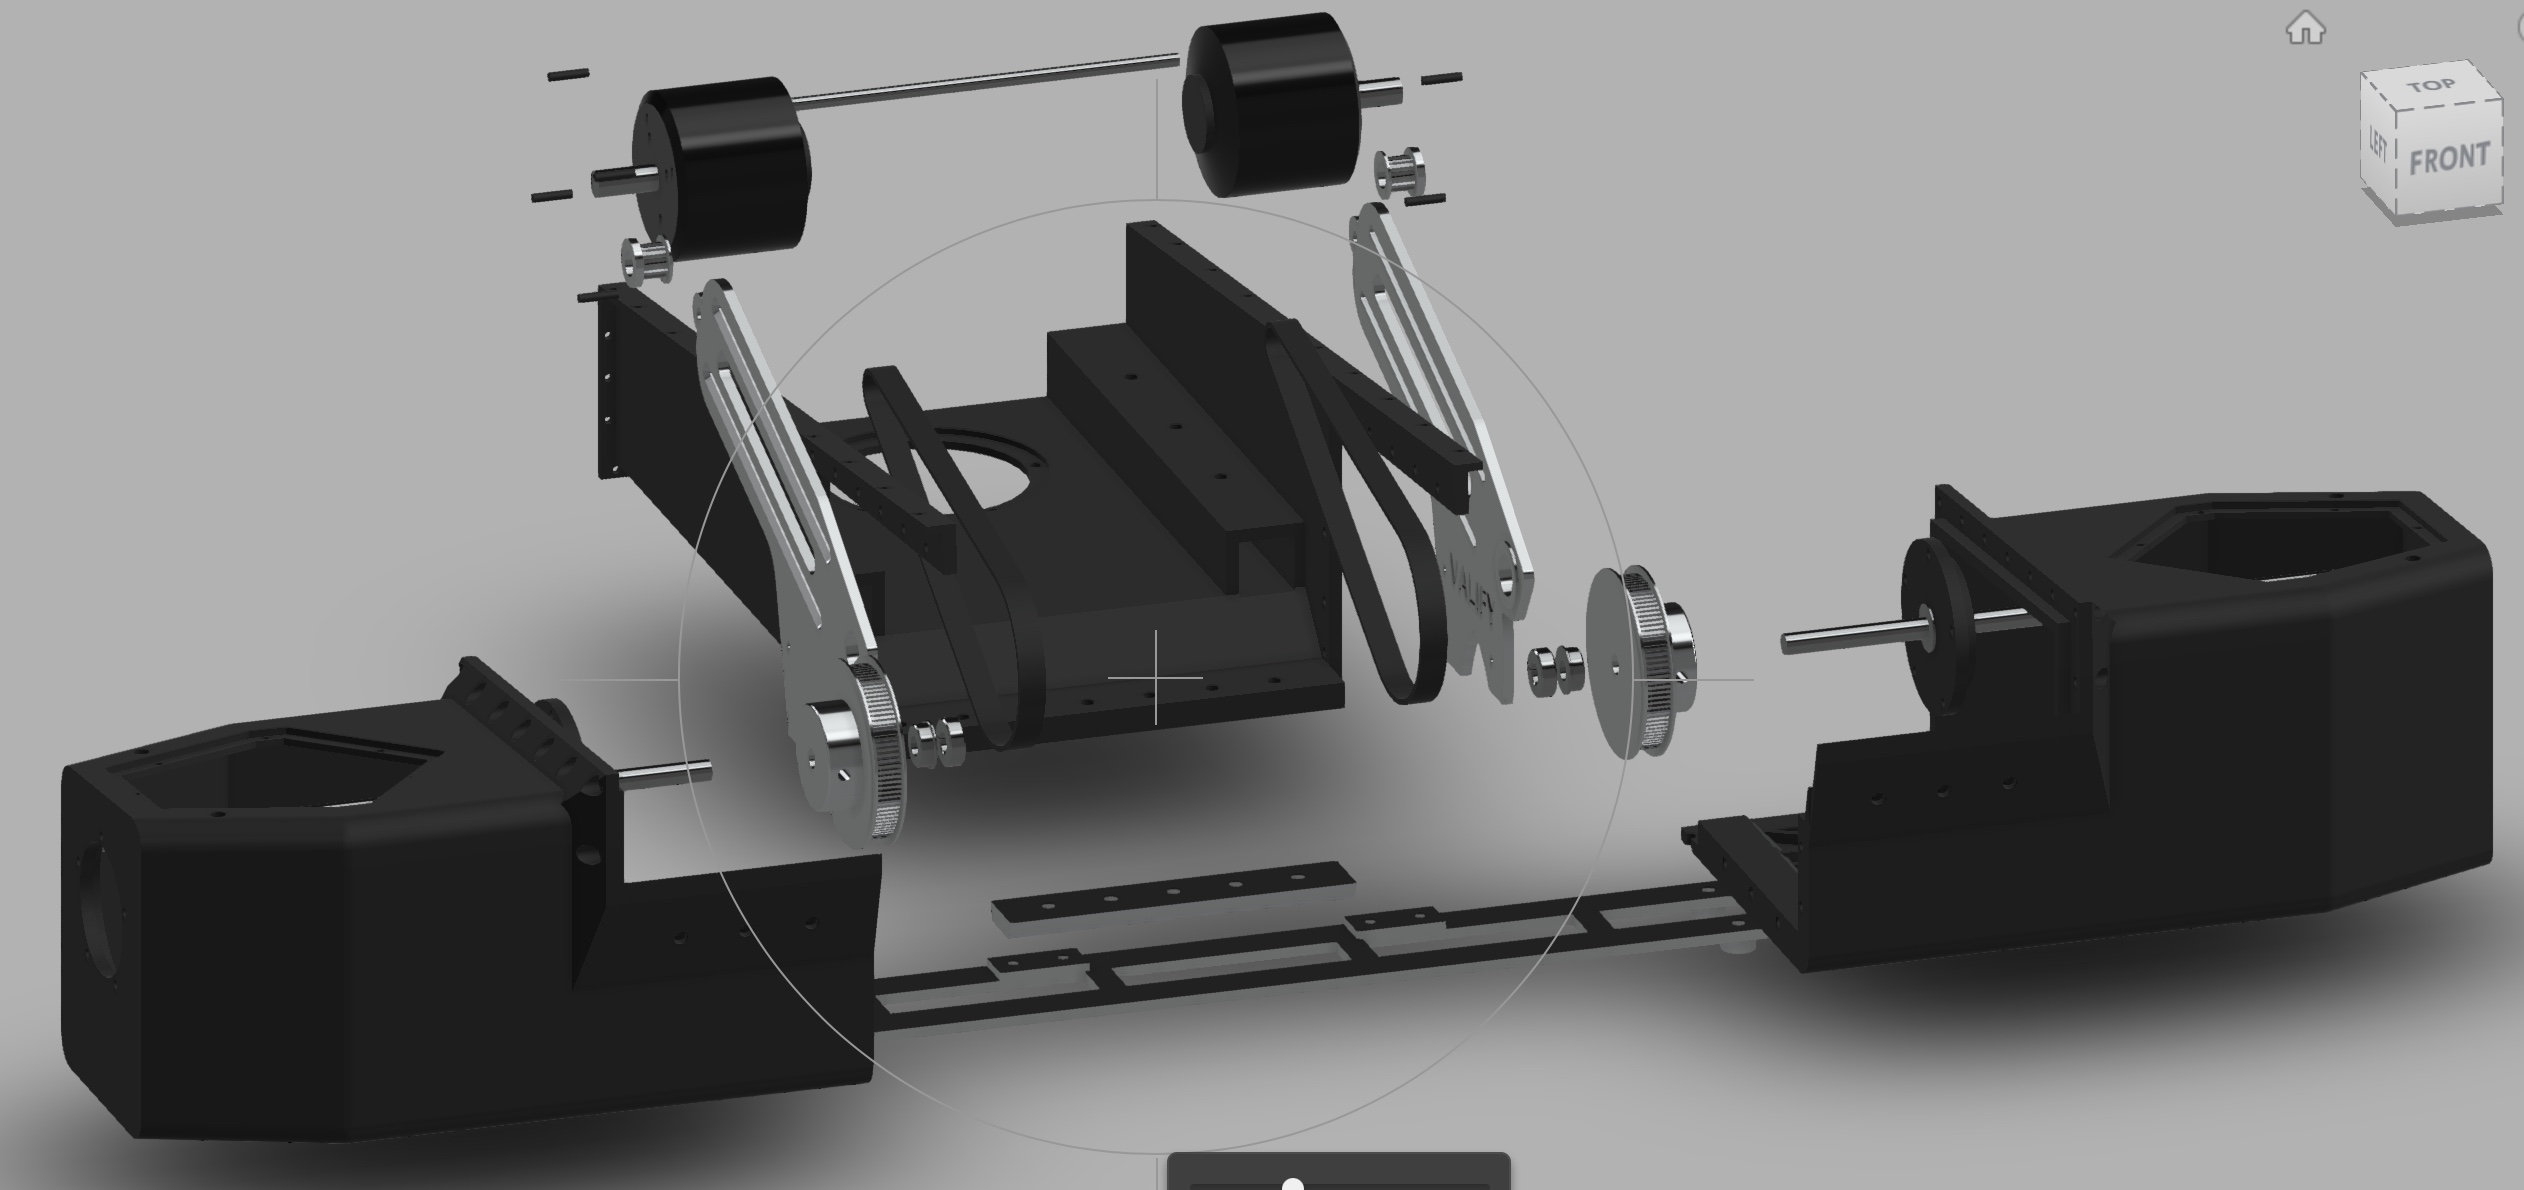
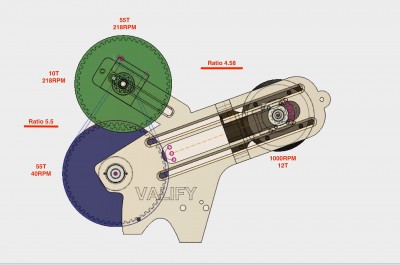
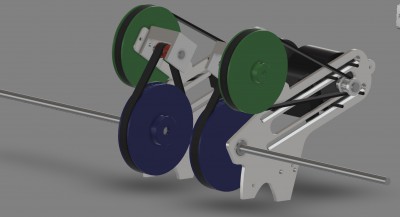
Here are the final brackets and the plan for gearing
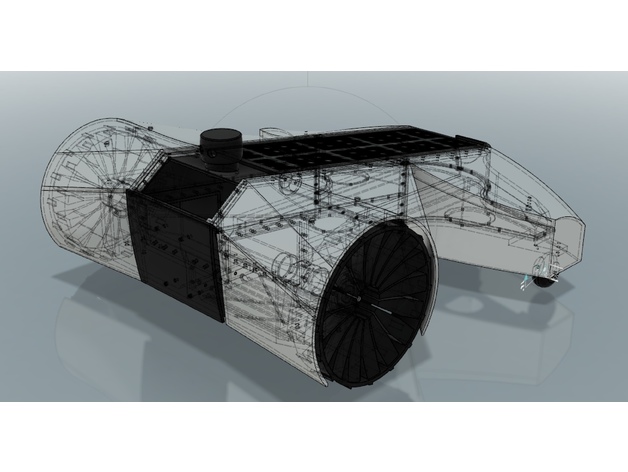
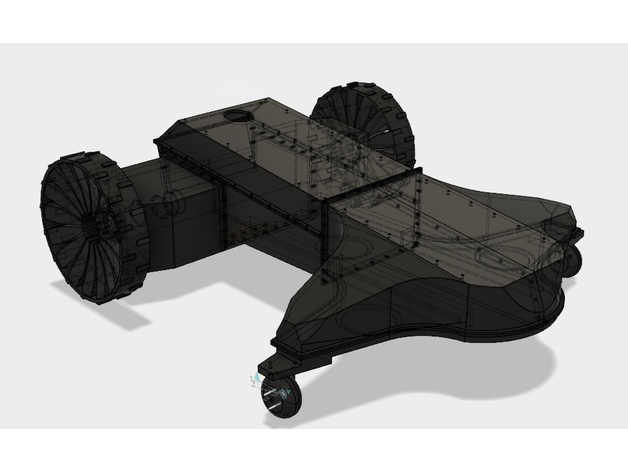
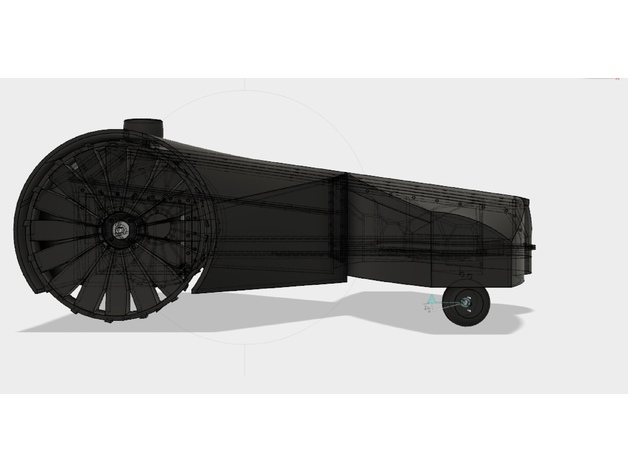
a quick render on the drive system
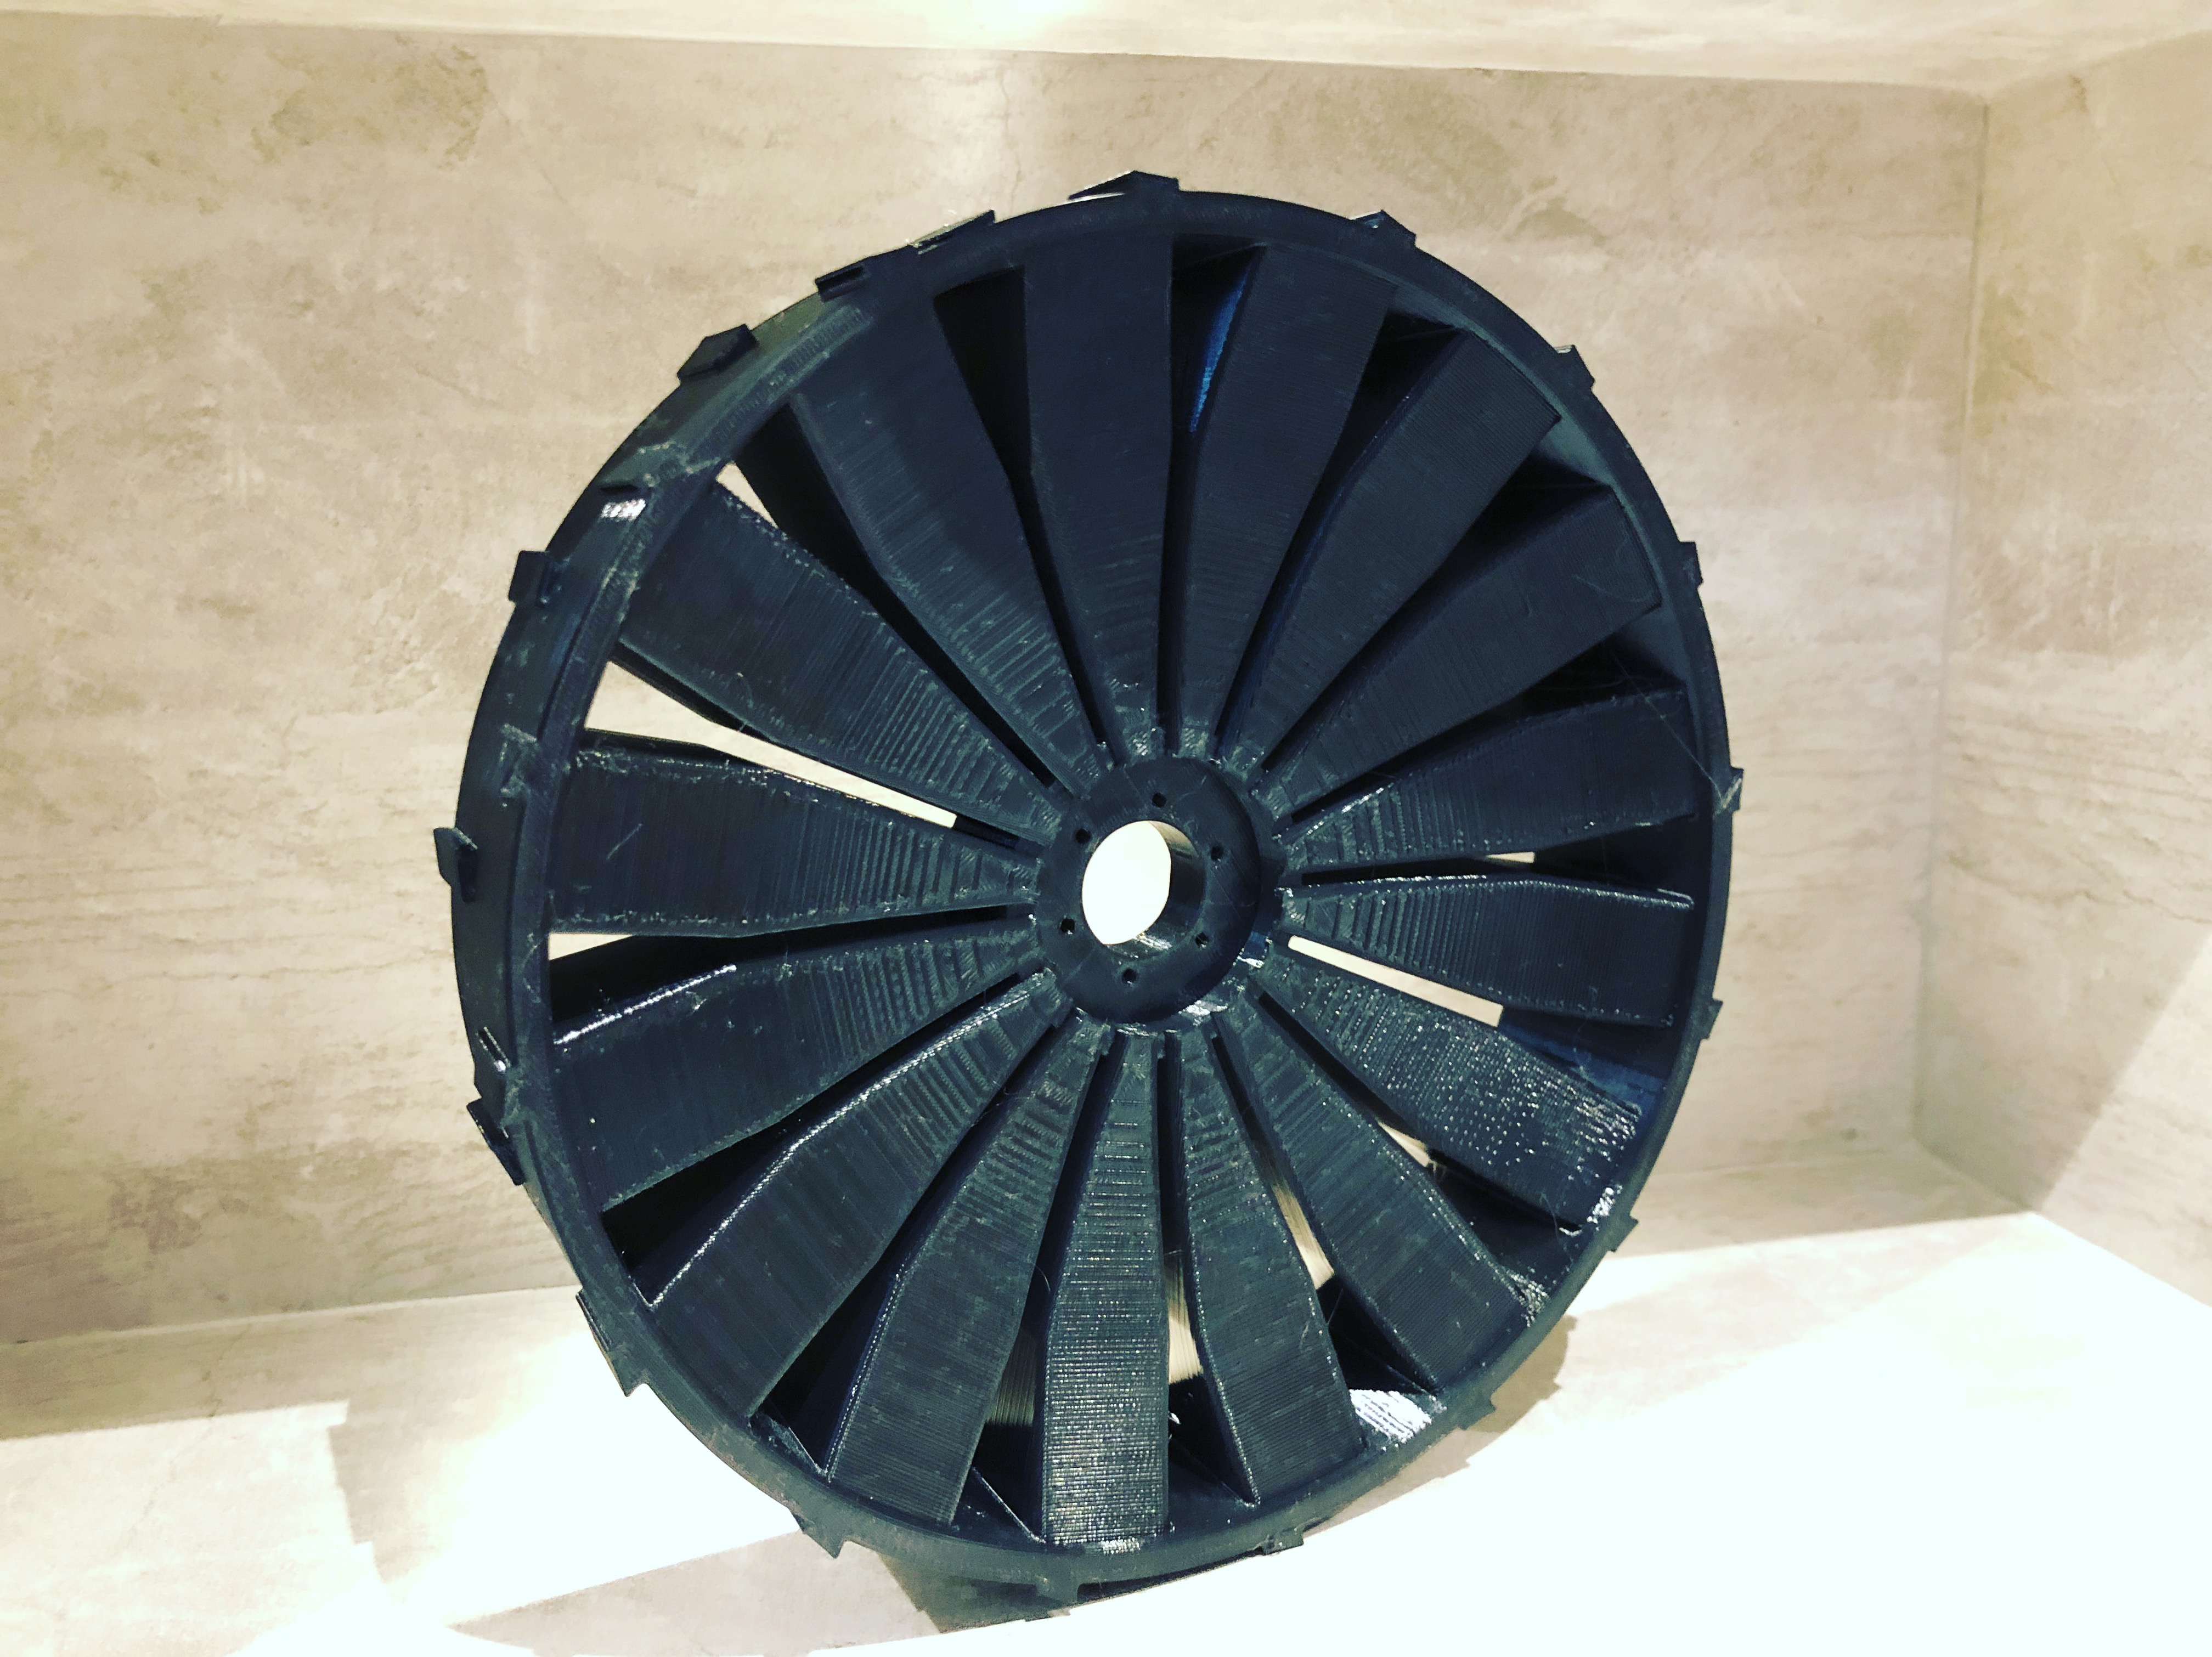
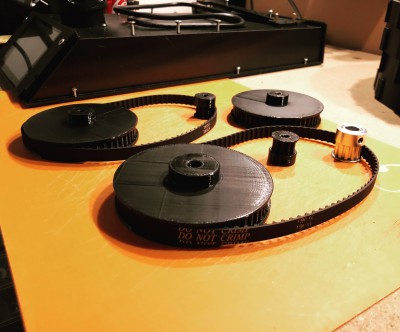
In the meantime I keep the printer busy with printing pulleys.
Sizes printed today is XL 10T, 50T and a 55T. Took a few test prints before I could find the sweet spot for the settings for a maximum belt grip.
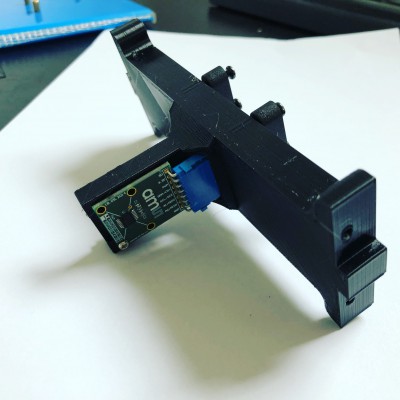
New AS5048A encoder mount printed. HE-14 header fits great and I installed pull relief for the cables on the back.
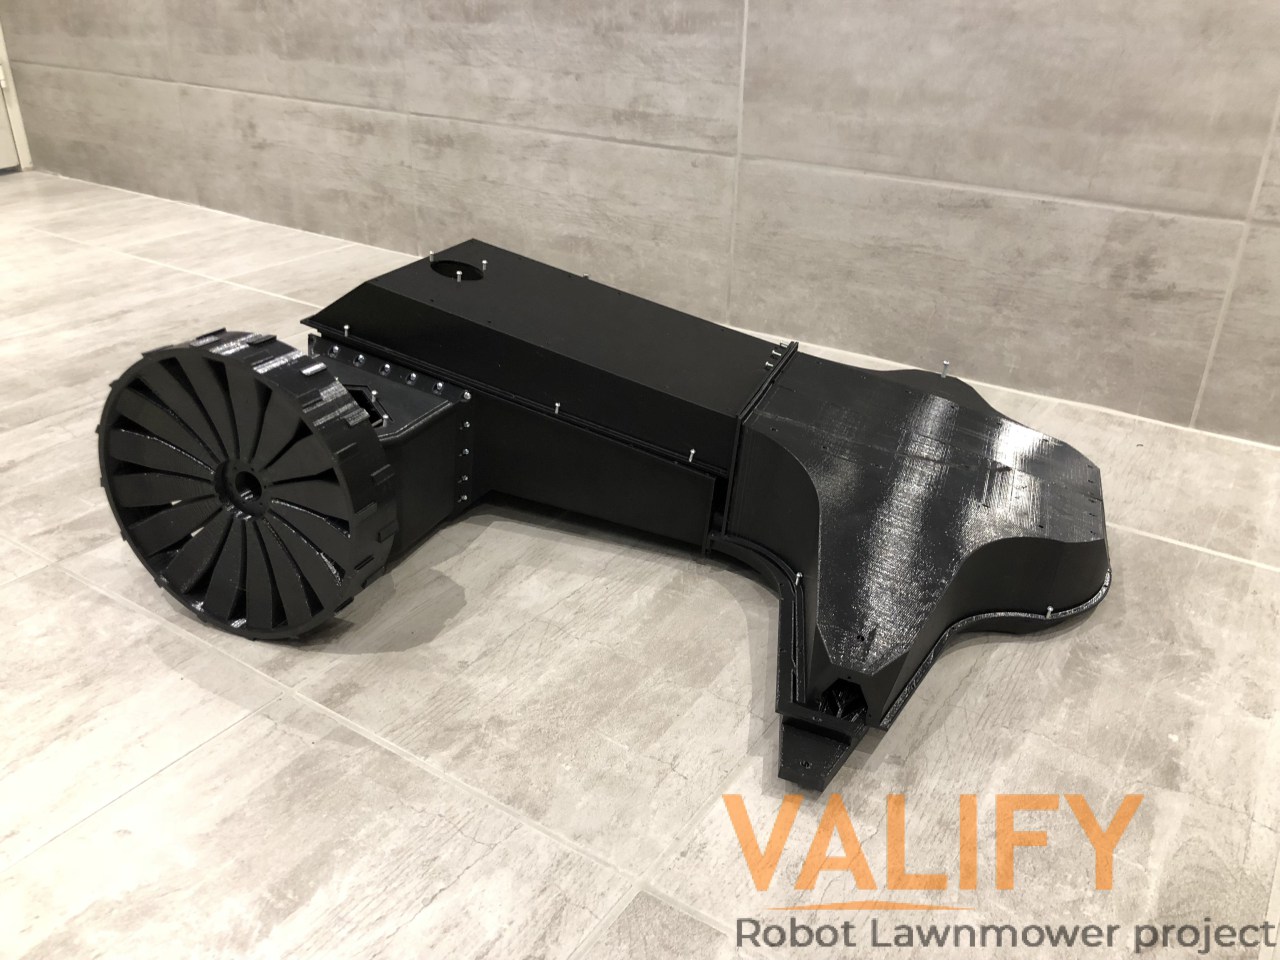
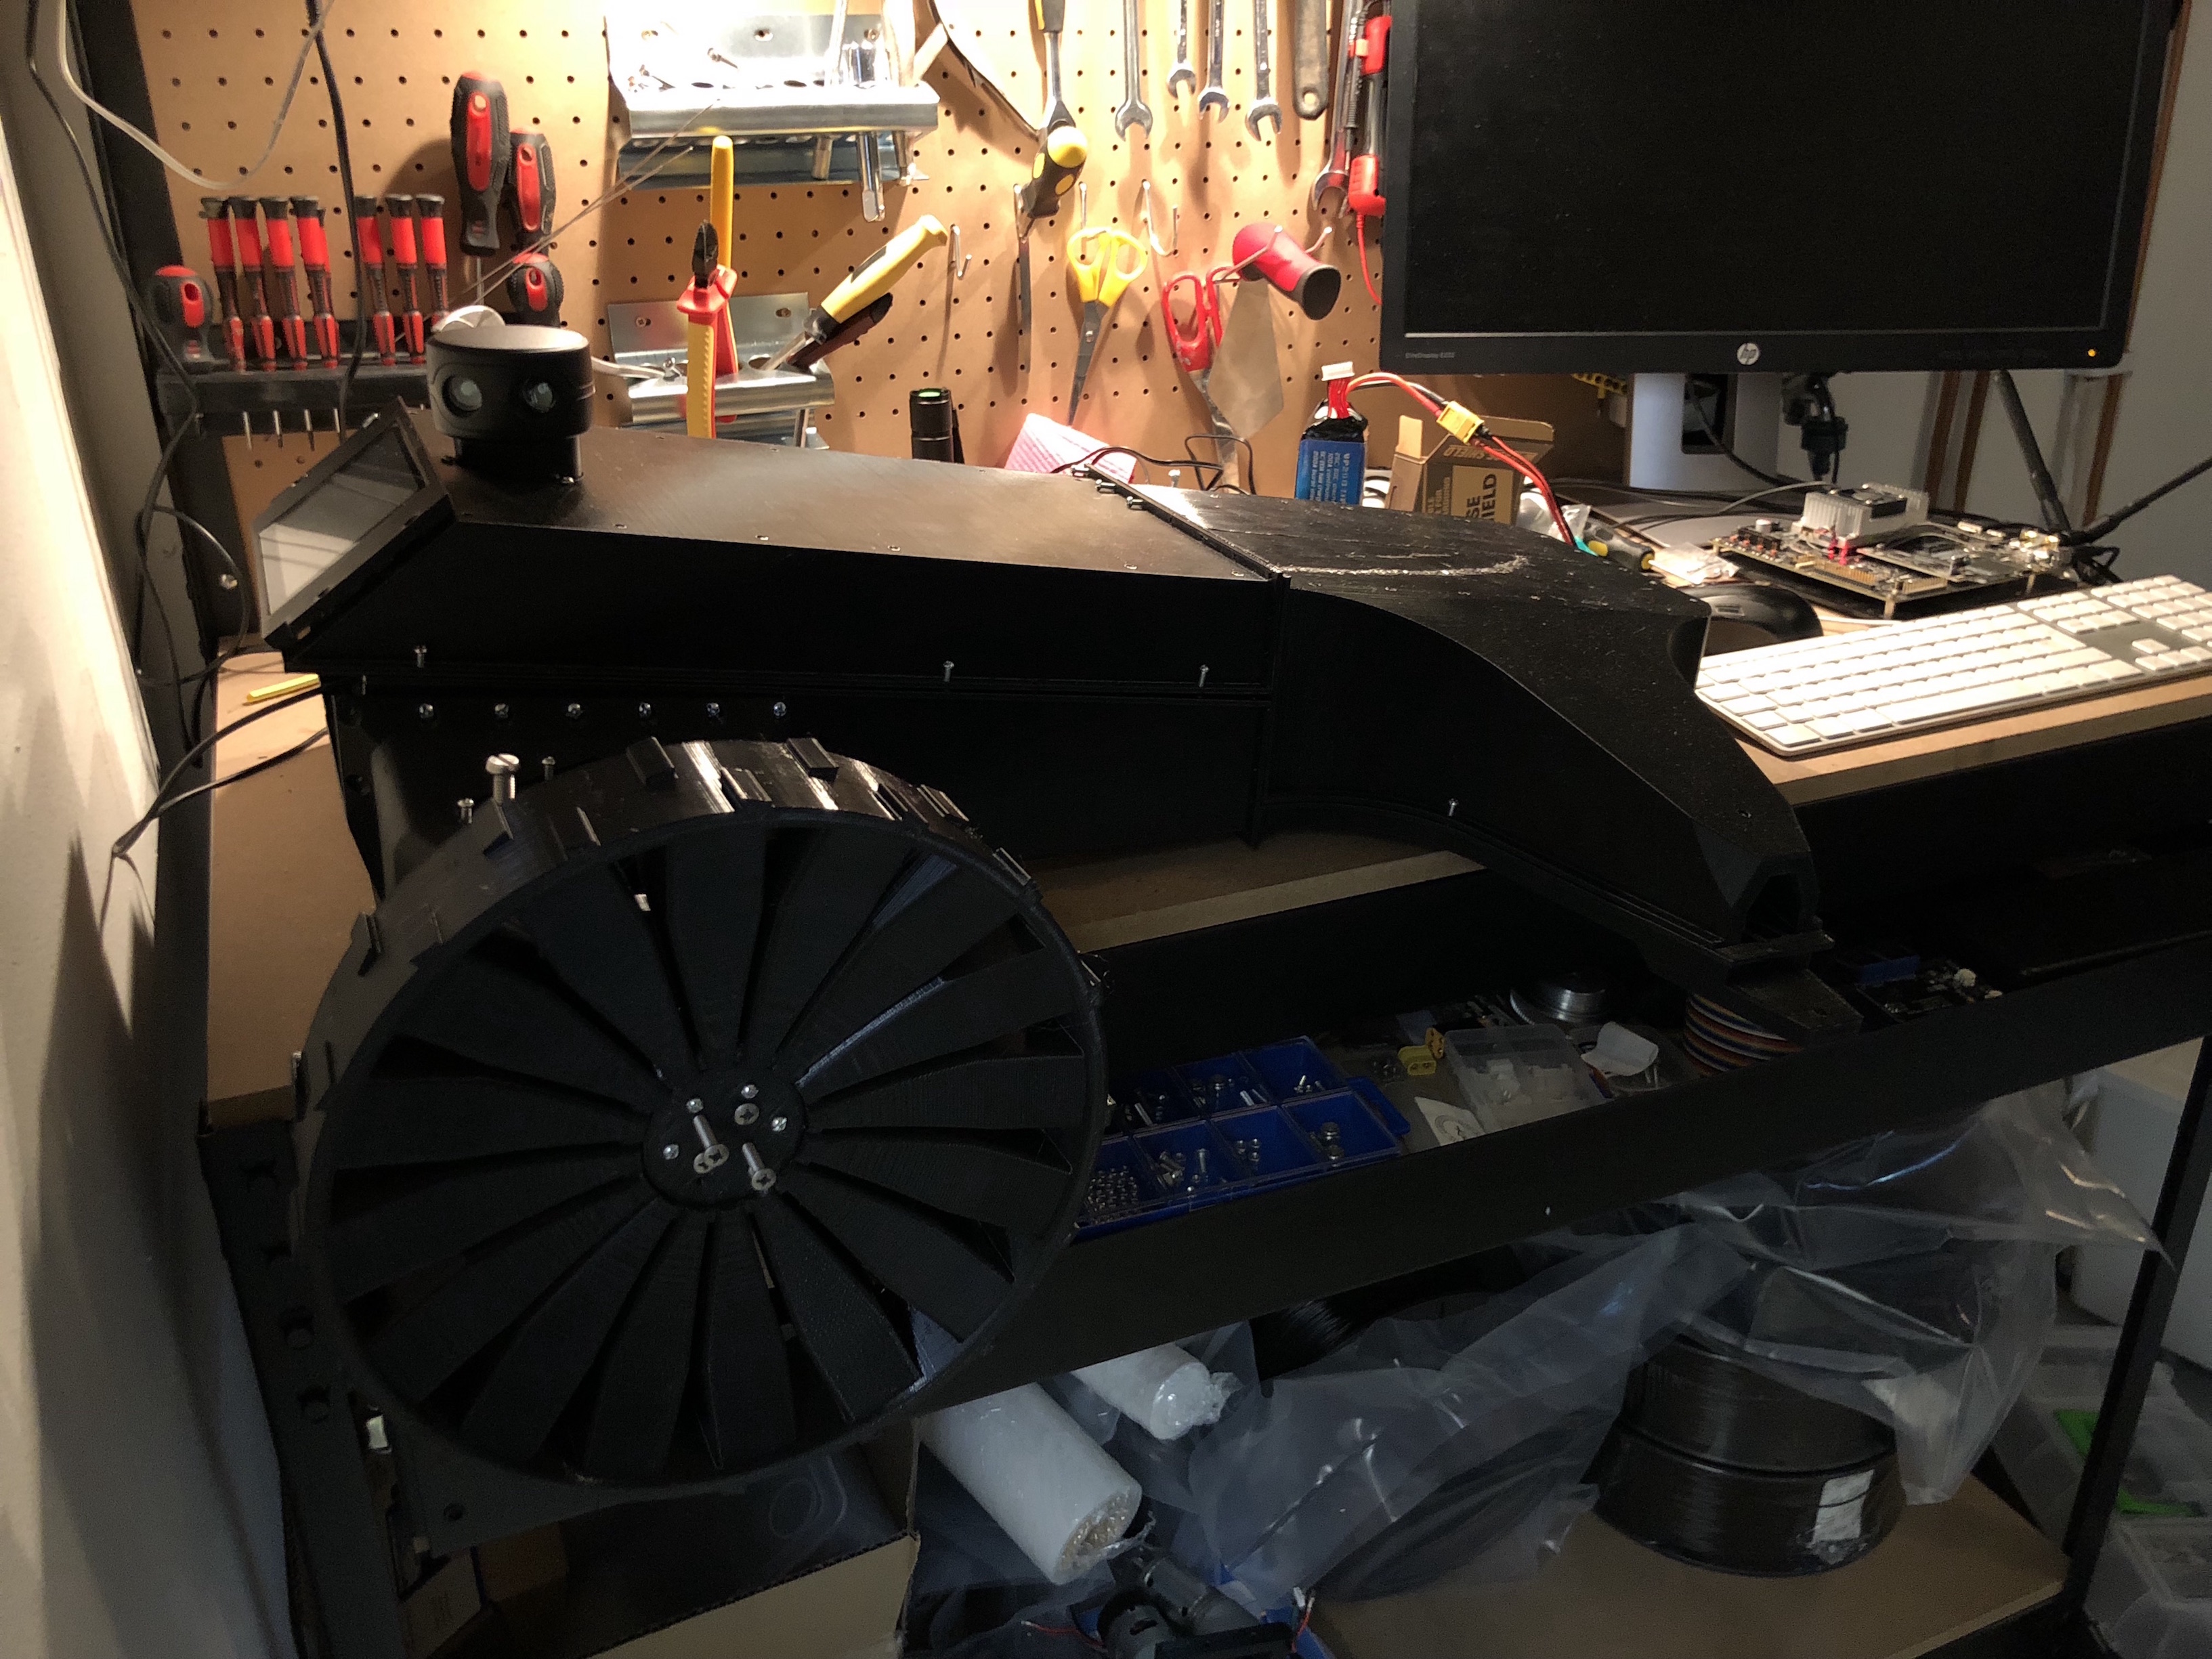
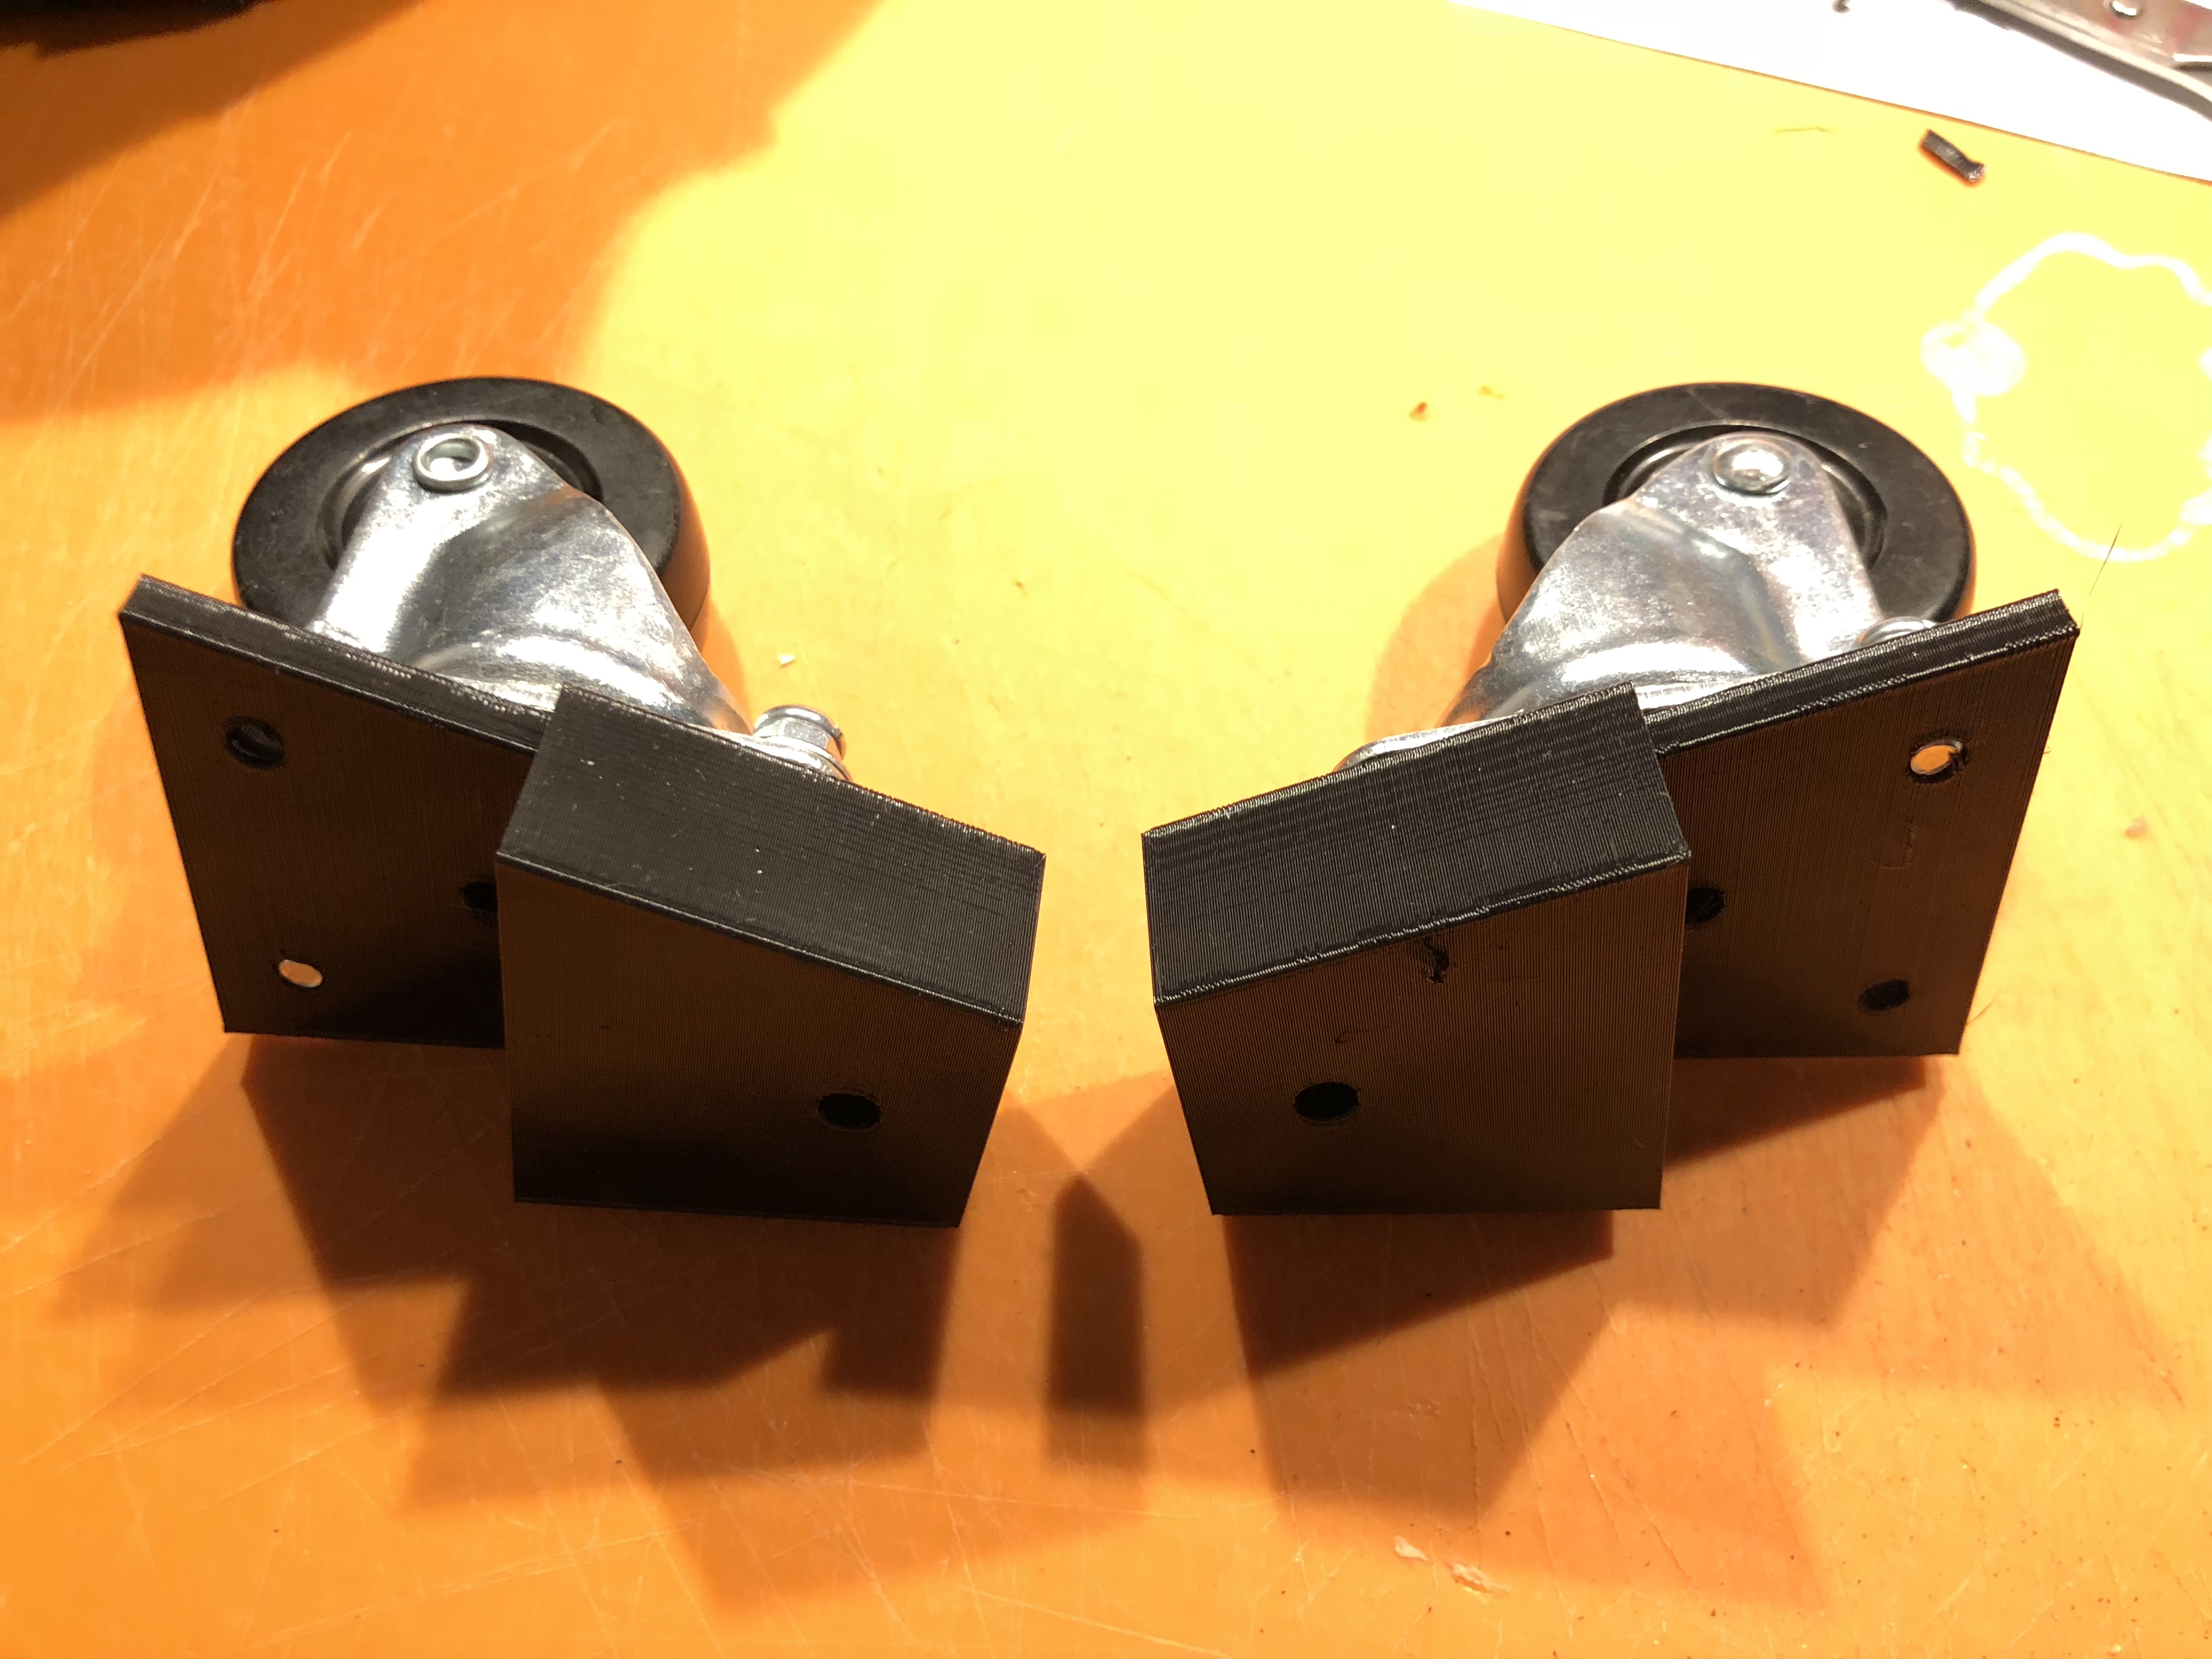
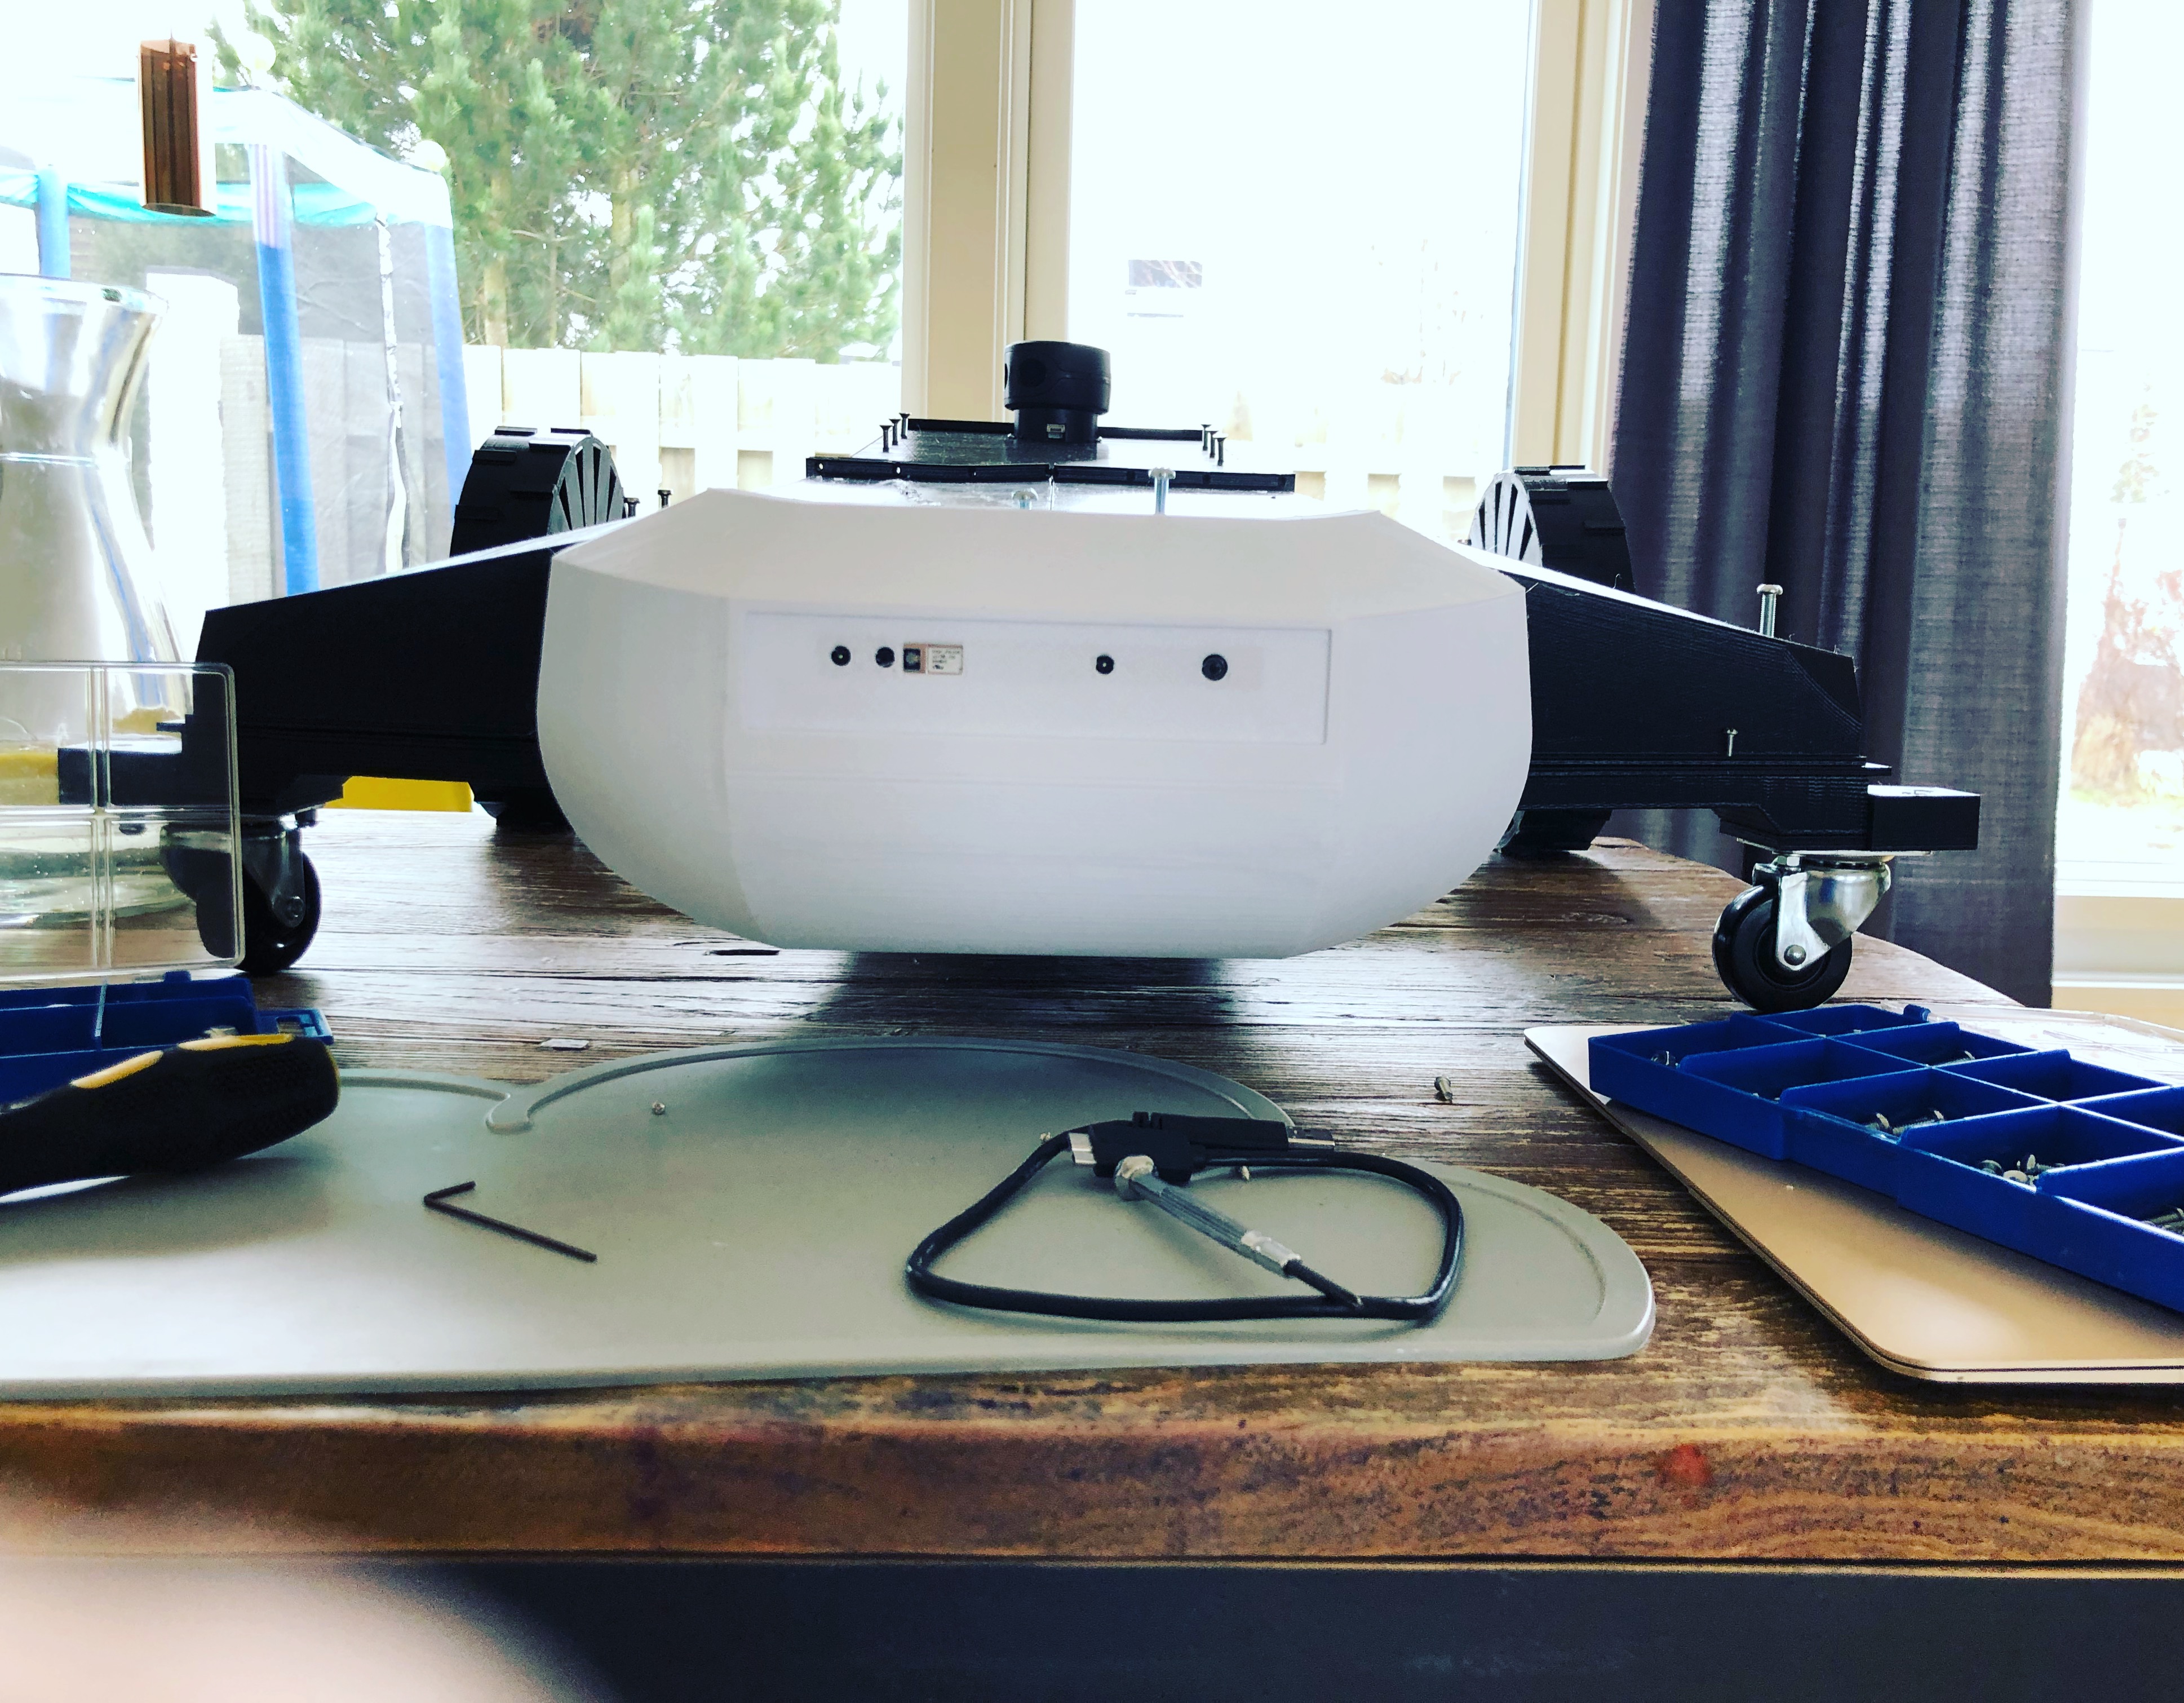
Saturday’s fun. Printed mounting brackets for the front wheels (Please note that this is only test wheels before I make an effort the design some new ones with bearings etc.
The brackets came out great. Following the contours of the body and blended in quite good. This parts was also printed with PETG.
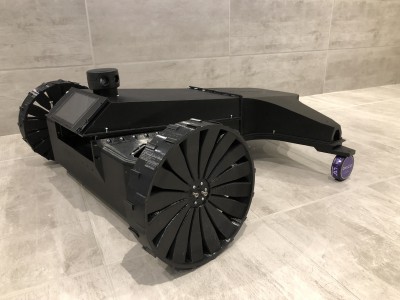
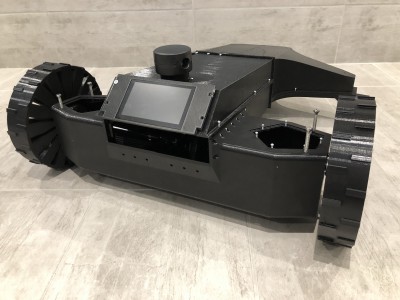
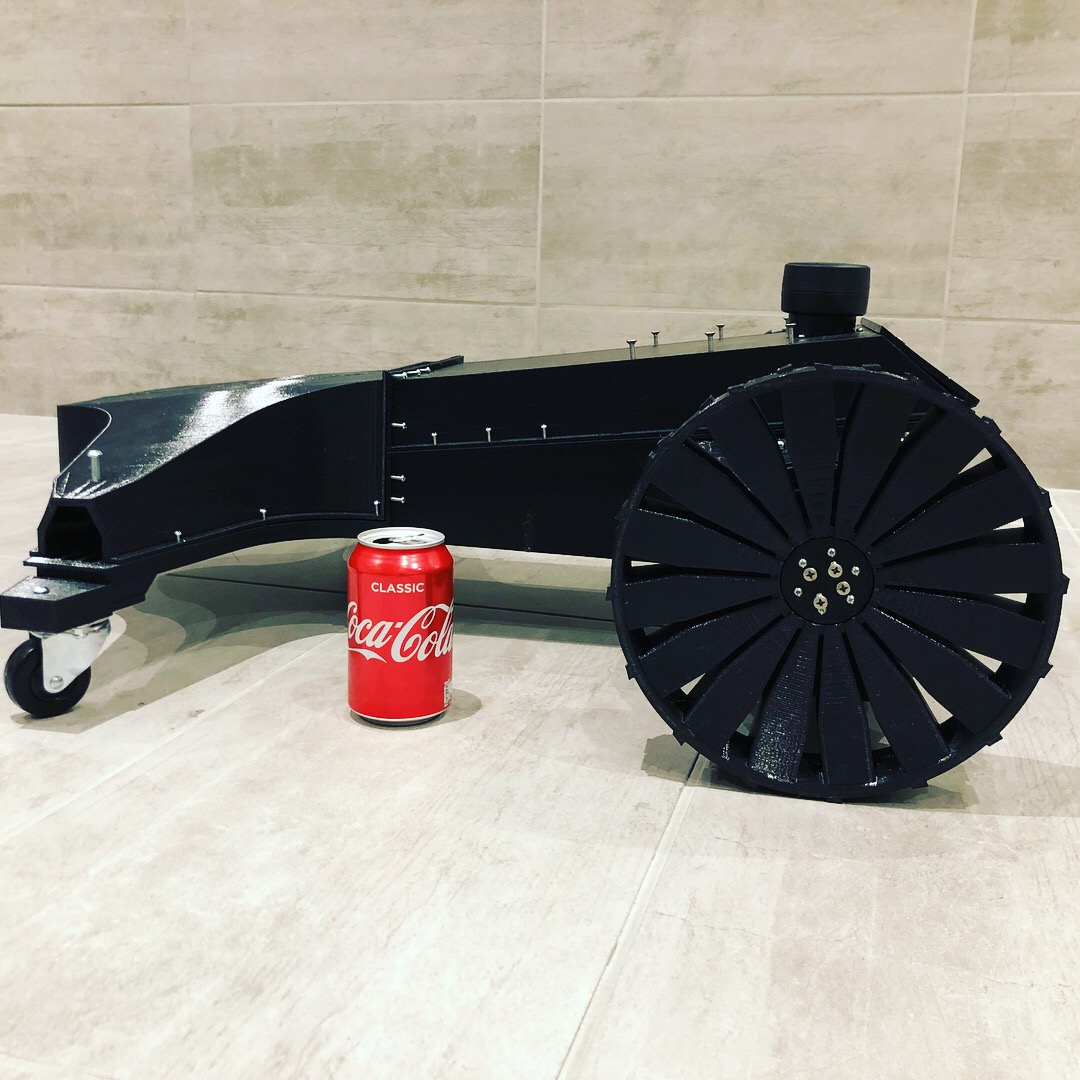
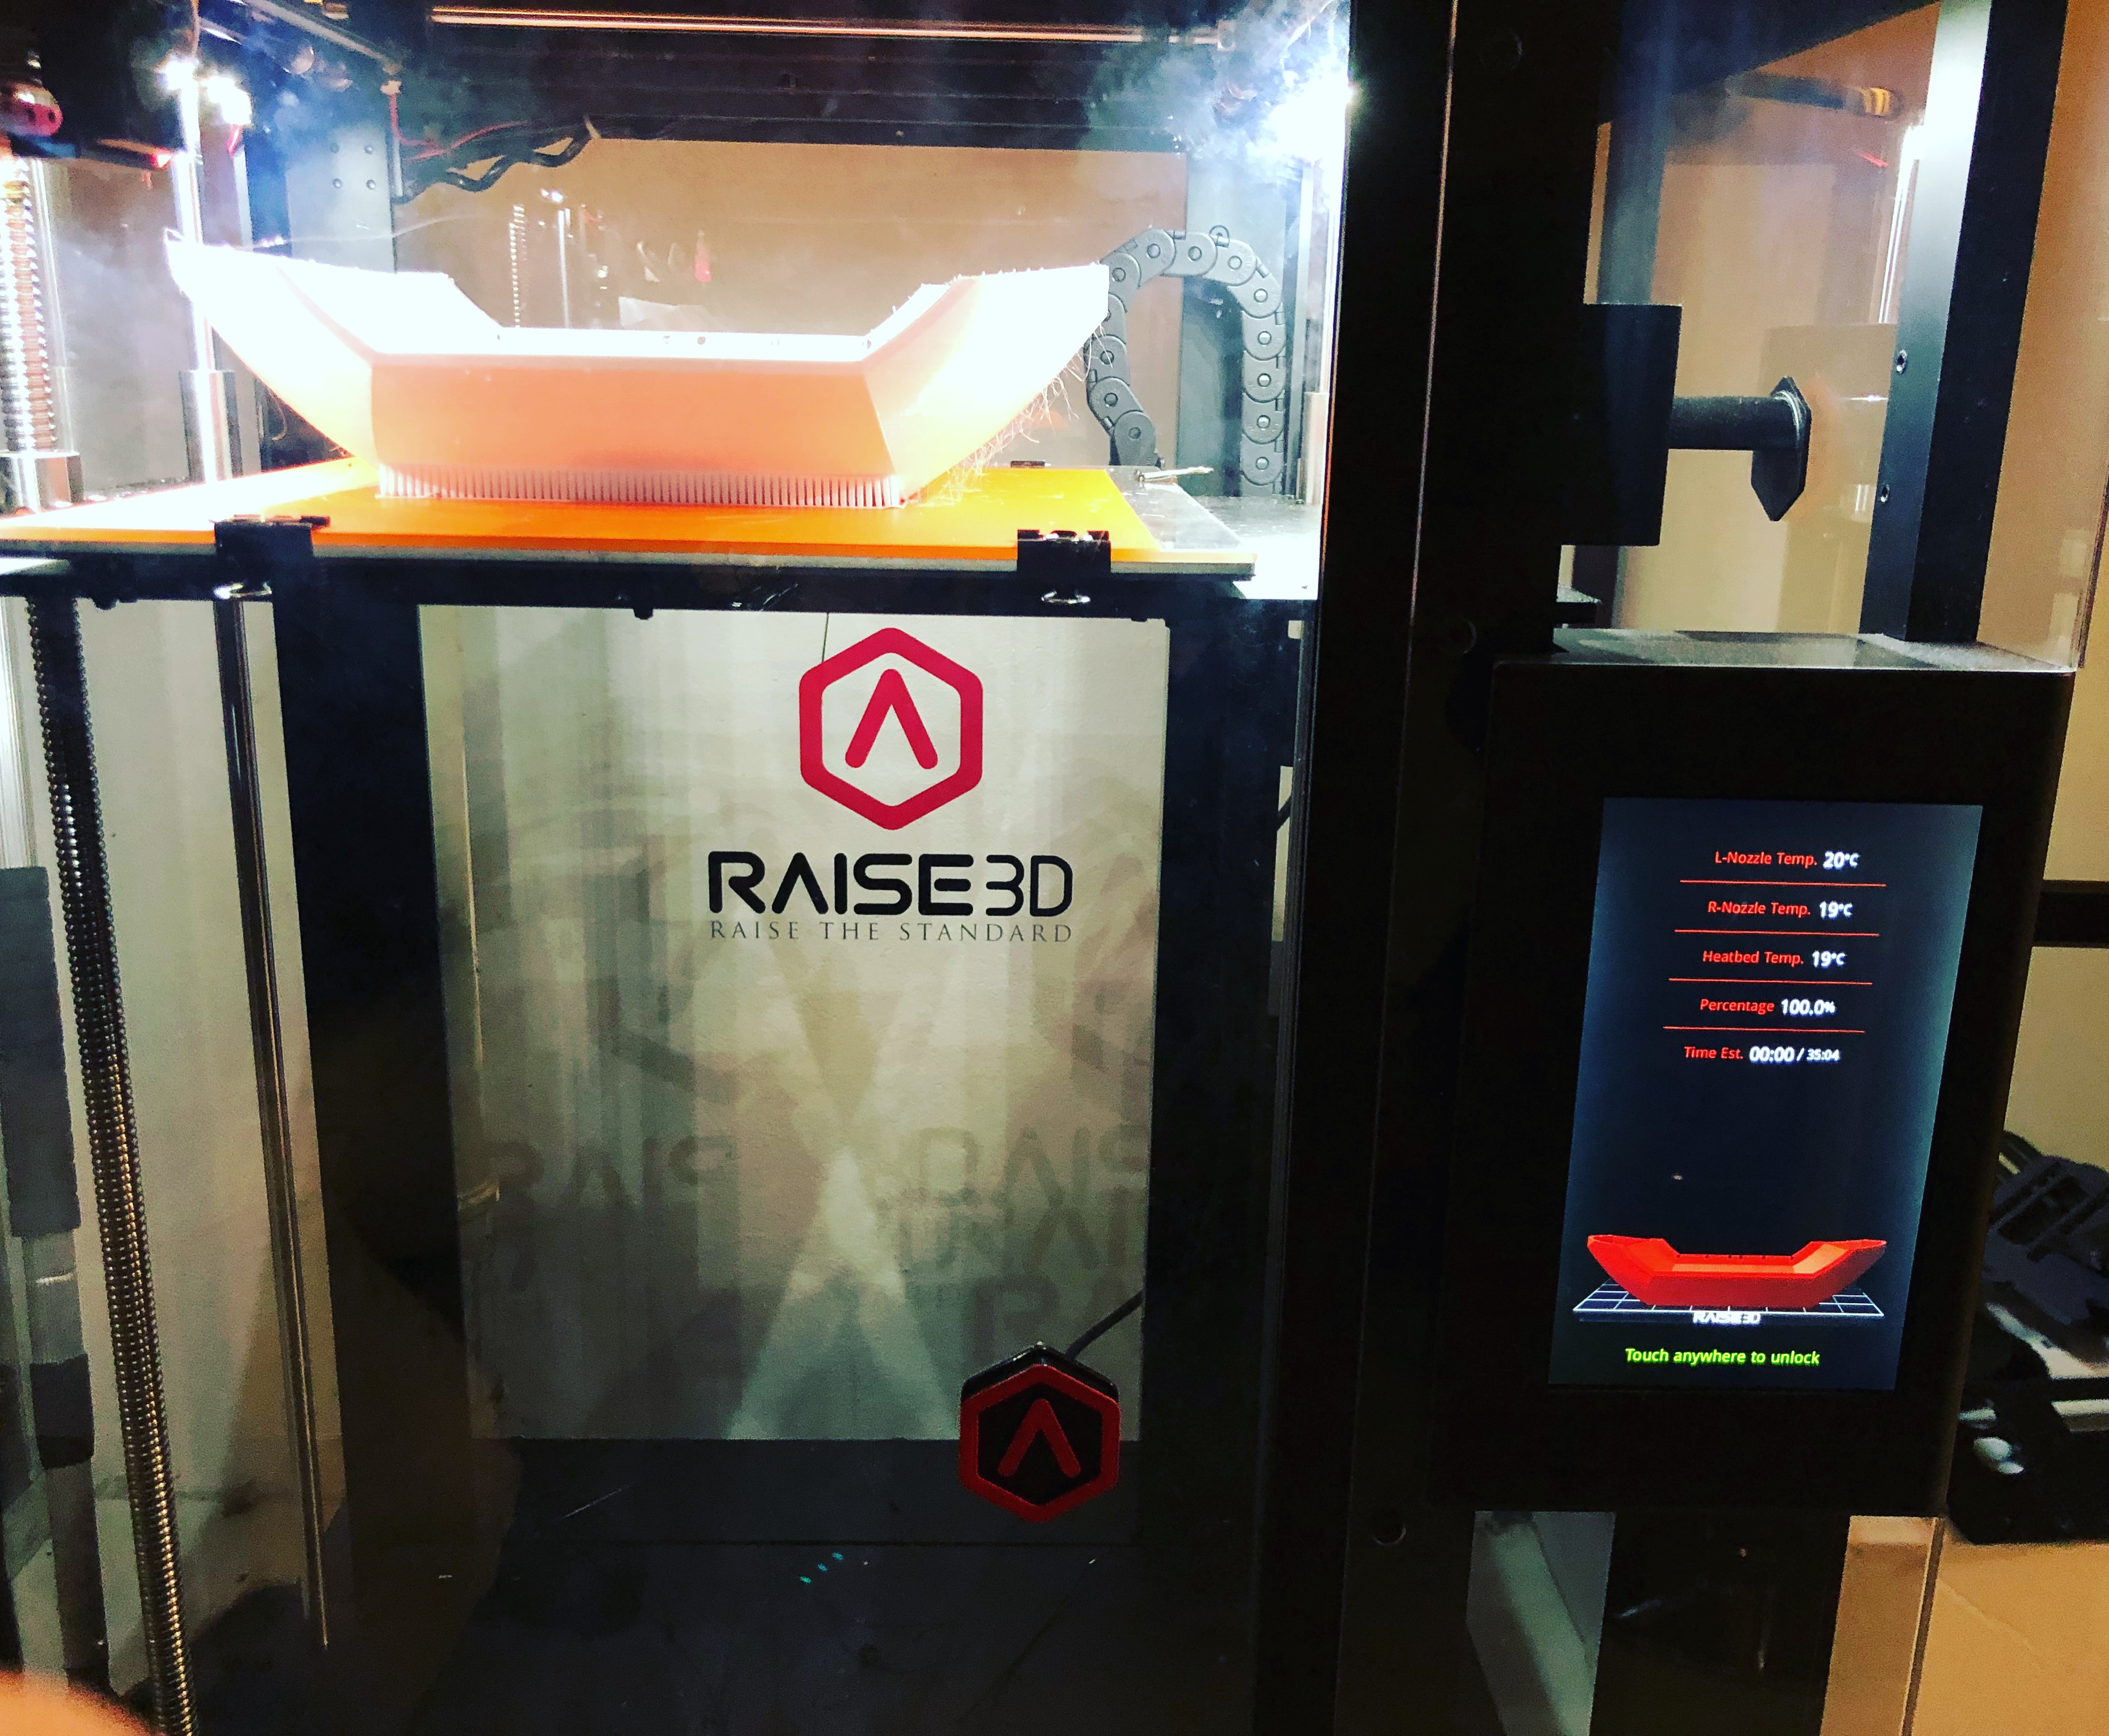
Testing the 3D printed front nose. Looks quite good. Minor adjustments needs to be done.
Printed with PrimaSelect PETG @240C, 85C bed, 3shells and 15% infill (Very solid outcome).
Countersink need to be adjusted to cut the body.
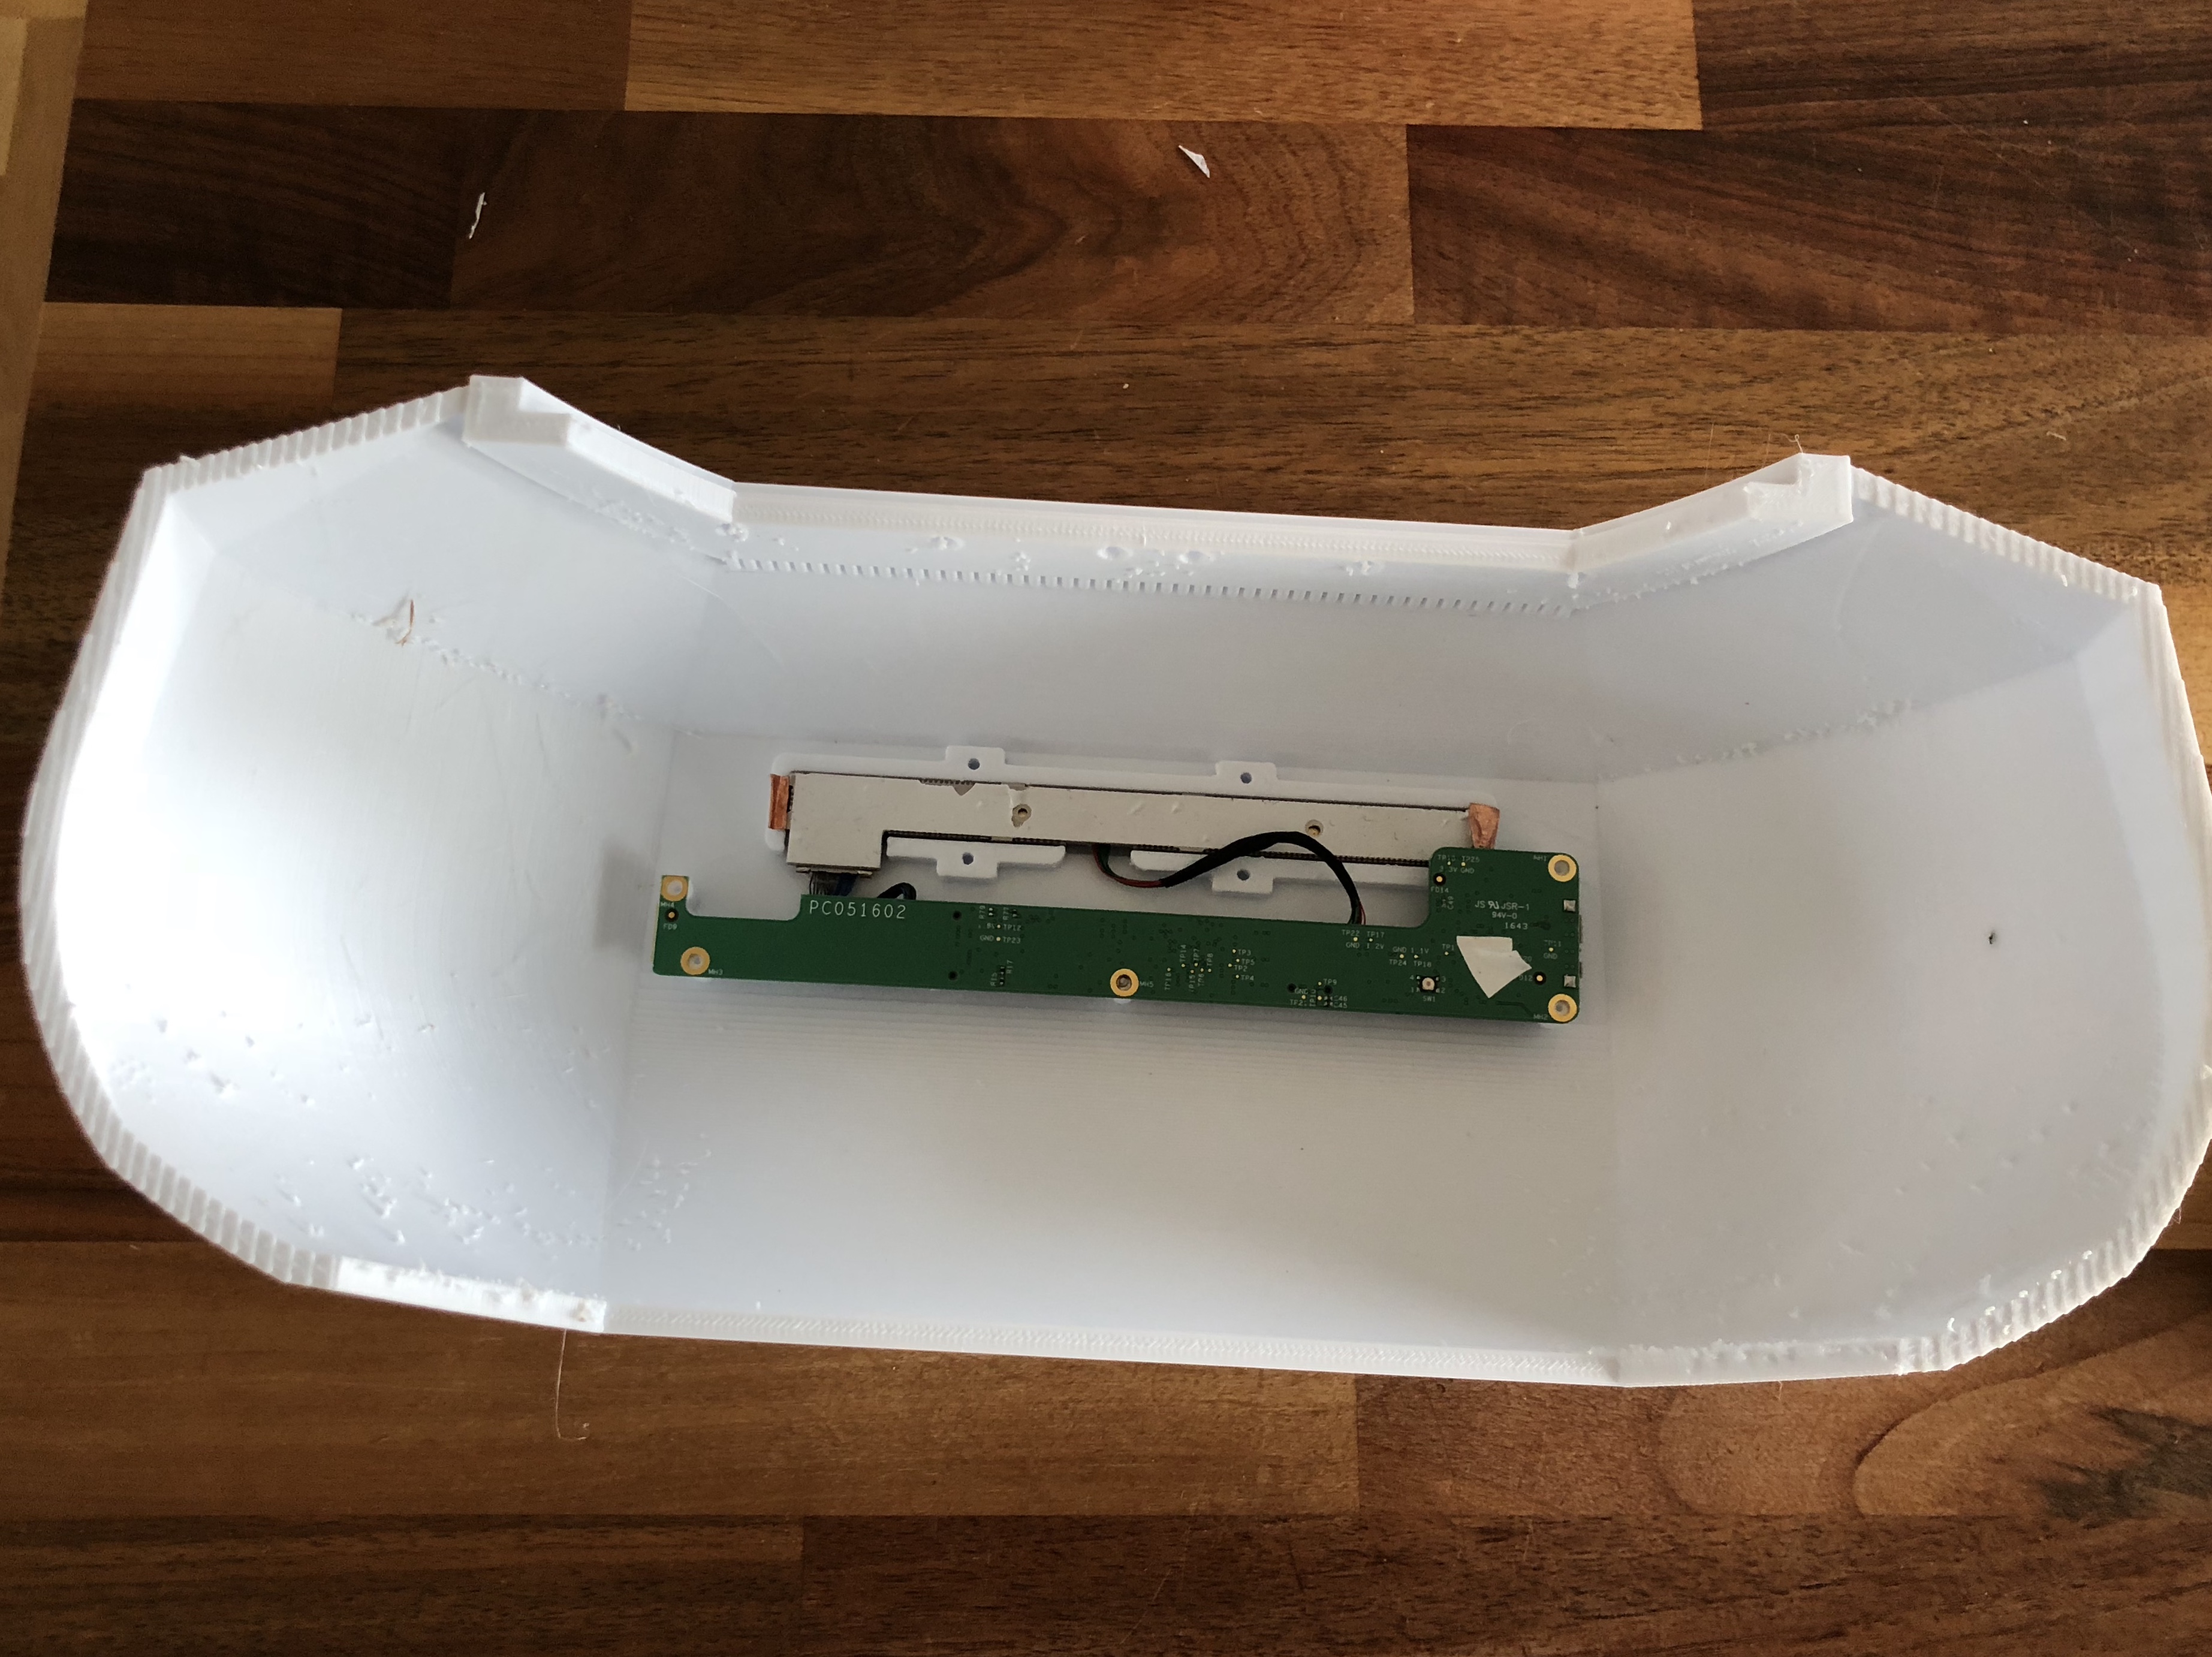
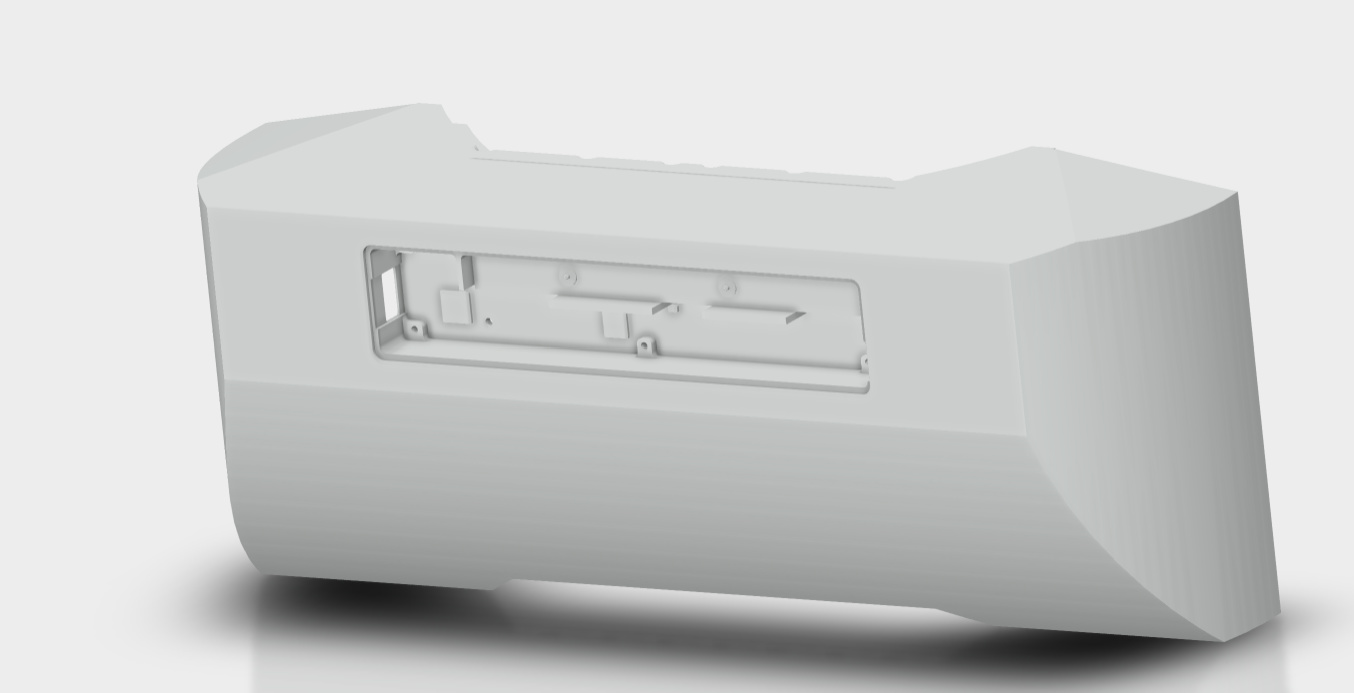
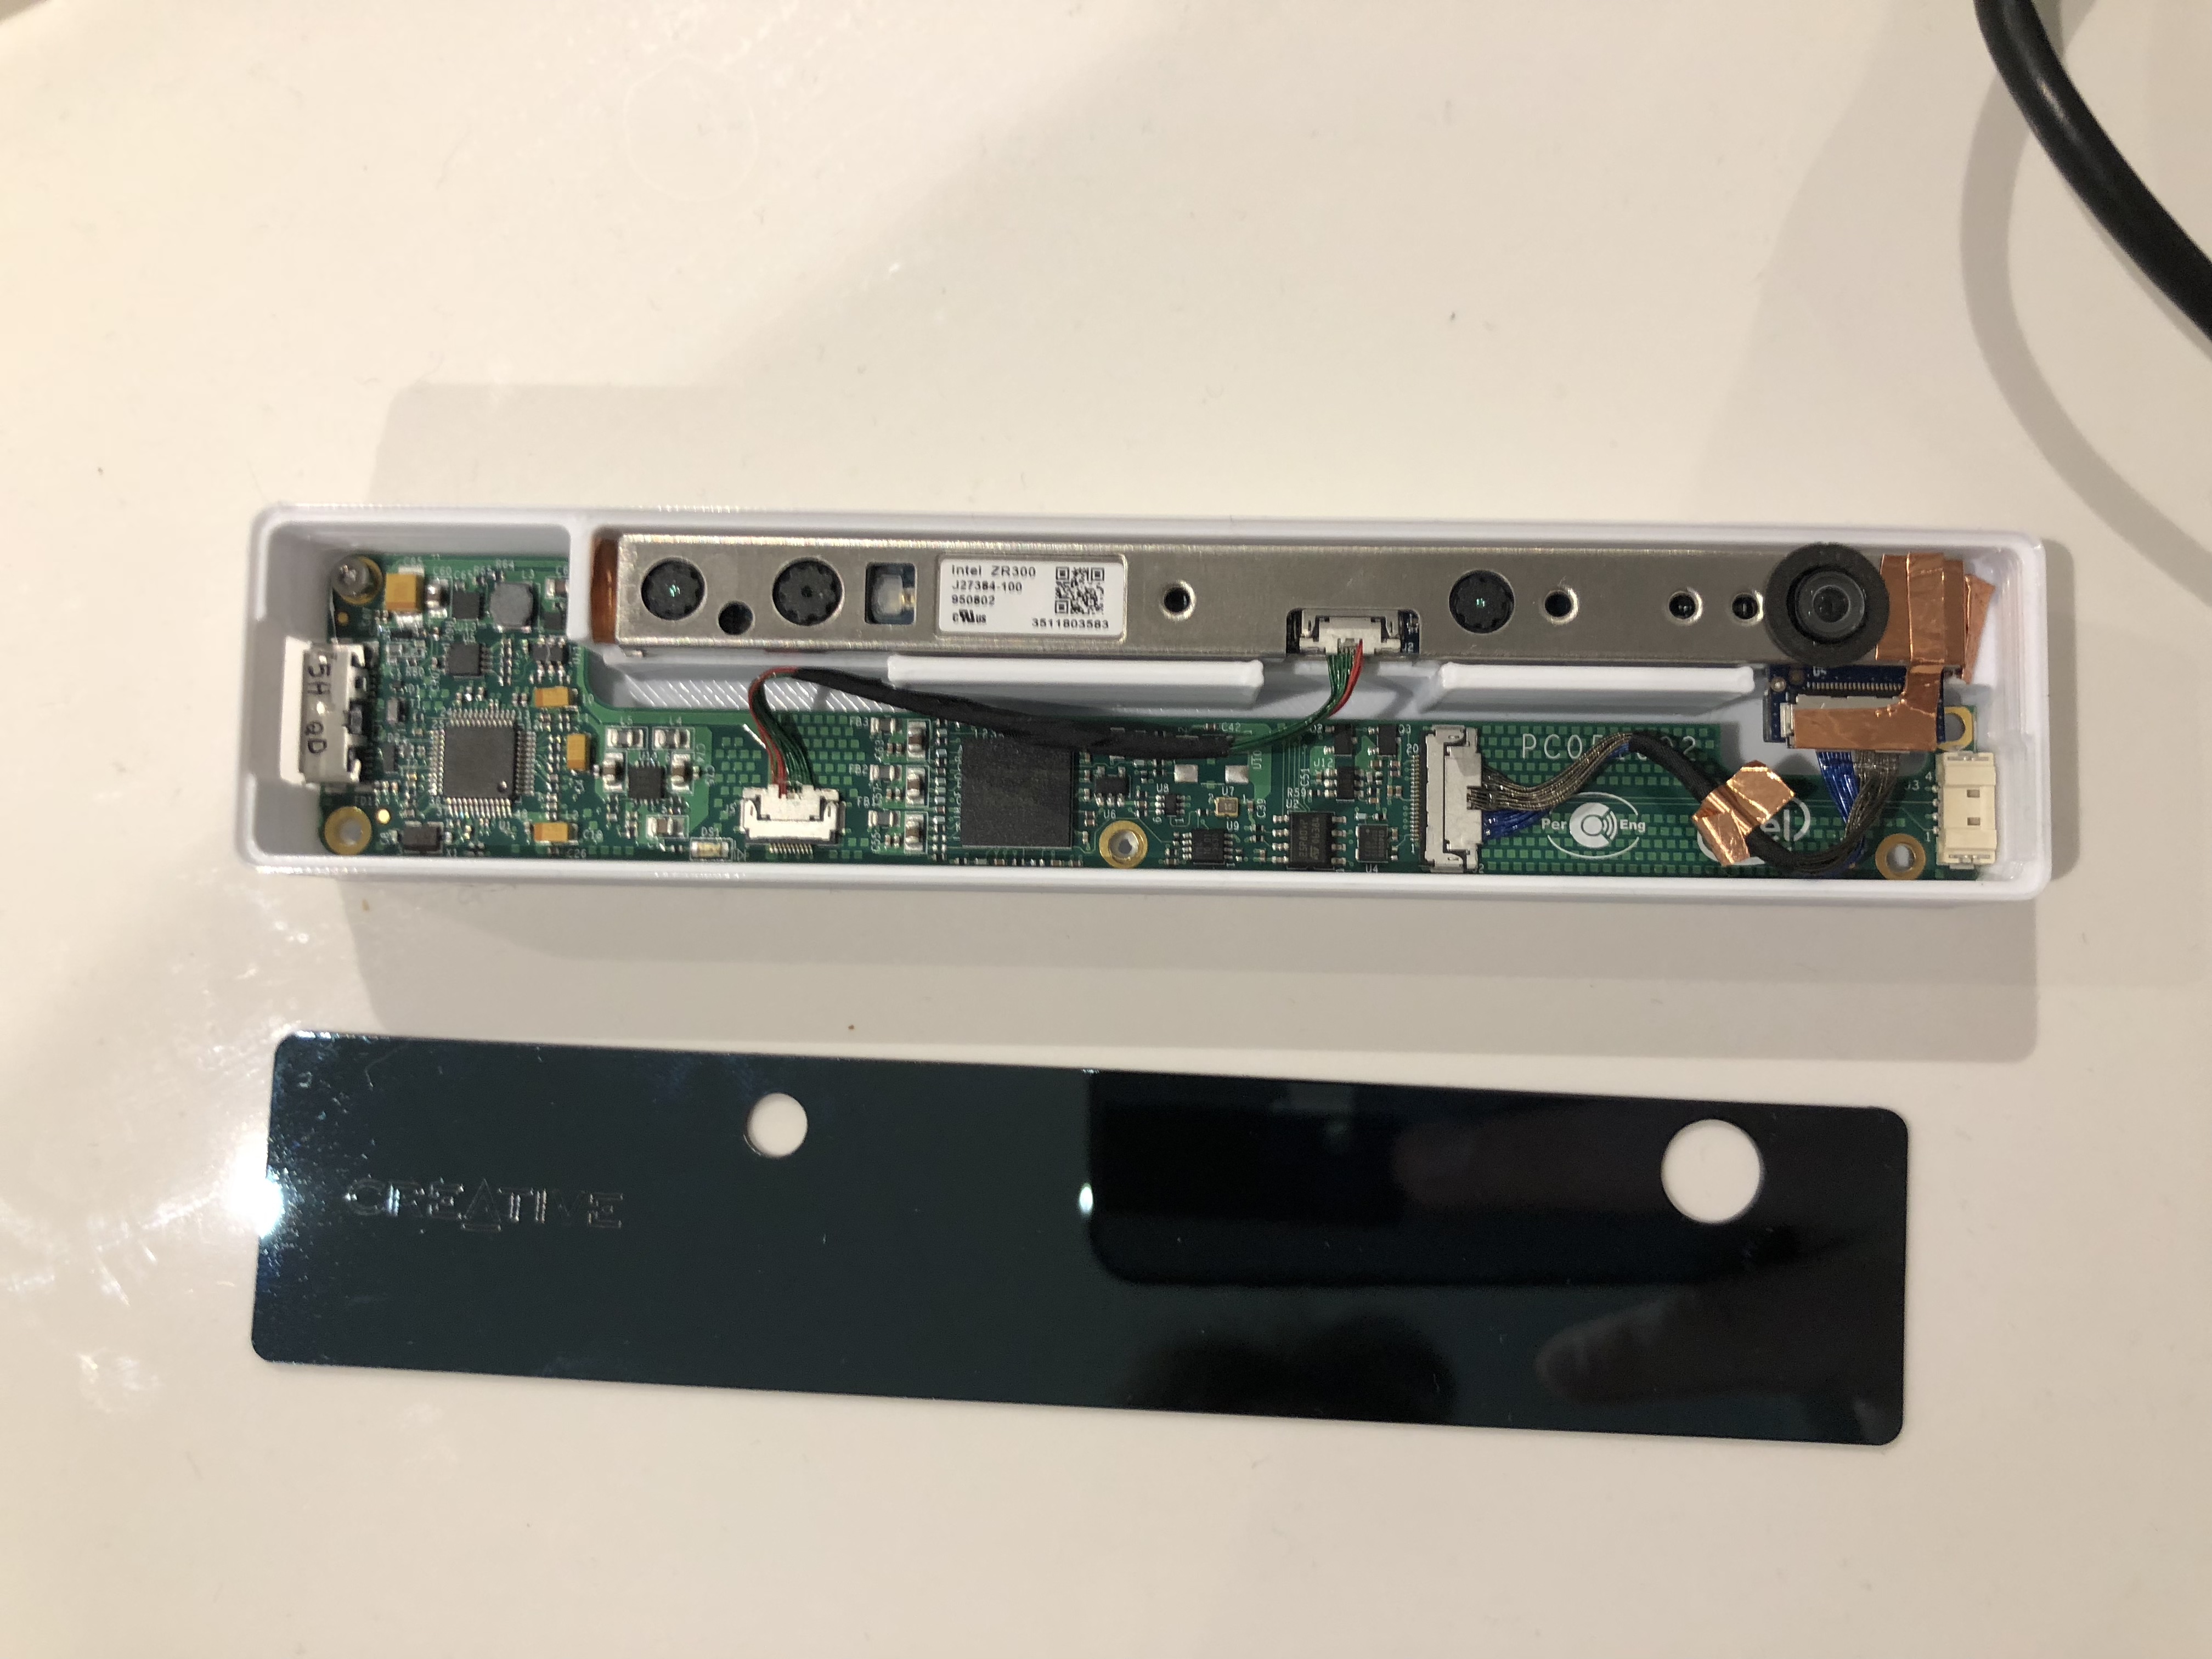
The Integrated ZR300 camera need some cover on the back.
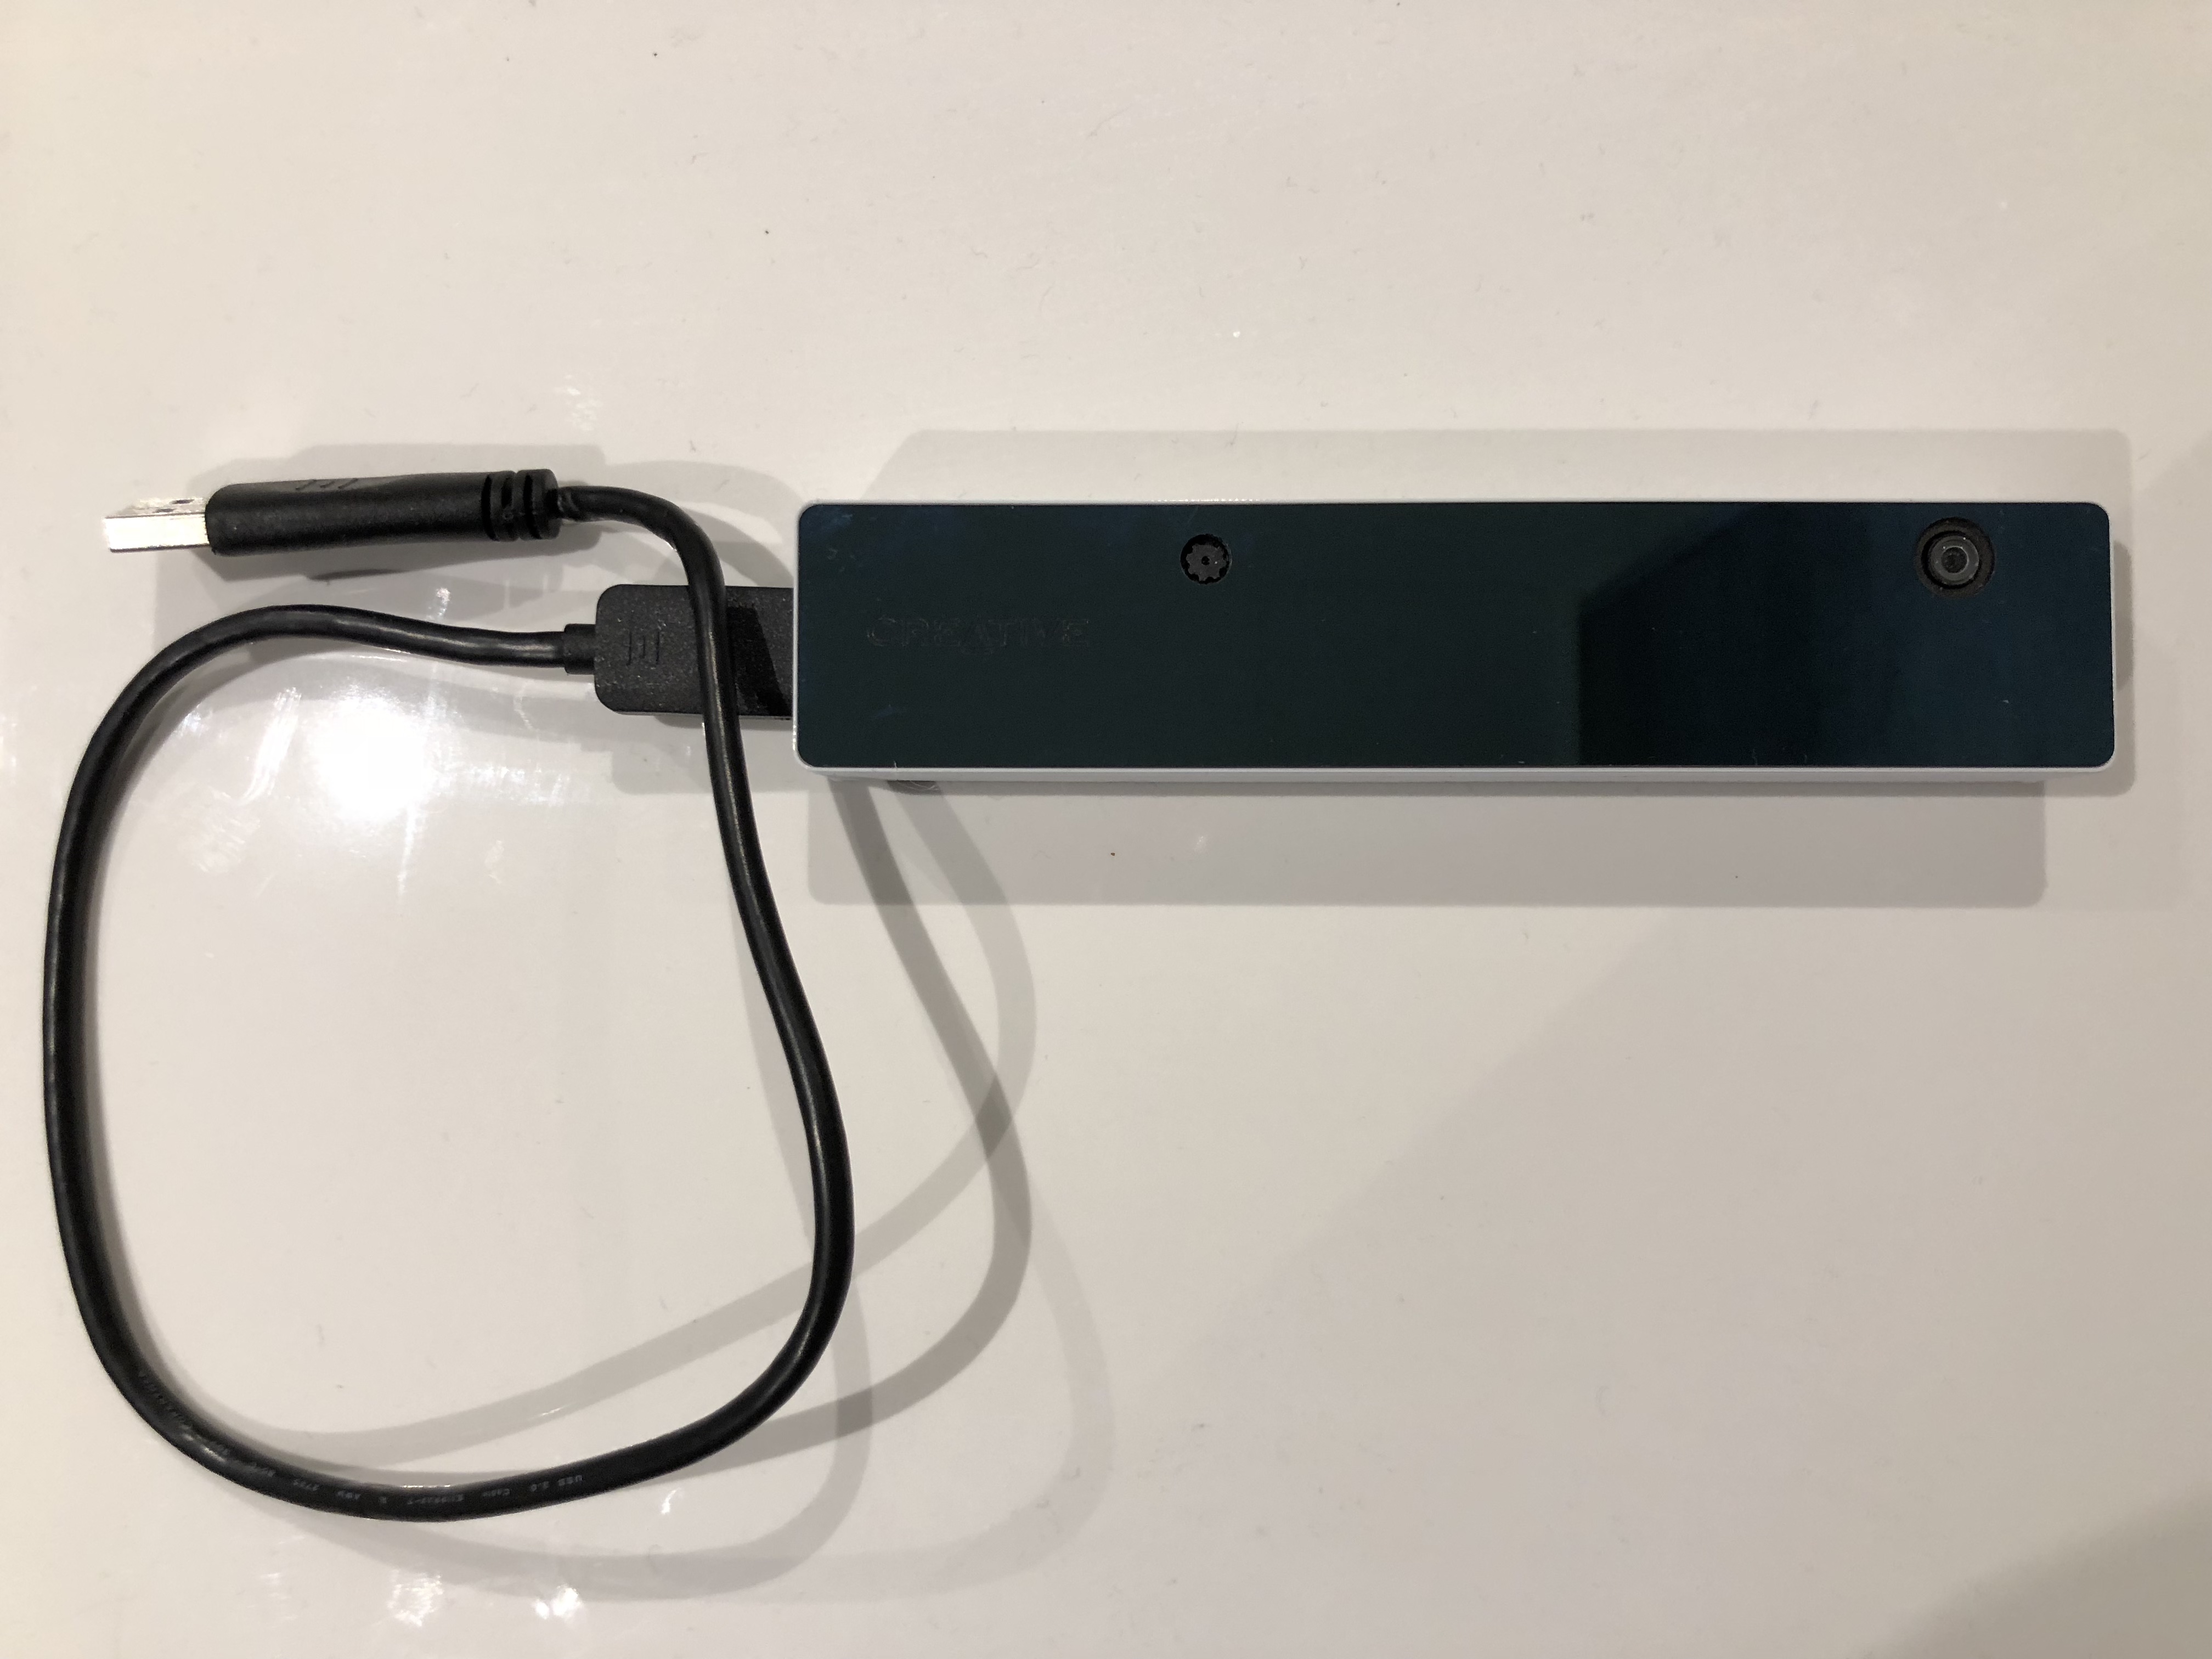
Check if one can use a 90 degree USB instead of a normal USB head.
Thanks for going to the effort of posting your build process! It is great fun to watch it come together, and I think we are all jealous of your printer. …just a little bit.
Update:
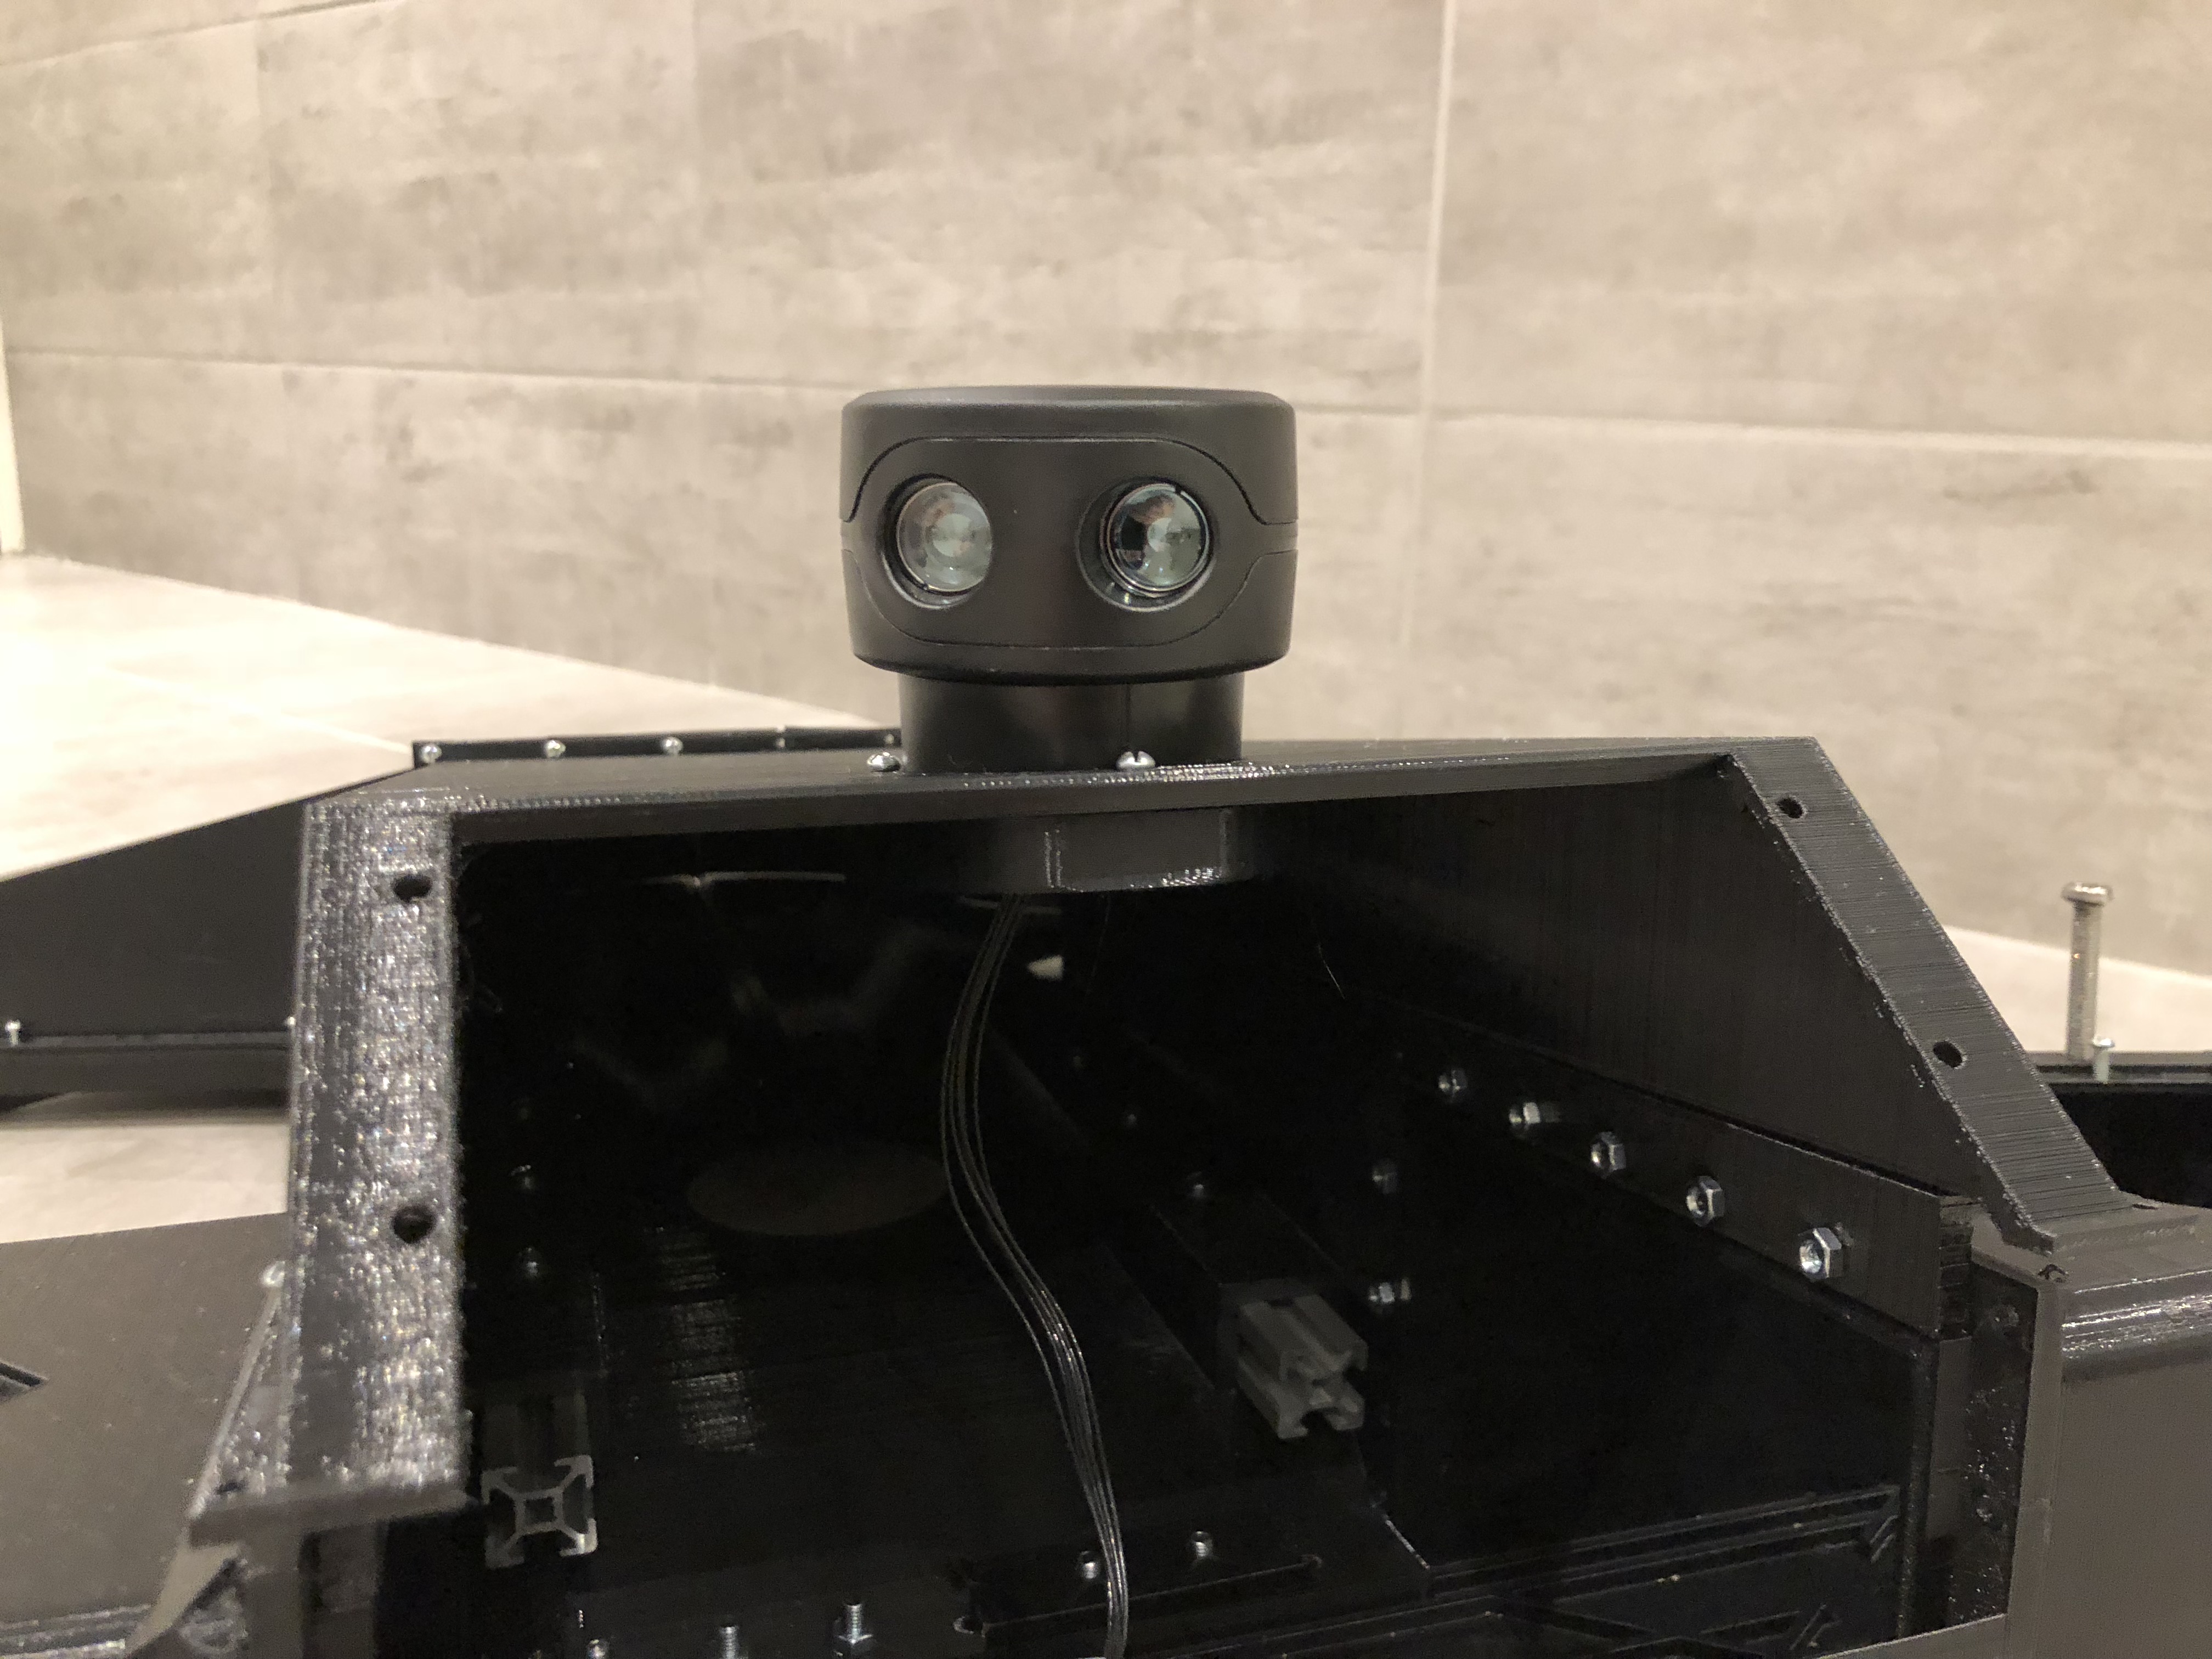
The robot got eyes! Before mowing along with the design of the nose I needed to confirm the field of view. Running Intel® RealSense™ ZR300 over ROS and a depth cloud in RVIZ and a image source.
Before printing the new nose I decided to print only the housing for the ZR300 camera. The partly printed part came out great. The main modification from the original housing is that the housing is made deeper so the PCB can be mounted deeper allowing the USB head to be mounted in the USB socket (not possible before)