Hello. I am planning to use Navio2 connected via bluetooth dongle for serial communications with Mission Planner on my PC for testing purposes. No drone involved. I have read about the bluetooth issues and I am working my way through them. I have reached an impasse regarding serial console use. If I want bluetooth to utilize UART (/dev/ttyAMA0), and disabling onboard bluetooth, what do I do with the console? Running sudo raspi-config, and selecting “Interfacing Options”, I had assumed I would answer the following questions:
“Would you like a login shell to be accessible over serial?”: NO
"Would you like the serial port hardware to be enabled?": YES
When I do so, I am unable to gain access to the console during reboot, and I must unplug power to Navio2 and re-flash image on SD card.
Should I answer the questions the same but have enabled remote access via putty?
Do I need to disable the login shell?
And how do I shutdown raspberry pi after I am running arduplane and connected to Mission Planner if I don’t have access to console?
I have been only working with Raspberry pi for 8 days and I do not have a tech background. I am open to all your suggestions and critiques on how to improve my post for future use.
First off, I think you don’t really need to purge the installation everytime something’s come up. Just connect over Wi-Fi and undo the previous step.
So, let’s proceed.
First, we need to establish a bluetooth connection.
Do you intend to use a dongle that works over UART? Maybe it’s got a USB connection? It will make life a little easier.
Could you please share what dongle is in use?
I am using a Plugable USB Adapter that is 4.0 L.E. and Classic Bluetooth Compatible. I have it plugged into the USB port of the Pi3.
I have managed to establish a bluetooth connection between the two devices (Navio2 and PC). The problem now is that Mission Planner tries to establish a connection with Navio2 but it fails with a message that “No Heartbeat Packets Received”.
I thought I had to use UART for the serial communications via bluetooth. (I can establish link between Navio2 and Mission Planner working over UDP via home WiFi network. Everything is fine.)
Before I outline the steps I took to get the successful bluetooth pairing AND connection between Navio2 and MP, here is the error message from MP after it times out trying to connect:
Can not establish a connection\n
Please check the following
You have firmware loaded
You have the correct serial port selected
PX4 - You have the microSd card installed
Try a different usb port \n\nNo Mavlink Heartbeat Packets were read from this port
-Verify Baud Rate and setup
Mission Planner waits for 2 valid heartbeat packets before connecting
The pairing process with bluetoothctl on RPi and the response from my PC established two COM ports on the PC, one for inbound and one for outbound. When trying to connect from MP, I tried both COM port options in the MP window.
I am unsure if I need to configure a baud rate selection on the RPi. On the PC, both COM ports show 57600 Baud, as does the MP in the top right window.
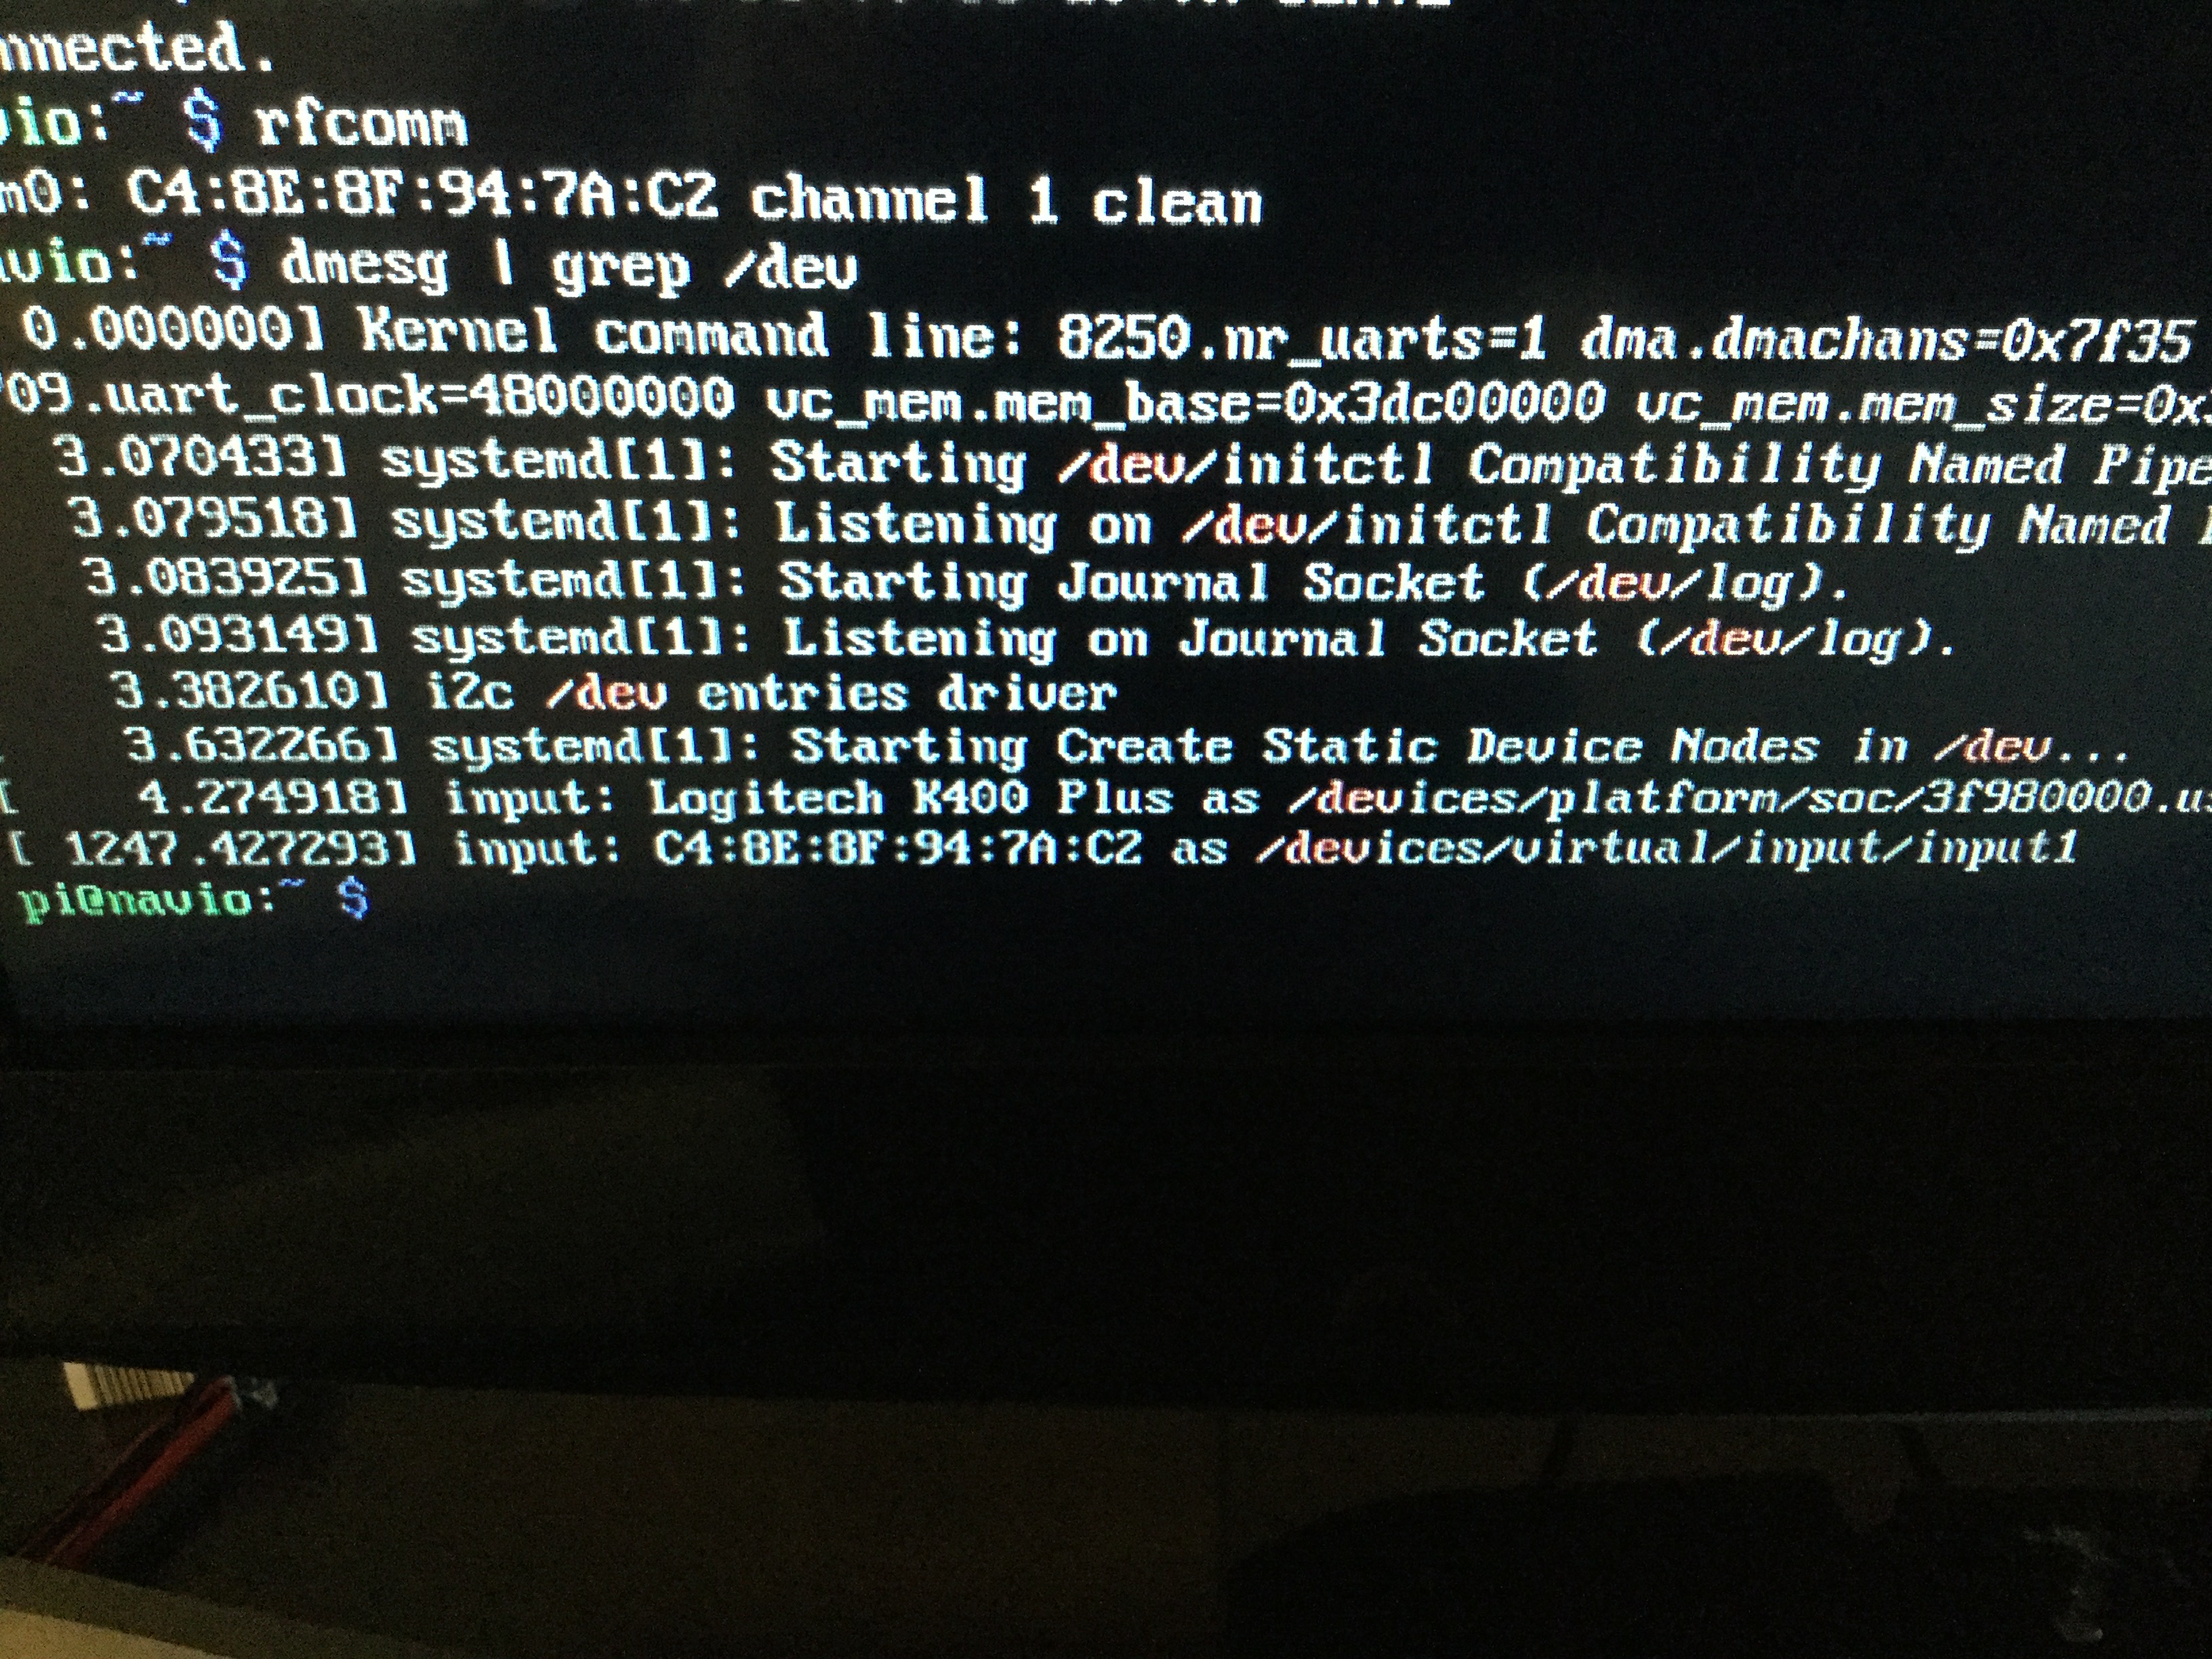
If we want to pursue the Bluetooth issue, I’ll need a little more information. The whole reason why I wanted to see you dmesg | tail is what /dev/ handle is given to this dongle. Could you please dmesg | grep /dev. I hope, you understand what I want to get
Regarding trying the other methods, I will certainly look at them after I have exhausted my attempts at solving this one. I believe I am very close…if it is possible.
I used a serial monitor app for Windows and it appears as if text is being sent and then returned via serial bluetooth communication between the RPi(Navio2) and the PC that has Mission Planner.
Okay, your device’s name appears to be /dev/rfcomm0.
Can you send/transmit any data to/from Raspberry Pi to a PC?
I’m also interested in sudo stty -a -F /dev/rfcomm0. In order to receive data on Raspberry Pi you can just try cat /dev/rfcomm0 and then send something from the PC.
Good morning George, I am just heading out the door for a full day of work but will report back in 14 hours with the results of what yo u ask.
I did manage to set up bluetooth communications with the MP PC being MASTER of the piconet. I did a pi$:sudo hciconfig hci0 piscan and that allowed my PC to find Navio device. Still no success, MP times out. So I have tried to connect MP to Navio2 in present configuration with SLAVE/MASTER roles reversed wth no change.
Alos, Windows sets up two COM ports as part of the connection process. COM8 being “serial port” outgoing to Navio2, and one, COM 9, being incoming from Navio2. On the suggestion from a forum poster somewhere, I tried eliminating the incoming port but there was no change.
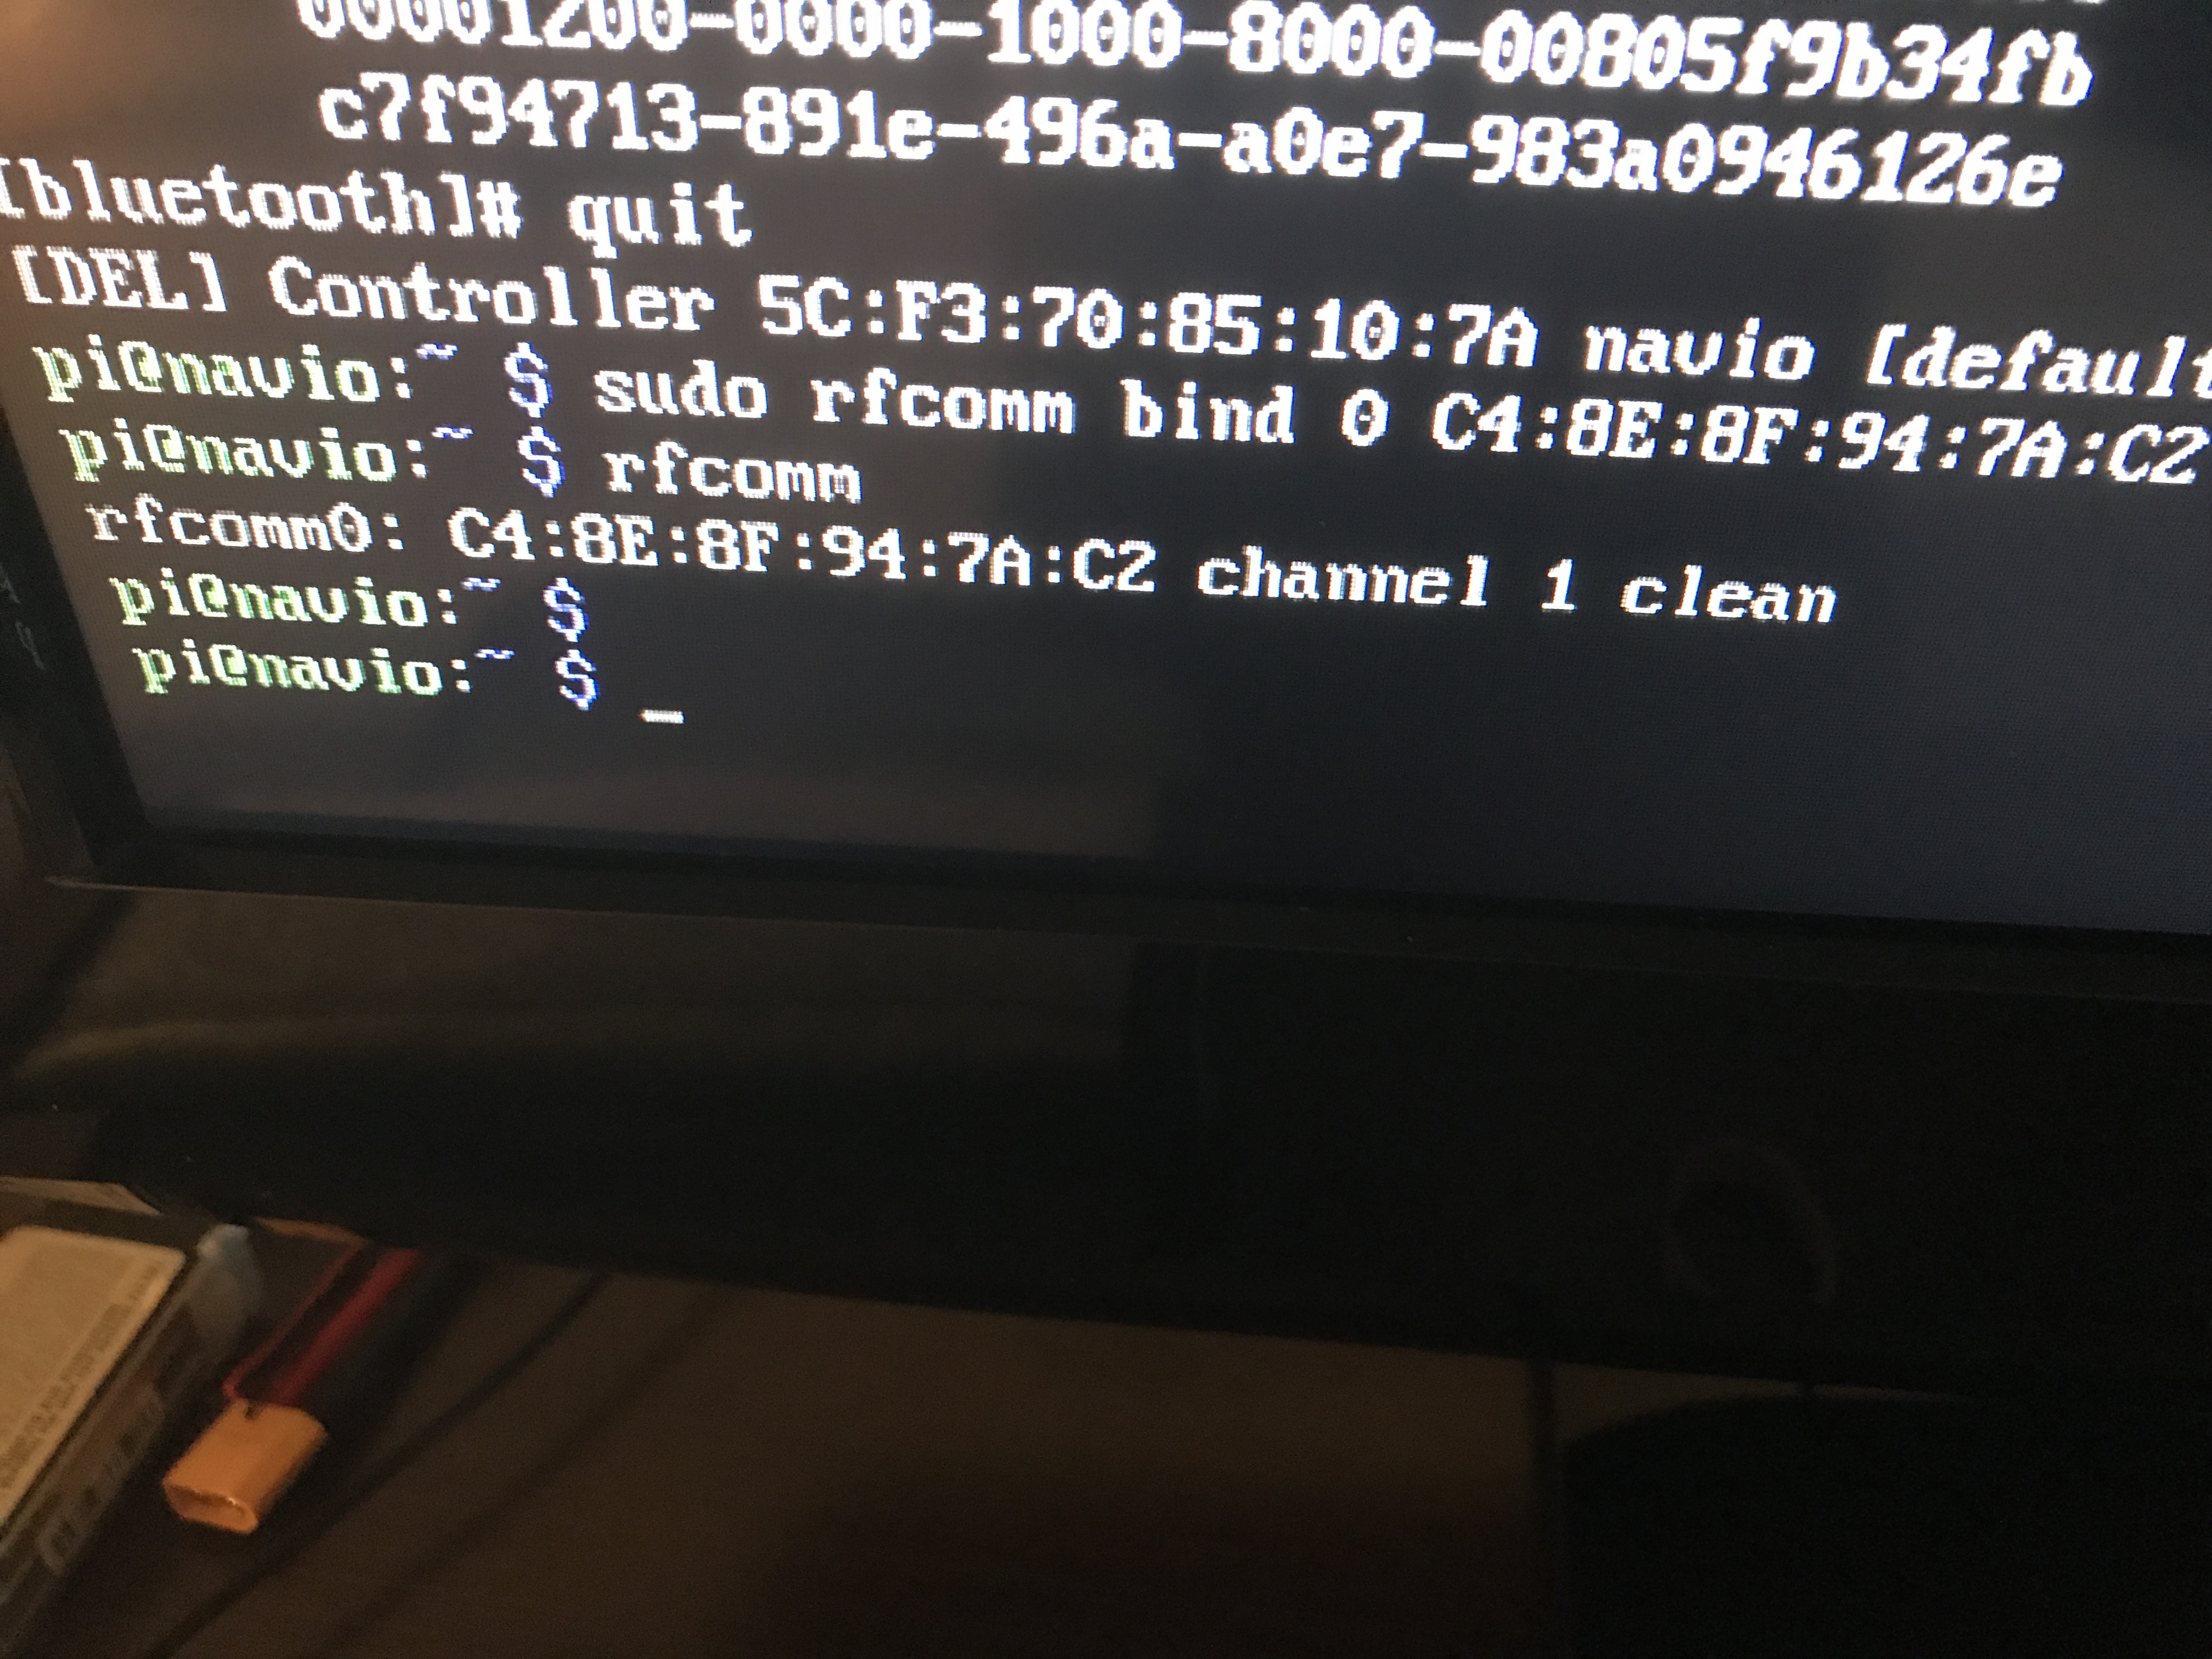
Also, I have tried pi$:sudo rfcomm bind 0 xx:xx:xx:xx:xx:xx, where the xx is the BDADDR of the MP PC and also I have tried pi$: sudo rfcomm connect xx:xx:xx:xx:xx:xx 1 &. Both methods seemed to establish the rfcomm0 channel and both were unsuccessful at atllowing the Navio2/MP communication.
Also, when I access /etc/default/arduplane, I am unsure if my TELEM choice should be TELEM2="-C /dev/ttyUSB0" or “-C /dev/ttyAMA0” or some other option.
I ran into problems. rfcomm is now giving me a message: channel 1 connected [tty attached]. Unable to connect to MP using your suggestions. Yesterday it said : channel 1 connected clean.
I am flashing a fresh image of emlid to start from first principles. Will report back tomorrow.
I have spent a lot of time trying to connect via Bluetooth dongle without success. I may revisit the project later when I have more knowledge, but for now this attempt (BT dongle) is over. I have just received a HC-06 and will go in that direction now.
Thank you George, for your support. I will need it again in the future, I am sure (lol).