Hi!
Using photo-tripods for a reach base-station makes a lot of sense, as the reach is light, the Reach RS coming with a 1/20" photo-tripod mount, and those tripods being affordable, light, small and easy to handle…
However, I’m still looking for a good solution to center & level a reach mounted on a photo-tripod over a monument…
Typically the cheap tripods come with a level bubbel in the center, so than its quite straight forward to level the reach, once the tripod is placed.
Centering over a monument e.g with a plumb-bob is quite tricky as, the leveling get lost when moving the tripod in terrain or adjusting leg length…
Surveying-pole + pole holders or ‘hold-a-pole’ clamps mounted on a tripod are easier to level & center, and you get a fixed height above ground as a bonus, but then you need both a pole + tripod or poleholder…
a similar effect could be reached attaching and downwards extendable center rod to to the tripod center.
Does anyone have DIY solutions or ideas to center and level above a point?
Using a photo tripod makes sense in situations where you’re going to be establishing your own control point. I personally think if you’re going to be setting up over known points or monuments frequently it might be best to buy a cheap survey tripod and get a tribrach with an optical or laser plummet. The Reach RS has a 5/8 Adapter with it, so if you end upgrading the tribrach would be compatible and useful for a while.
It’s always tricky setting up over monuments - I’ve been doing it on and off for over 10 years and still find myself cursing at times. Practice setting up over a monument a bit - it will get easier, it was actually one of the field tests while I was studying surveying.
With all that being said, if you’re looking for cheap and to continue using your camera tripod a plumb bob and patience will always be your cheapest.
Hi, i am not sure what height you need to work the ground, i use a C-stand with a long telescop pole like this http://kaffebrus.com/produkt/bomstativ-inkl-sandsack-enkel
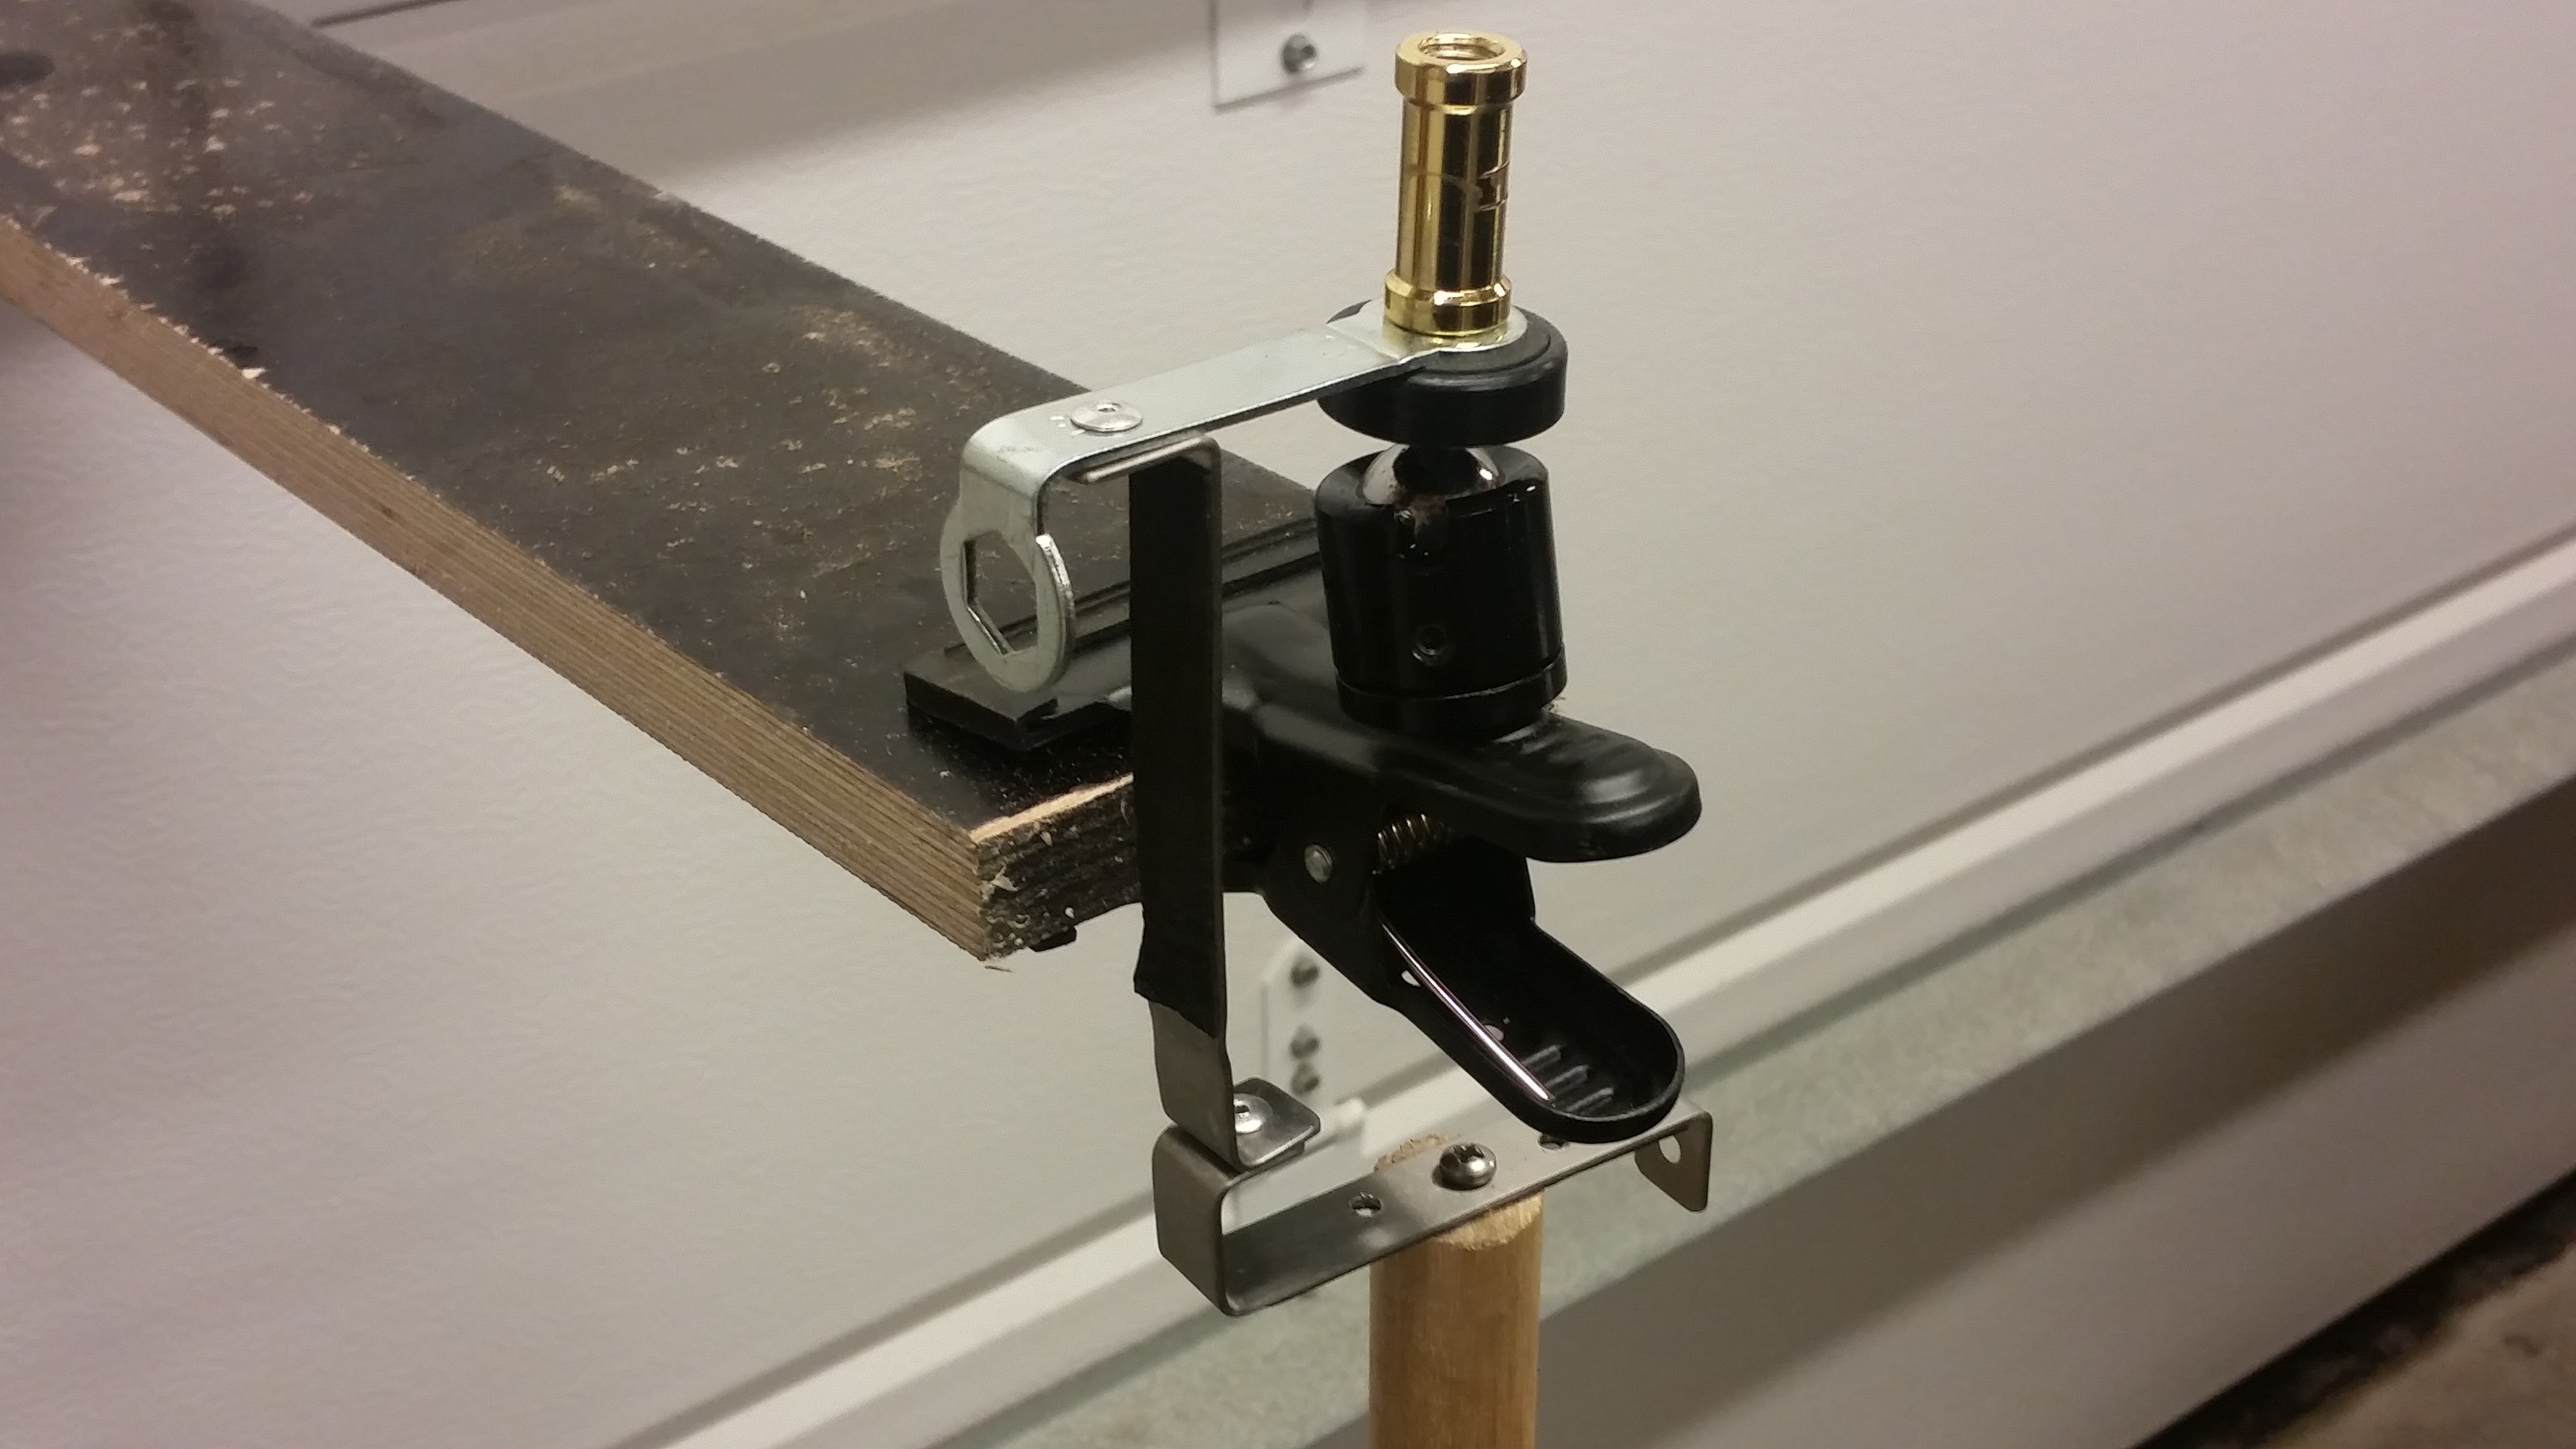
On the end i have a clamp like the picture below and some DIY vertical blumb.You can get this clamp where they sell photogear.
Not sure i even can call this a beta
but it works. Link to video
I am still in the dark ages myself and using the plumb bob and tripod. The setup is slow, but it is very stable for longer occupation times.
With the video tripod (a little heavier than a camera tripod), I removed the pan/tilt head and was left with a fixed 1/4"-20 stud. I drilled the center through and hung a plumb bob string down through the hole. This method is quite precise and can tolerate being a bit off-level as the plumb bob pivots less than a centimeter below the unit. However, this method does not work with some tripods, for example the type with bracing arms between the tripod legs, as they interfere with the plumb bob.
With the surveyor’s tripod, I do not use a tribrach and instead do it the hard way. A bubble level placed on the tripod head and the legs adjusted in/out or to the side to level the head and center over the monument at the same time (very difficult and seemingly counter-intuitive to accomplish, so save yourself the grief and get a tribrach).
I have marks on every telescopic part, so when i extend one, two or more shaft or part out i know exactly how long the tripod/pole is from Reach antenna to bottom of pole. All i need to do is either lower the pole so bottom hits ground, or measure distance between ground and pole and ad that to tripod/pole total length.
Thanks for the input everyone.
Our issue is that we have some remote locations to get mostly by motorbike. Hauling a survey tripod & Trimbach is tough.
I think i will look more into pole holder solutions, as they are easier to center than plumb bobs and you get the height fixed…
something like this:
But then for lighter tripod. Maybe using a clamp similar to @TB_RTK ontop of a photo/cam tripod or C stand to hold a light telescopic pole. @TB_RTK, would you mind posting a pic of your complete setup?
(funnily the video title is Rugged ready and Reach RS was nicked Rugged Reach first.)
But I will also experiment with a bob fixed in the way @bide does it.
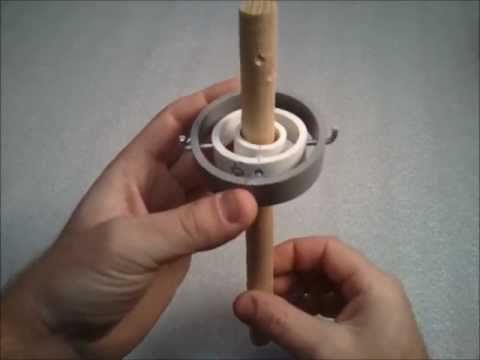
You might find som idea from pinterest.
A generall search for 2d axis gimbal DIY give you a lot of hit
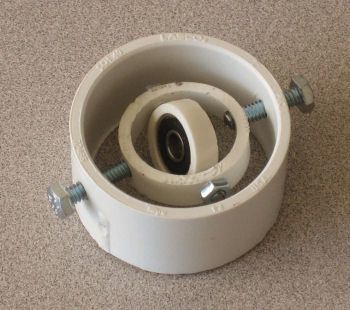
Like one of these. Its pipes in different size with some nuts and bolts.
Or this
When you guys measure the height, Is that to the center of the antenna, top or bottom, also, when I mount the antenna on an external ground plane, is the center of the antenna where the coordinates are measured?
Yes, I use the center bottom of the antenna myself.
I have been under the impression that if:
you are performing RTK or PPK with a base and a rover,
and they have identical antennas,
and you use a known LLH coordinate for the base location, and not 3rd party corrections,
then your measurements are purely relative, so you can decide your own reference point on the antenna. So long as it is the same point on both antennas.
Also, if you use the survey function in reachview. When you set up a new project, you can enter the height. To the best of my finding, you cannot add or edit this once the first point is recorded.
I was in a hurry and skipped this my first time and after I had shot several points, I had to add a new project and re shoot so as to add the height.


 and Reach RS was nicked Rugged Reach first.)