If the skyview won’t reach you, then you reach the skyview!
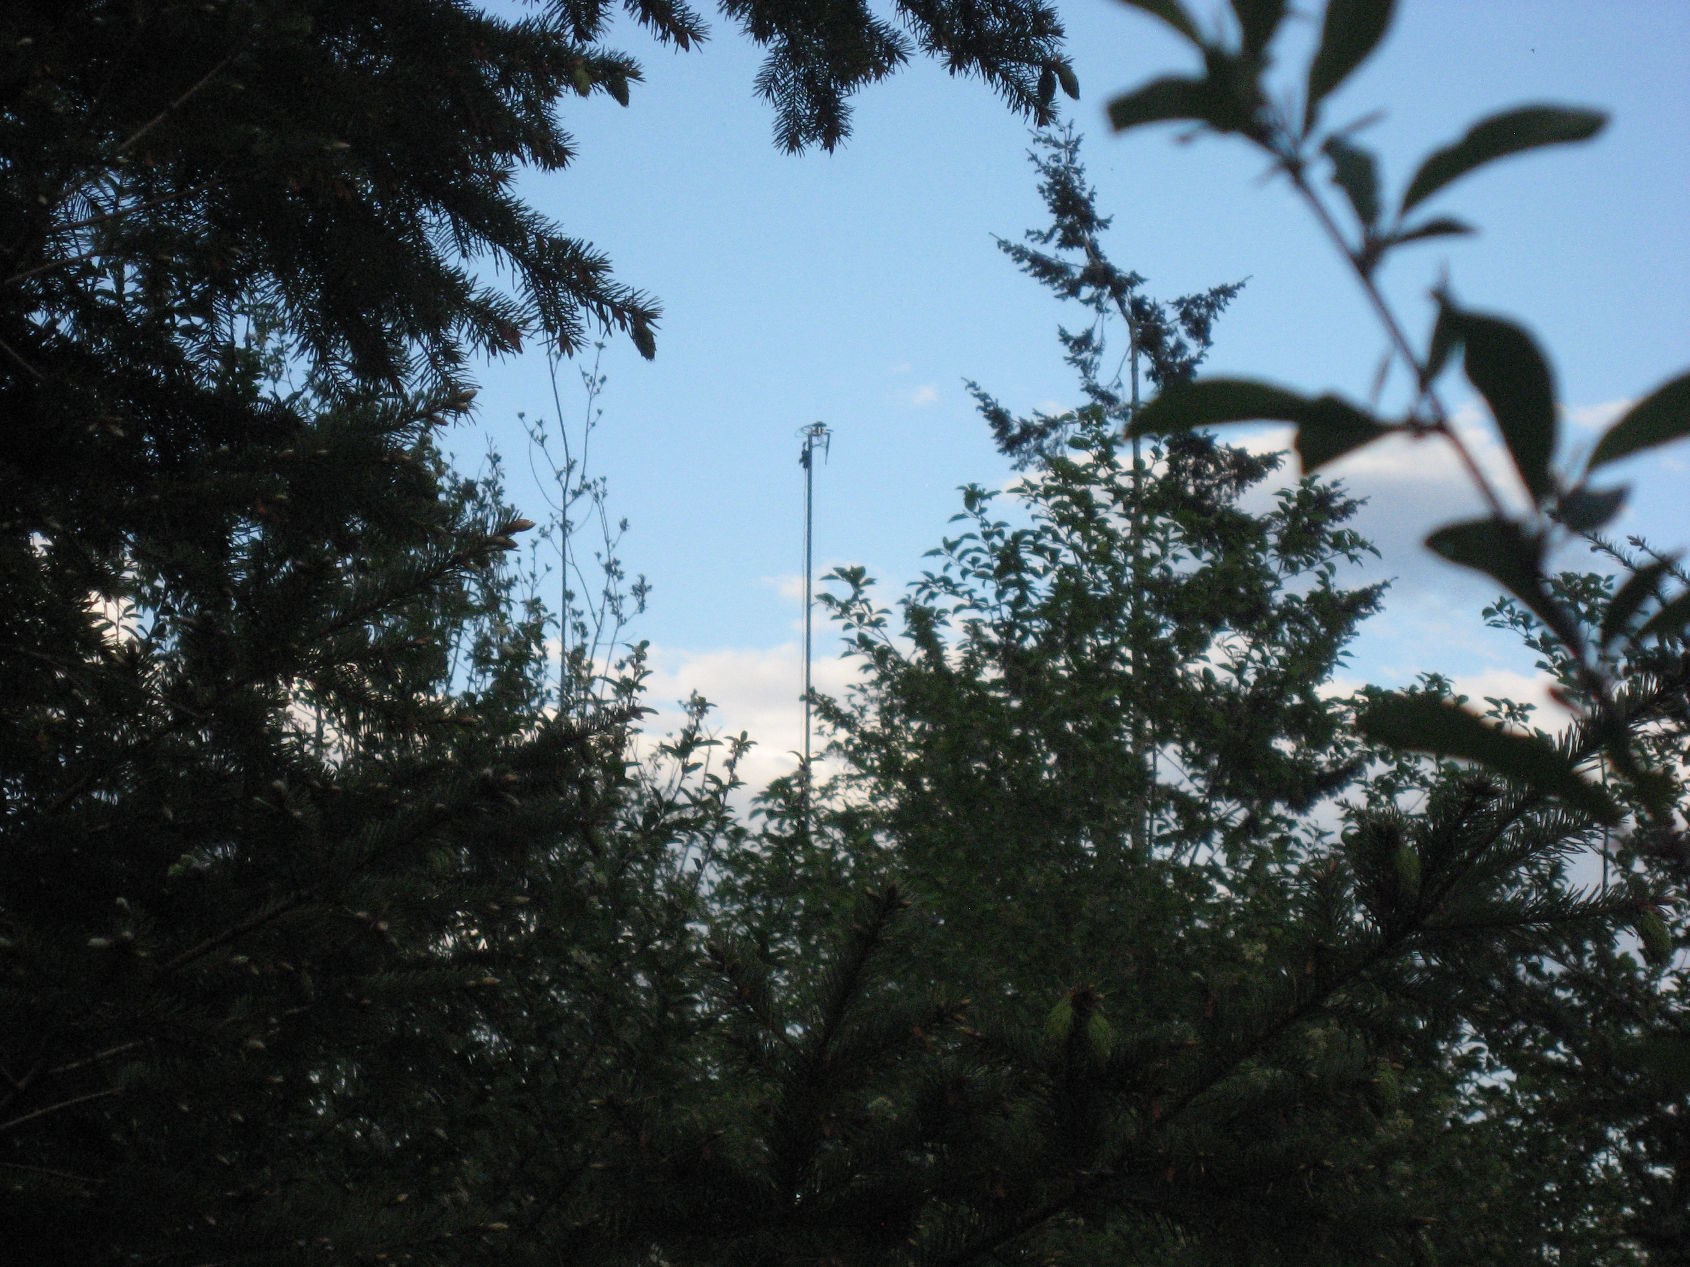
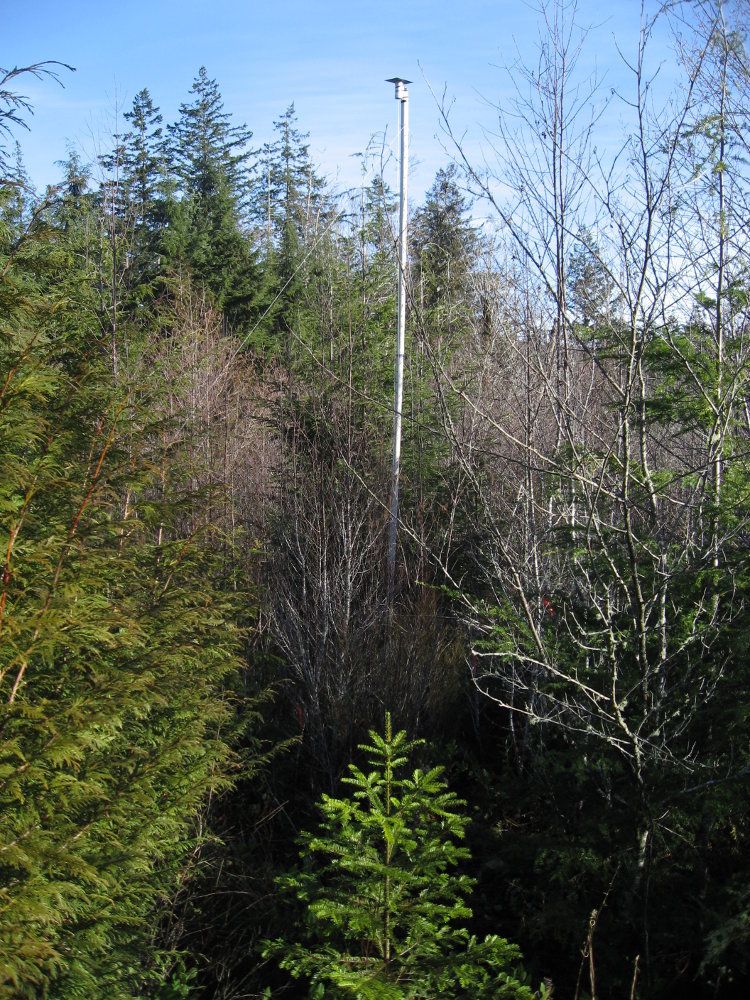
I thought I’d share some pictures of my low-budget 9m (30’) portable antenna mast in operation. It is constructed of thin-walled PVC drainage pipe.
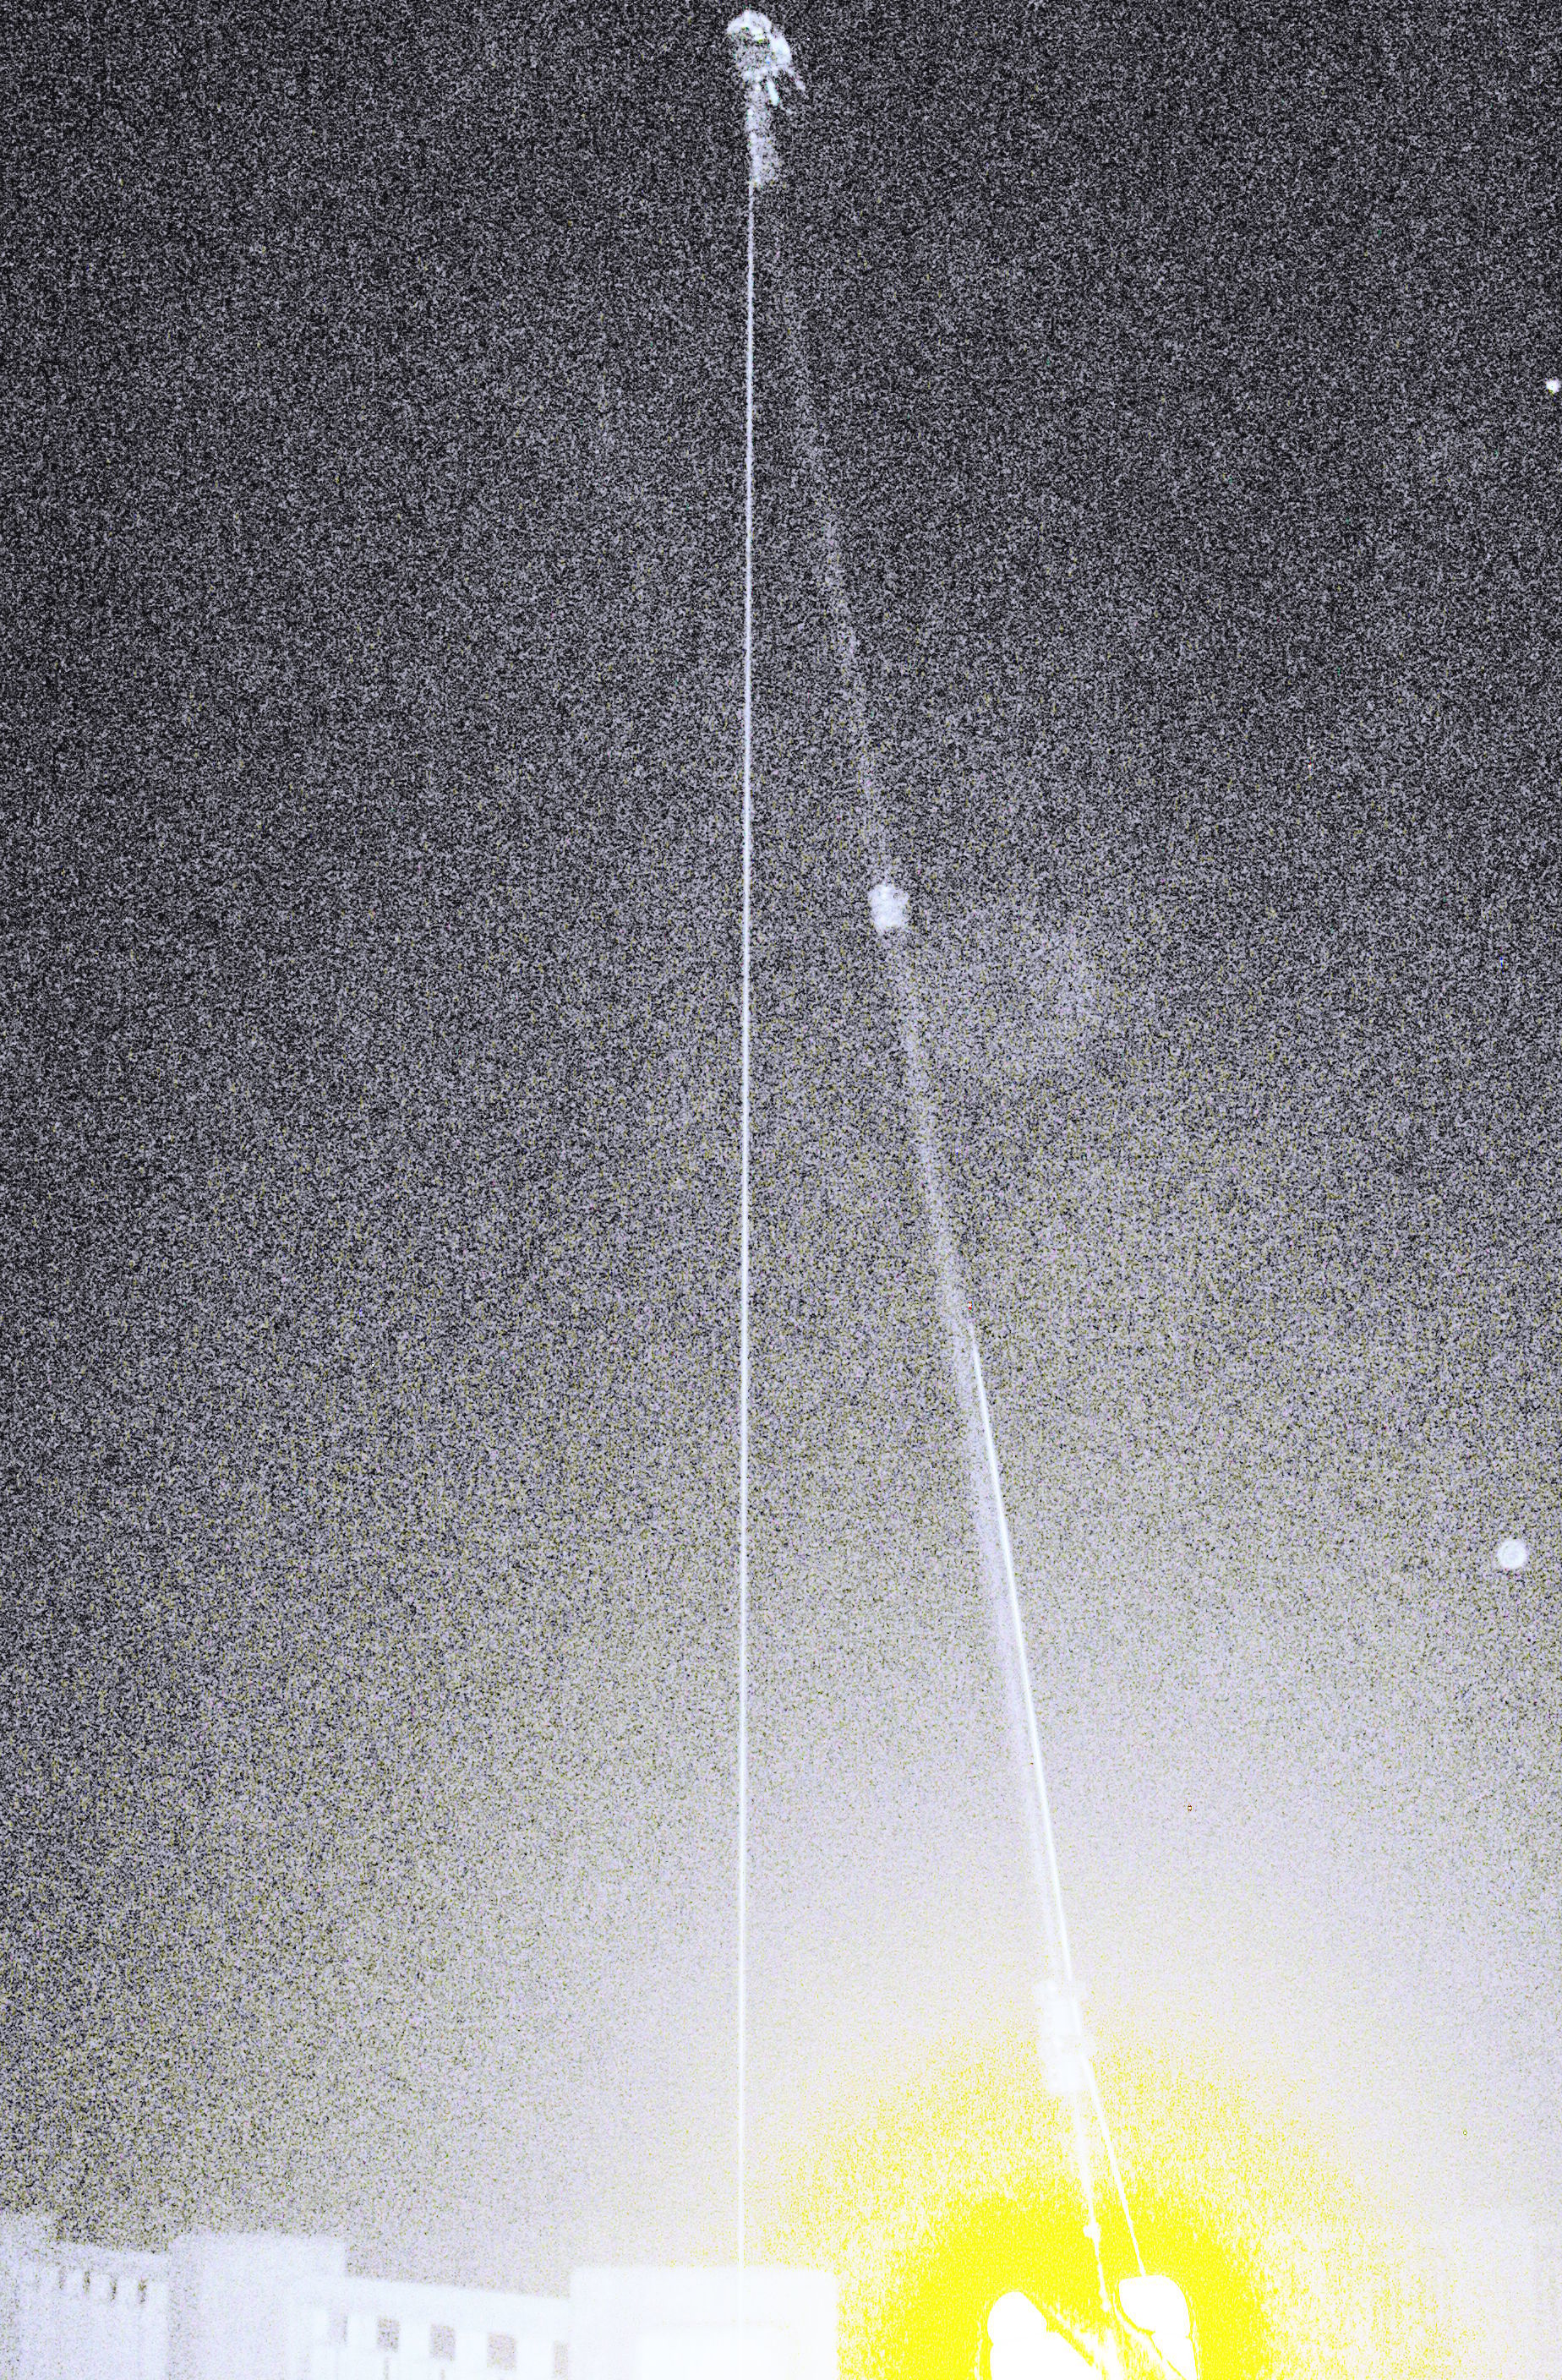
You can barely see it here as a small white line in the center of the picture:

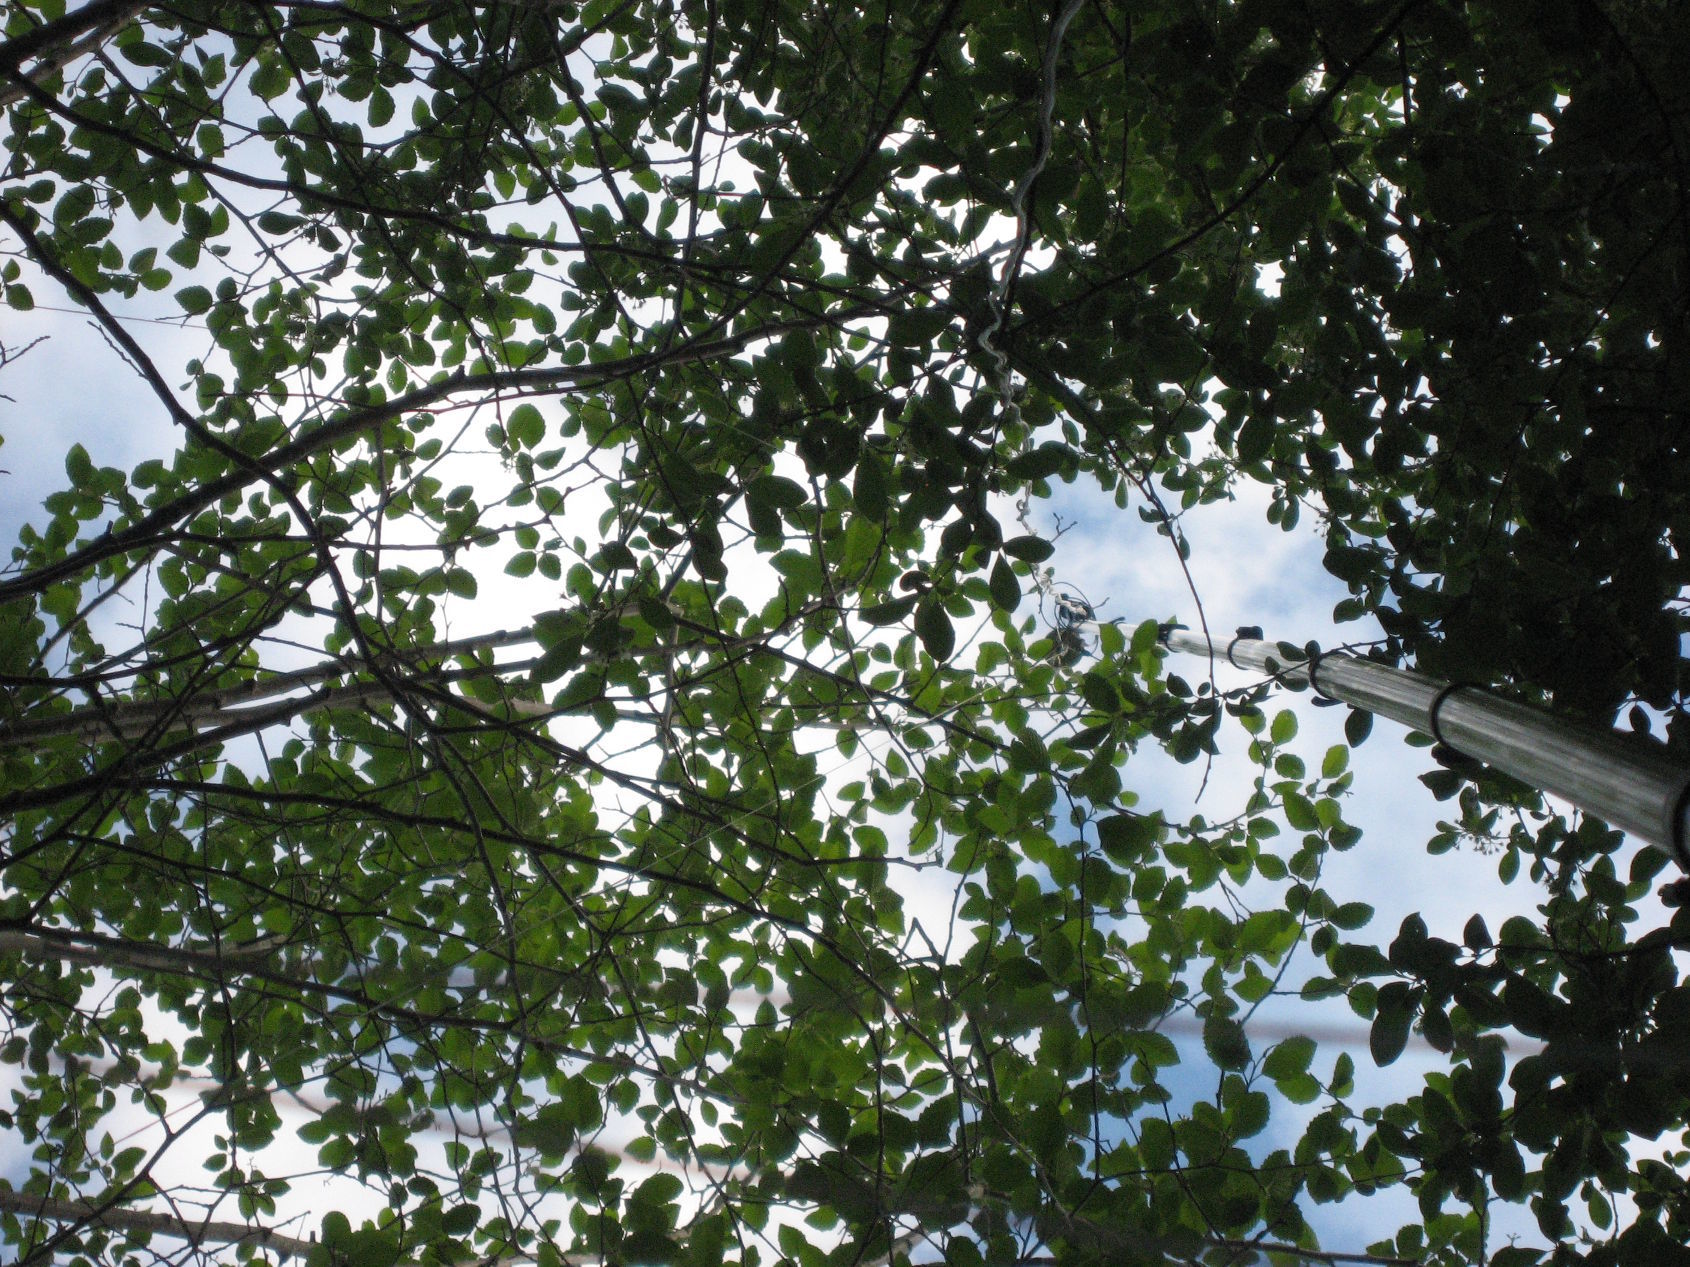
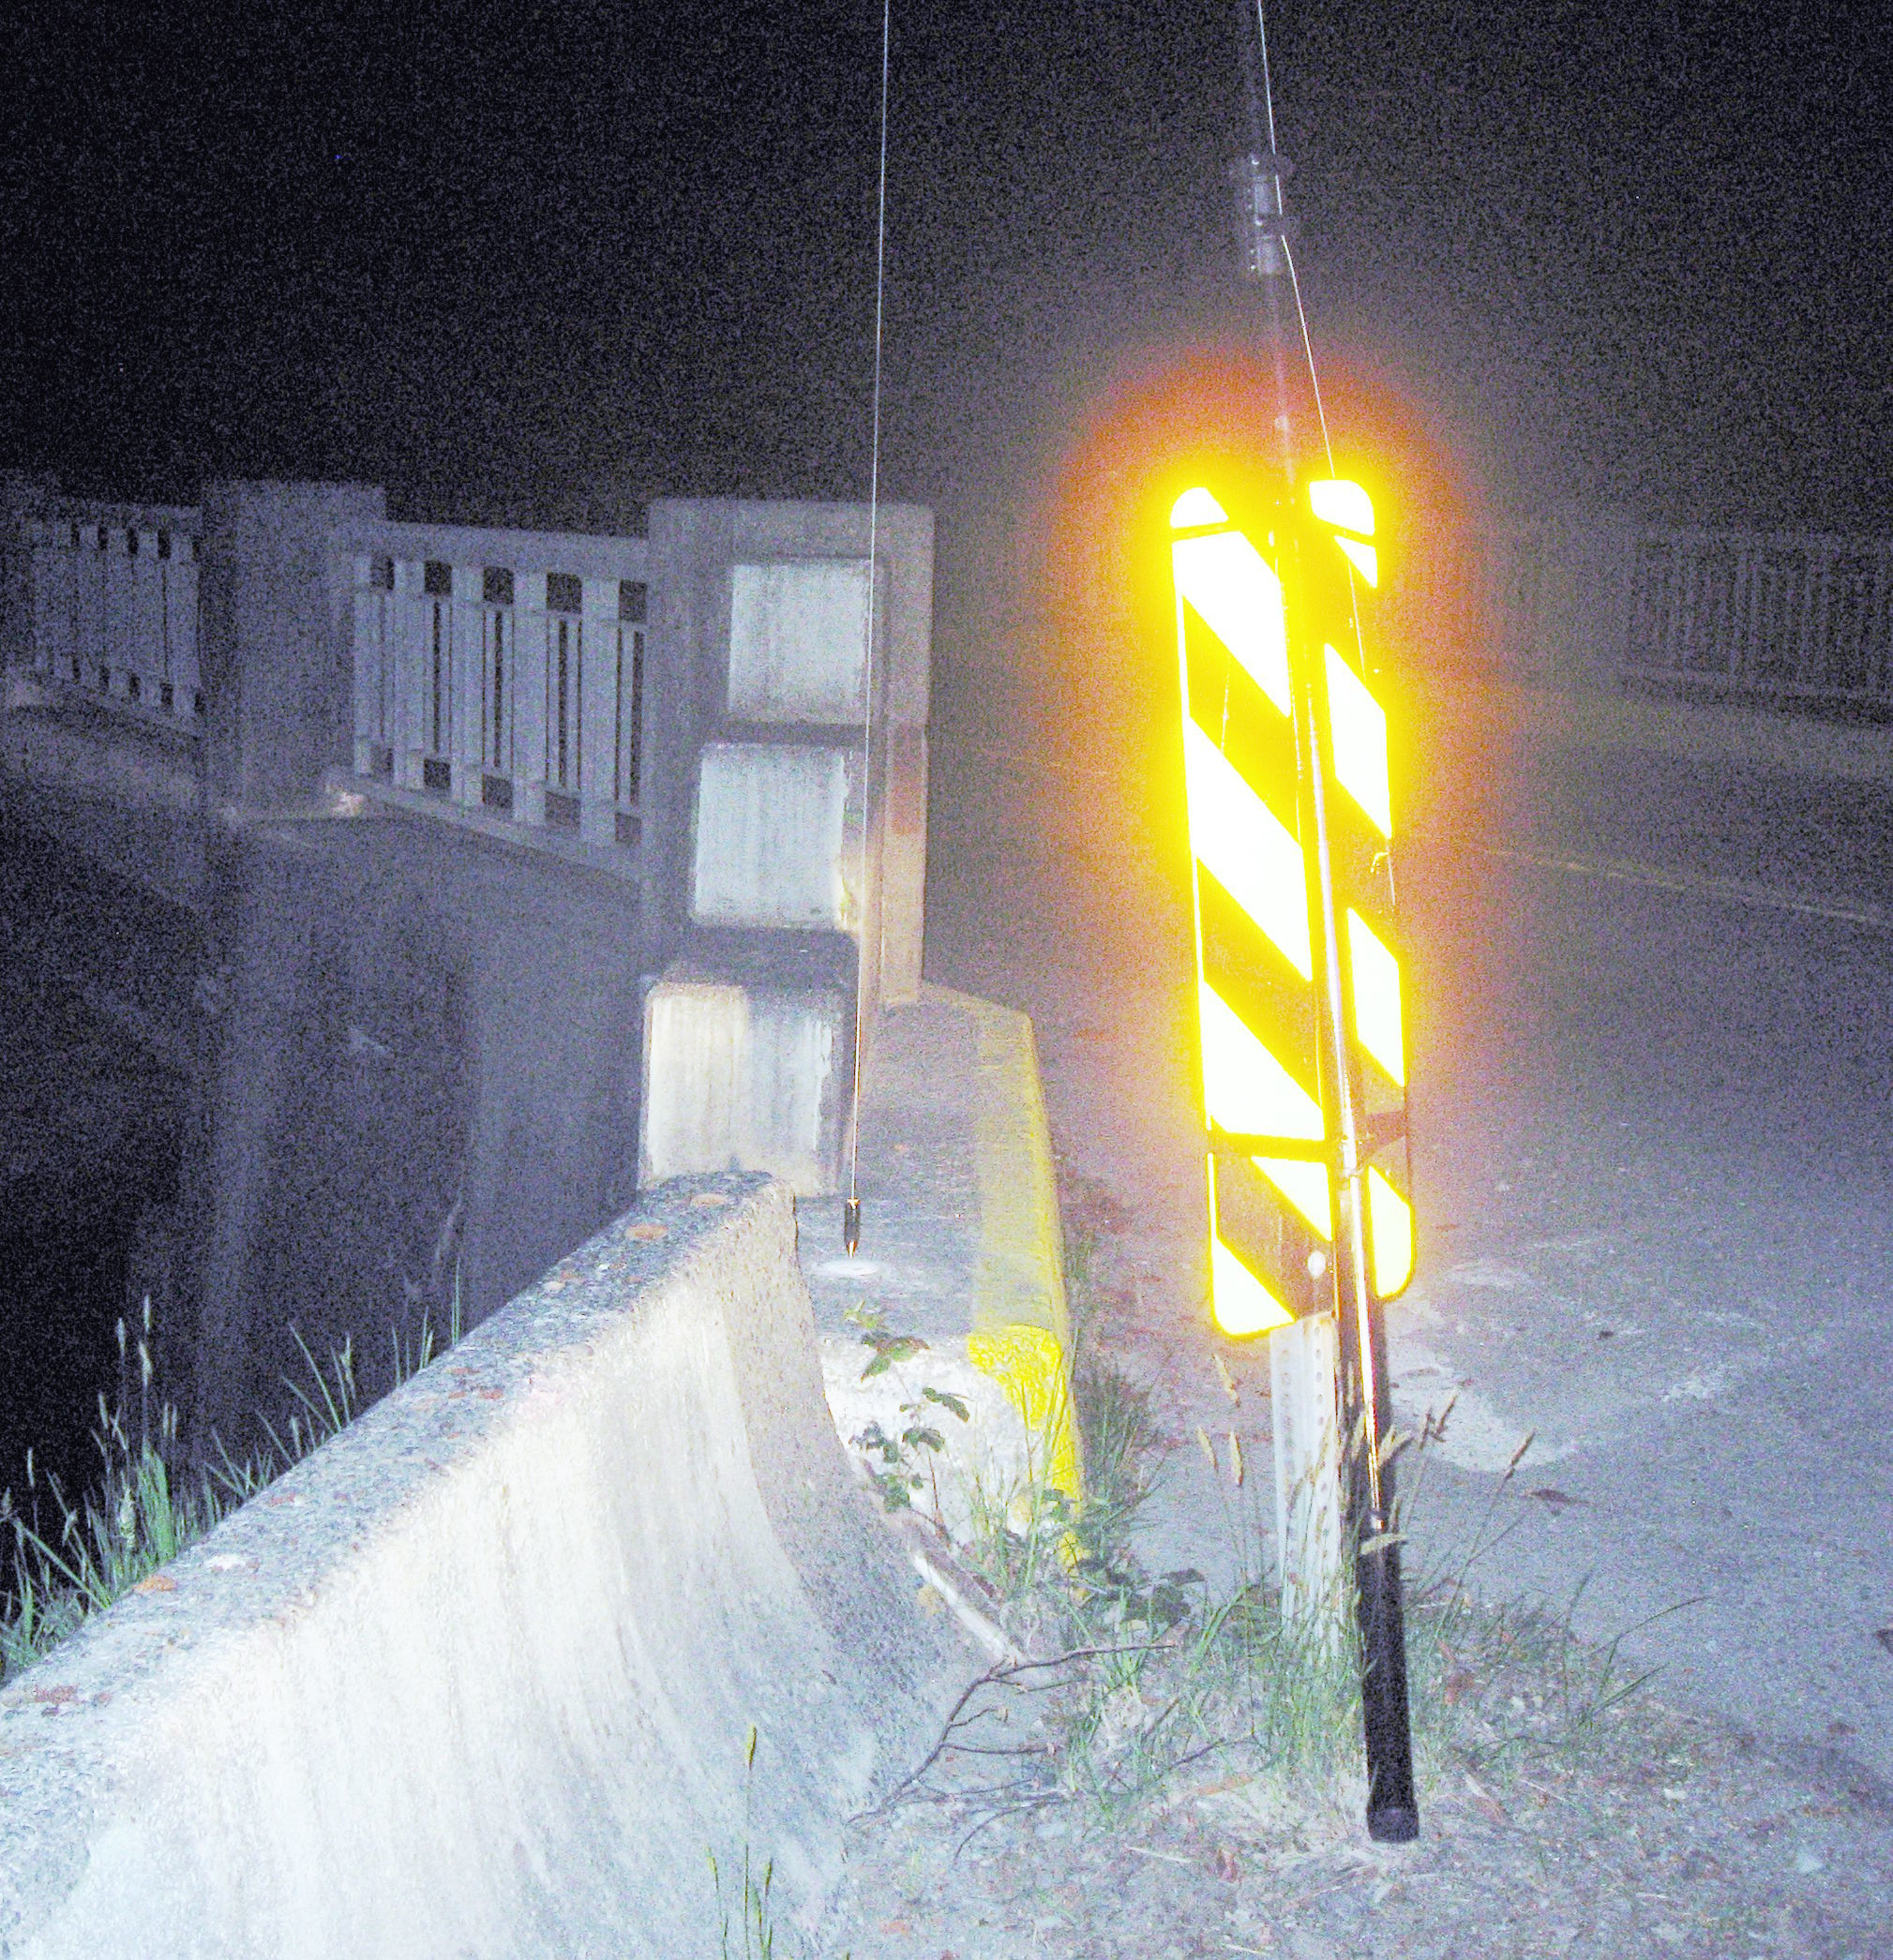
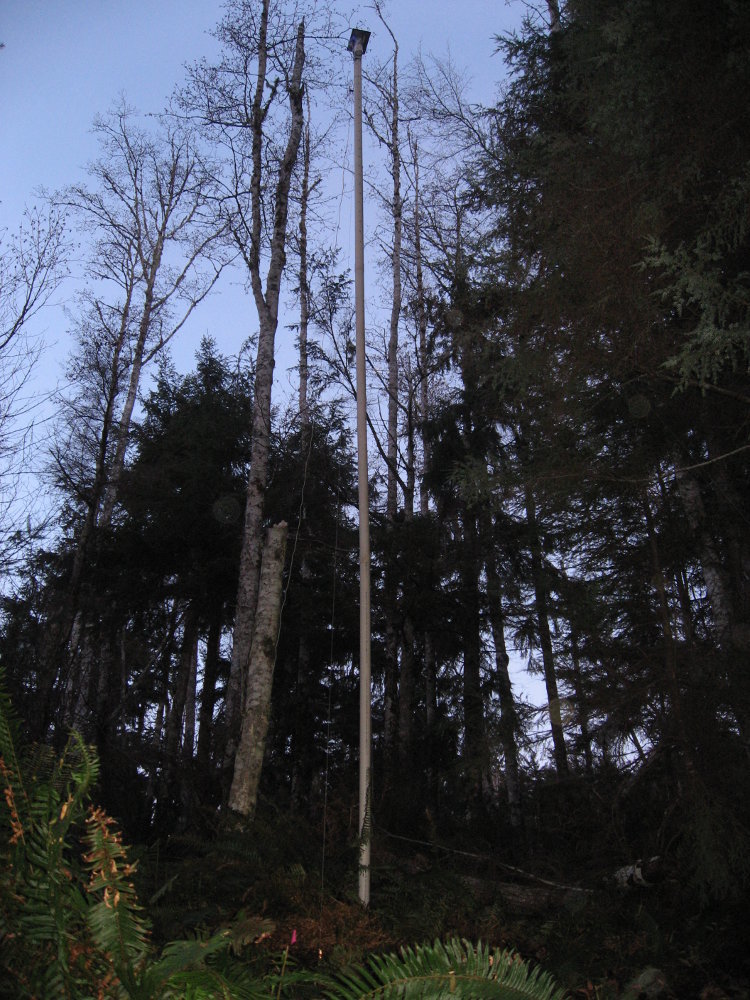
Closer:
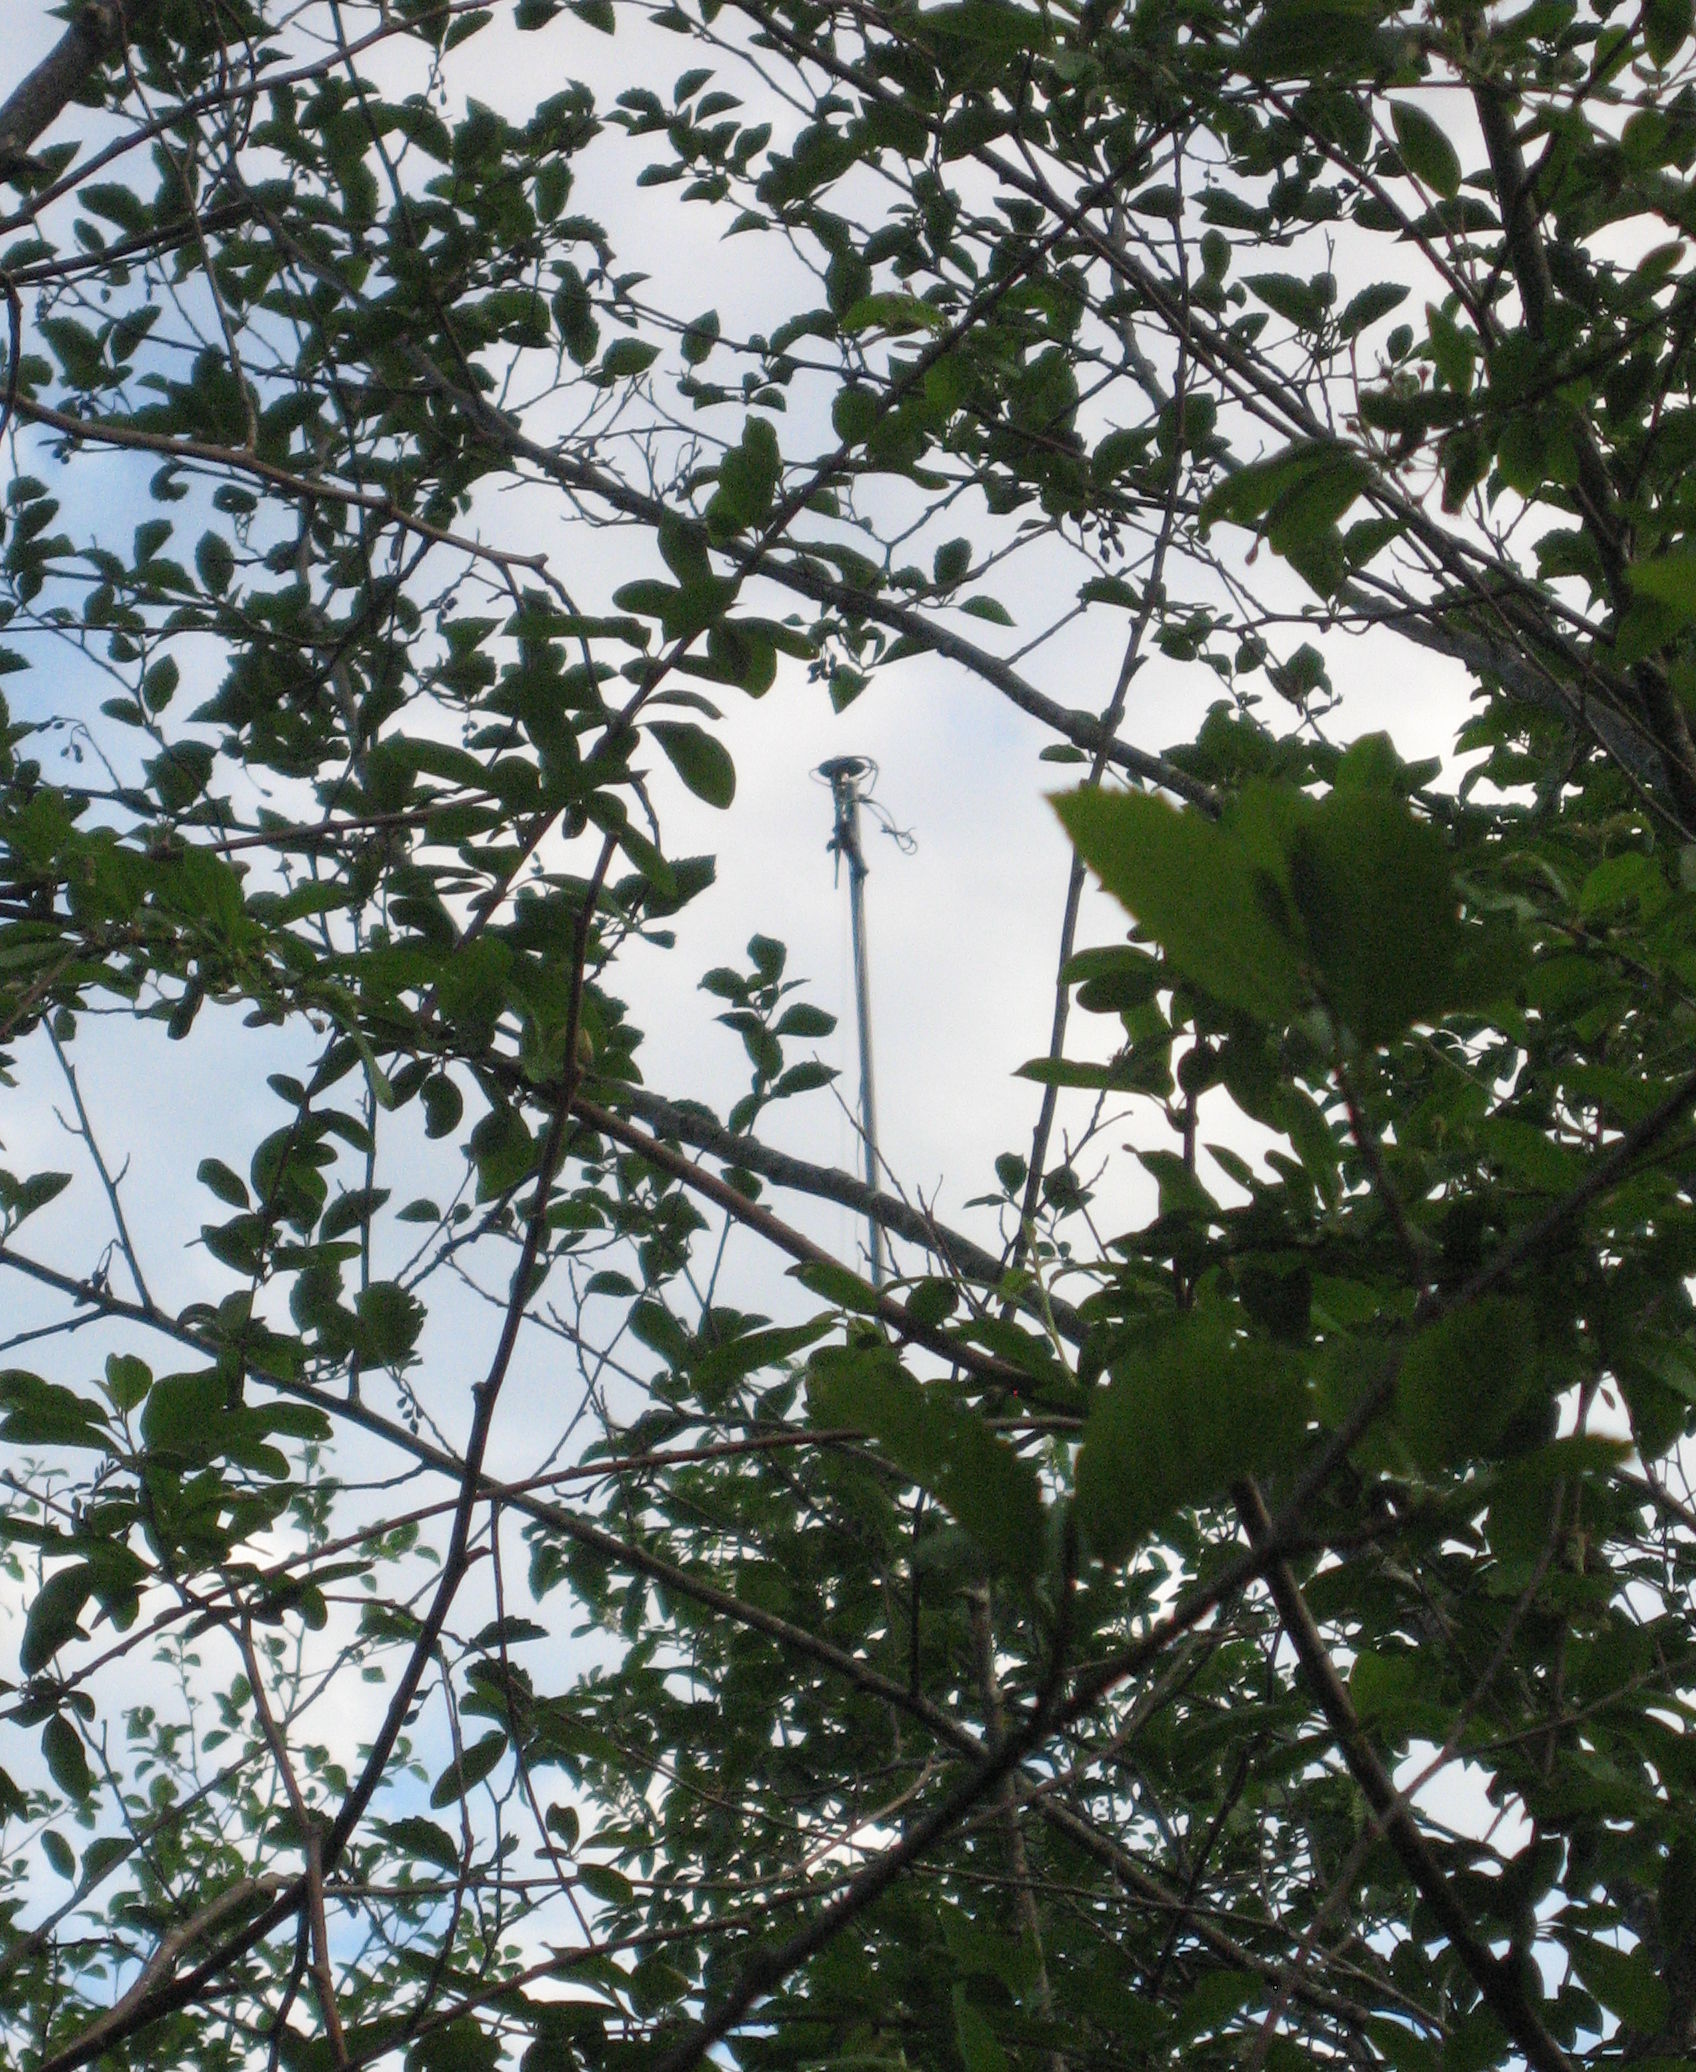
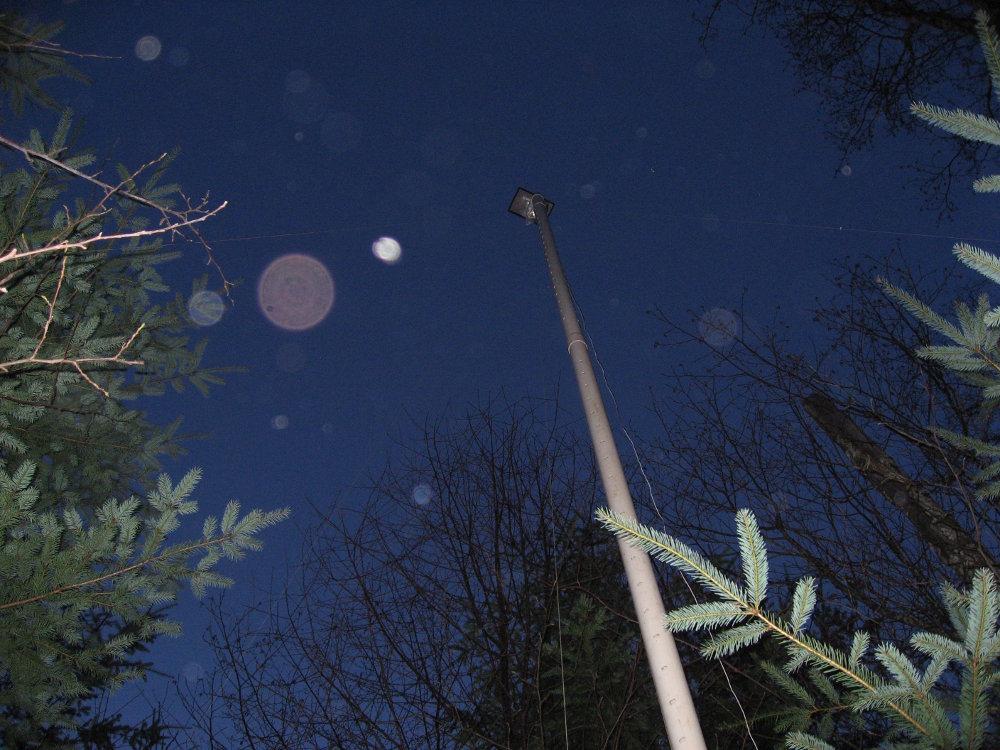
And closer:

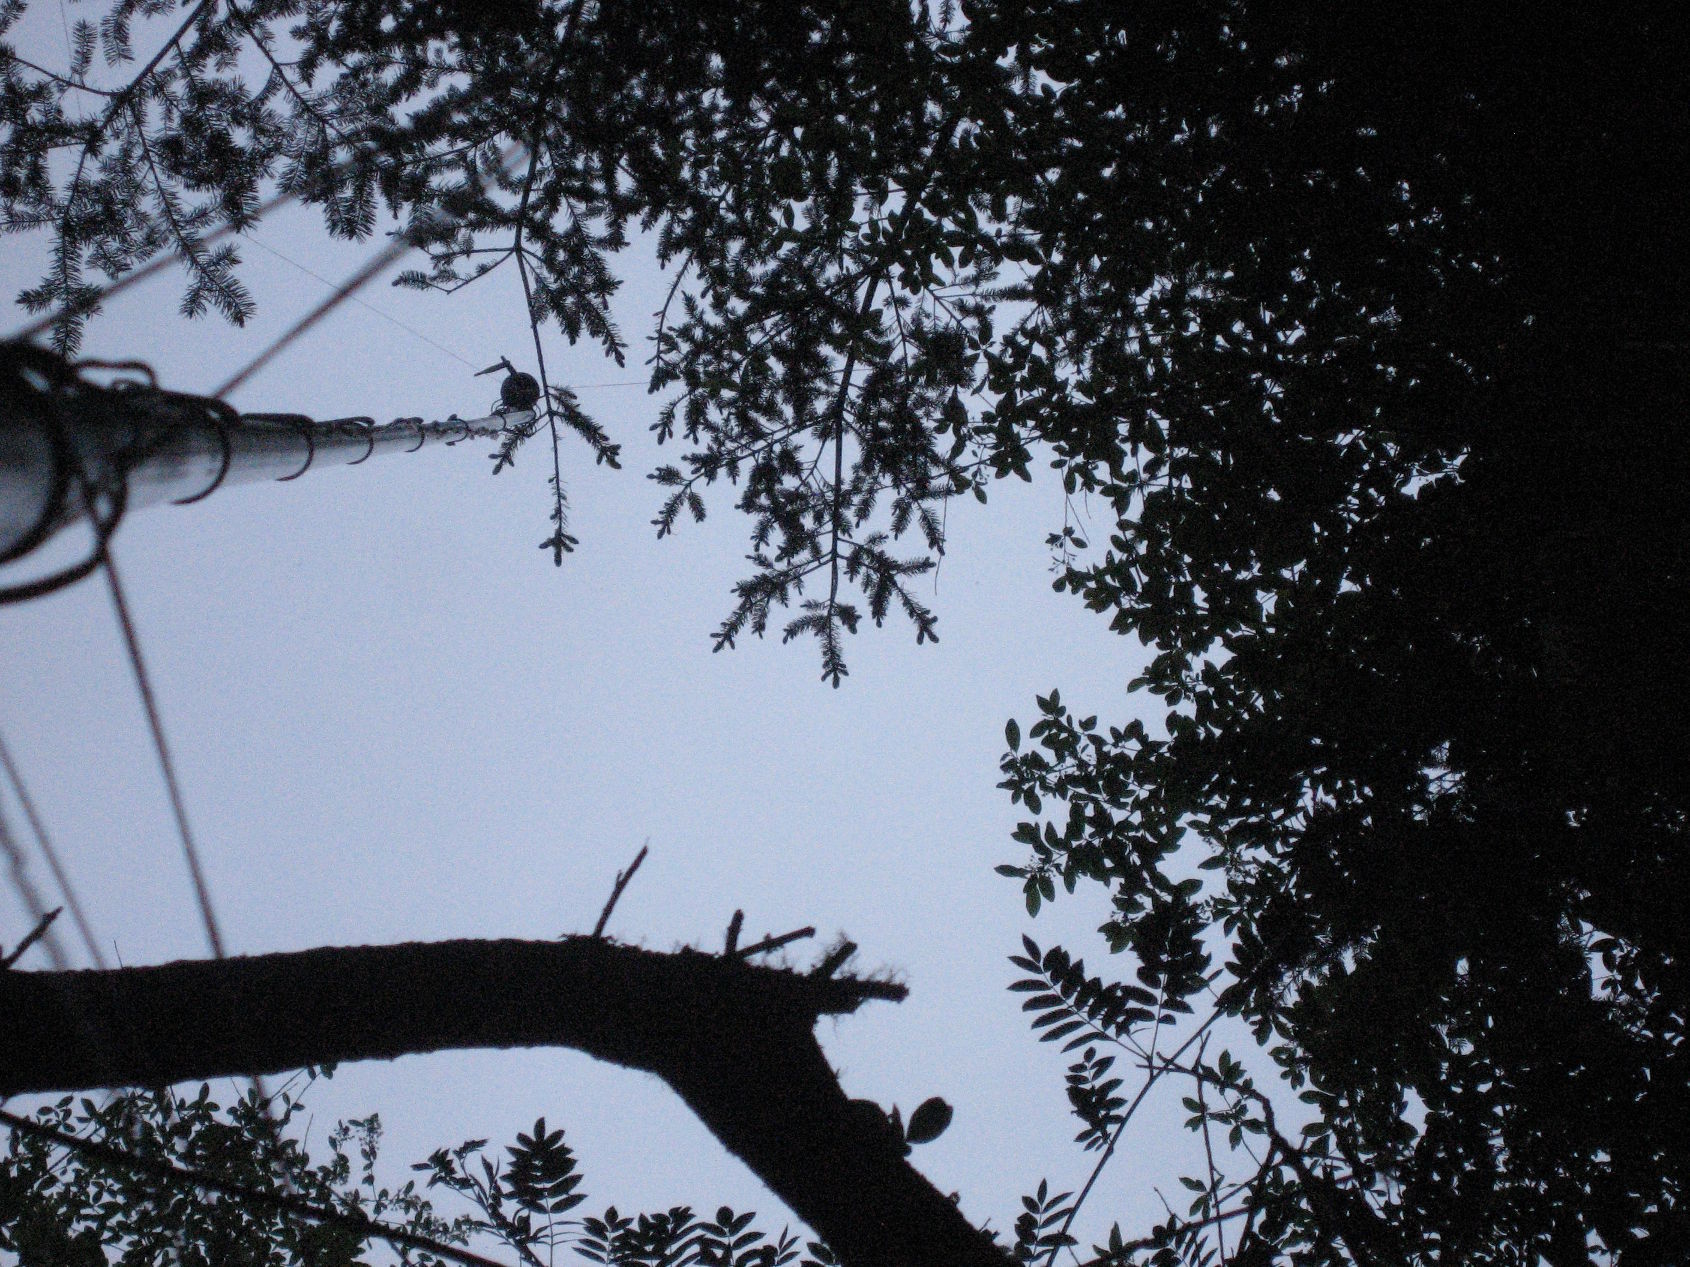
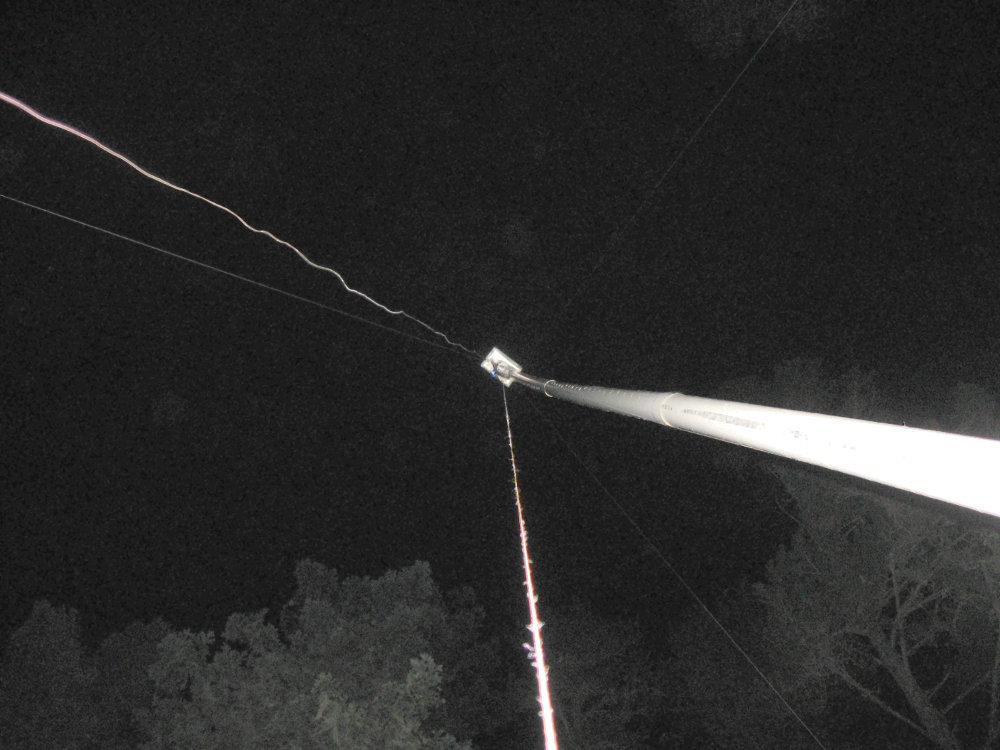
At night, looking up the plumb bob string. You can see the plumb bob string, the power cable, and the 3 guy wires.
It takes a minimum of two people to raise the mast safely. One to hold the bottom to the ground, while the other lifts up the top and walks along while lifting higher and higher. The mast can be leaned up against a nearby tree while waiting for the guy wires to be tied. Alternatively, a guy wire can be tied before raising the mast, and one person can balance the mast by putting some strain against the guy wire. It is possible for one person to hold the mast alone, but it can be very difficult. One person might even be able to raise the mast by themseves, but I would not recommend it.
For transport, tape the 3 sections of PVC drain pipe together side-by-side. Put that over your shoulder, and the rest can be carried in a back back.
Components:
- Battery pack
- 10.5m (35’) 12Volt, 16AWG, 2-conductor extension cable with USB power adapter attached
- The Reach unit
- The antenna mounted to a steel sheet metal ground plane
- The ground plane bolted to a PVC drain grate fitting underneath
- A ring for the plumb bob string attached to the drain grate under the center of the antenna
- A PVC wye fitting screwed to a PVC 45 degree street elbow
- The plumb bob with 18m (60’) of string
- Not shown: 3 guy wire strings approxImately 15m (50’) each
- Not shown: 3 sections of perforated PVC drain pipe 76mm (3") diameter by 3m (10’) long
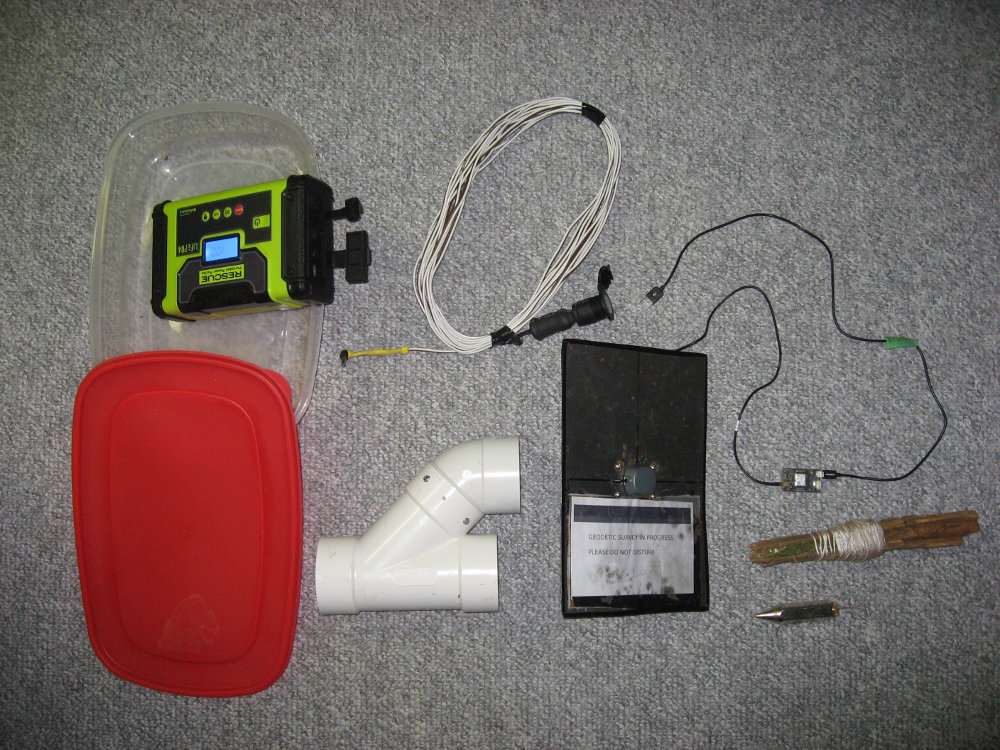
Components shown ready for assembly. Ground plane gets put on top of PVC wye fitting, and that gets put on top of PVC mast. Center of antenna is offset to the side of the PVC mast. Plumb bob string goes from the ring under the antenna, straight through the PVC wye fitting down to the ground.
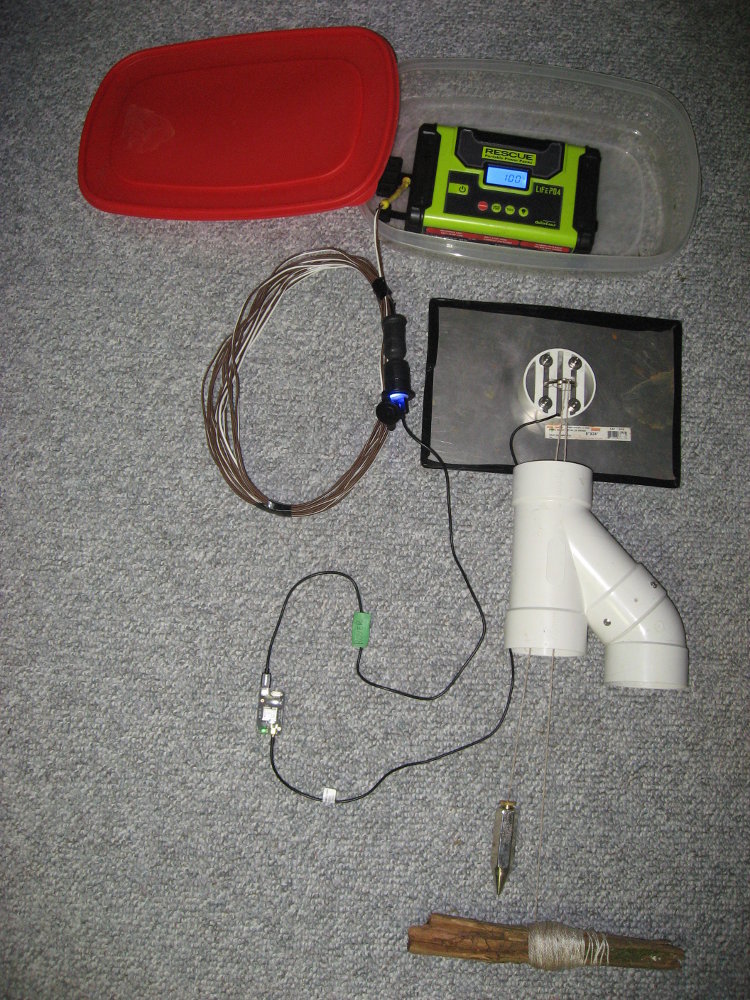
Showing the antenna cable held to the inside of the PVC wye fitting with electrical tape to keep it from interfering with the plumb bob string.

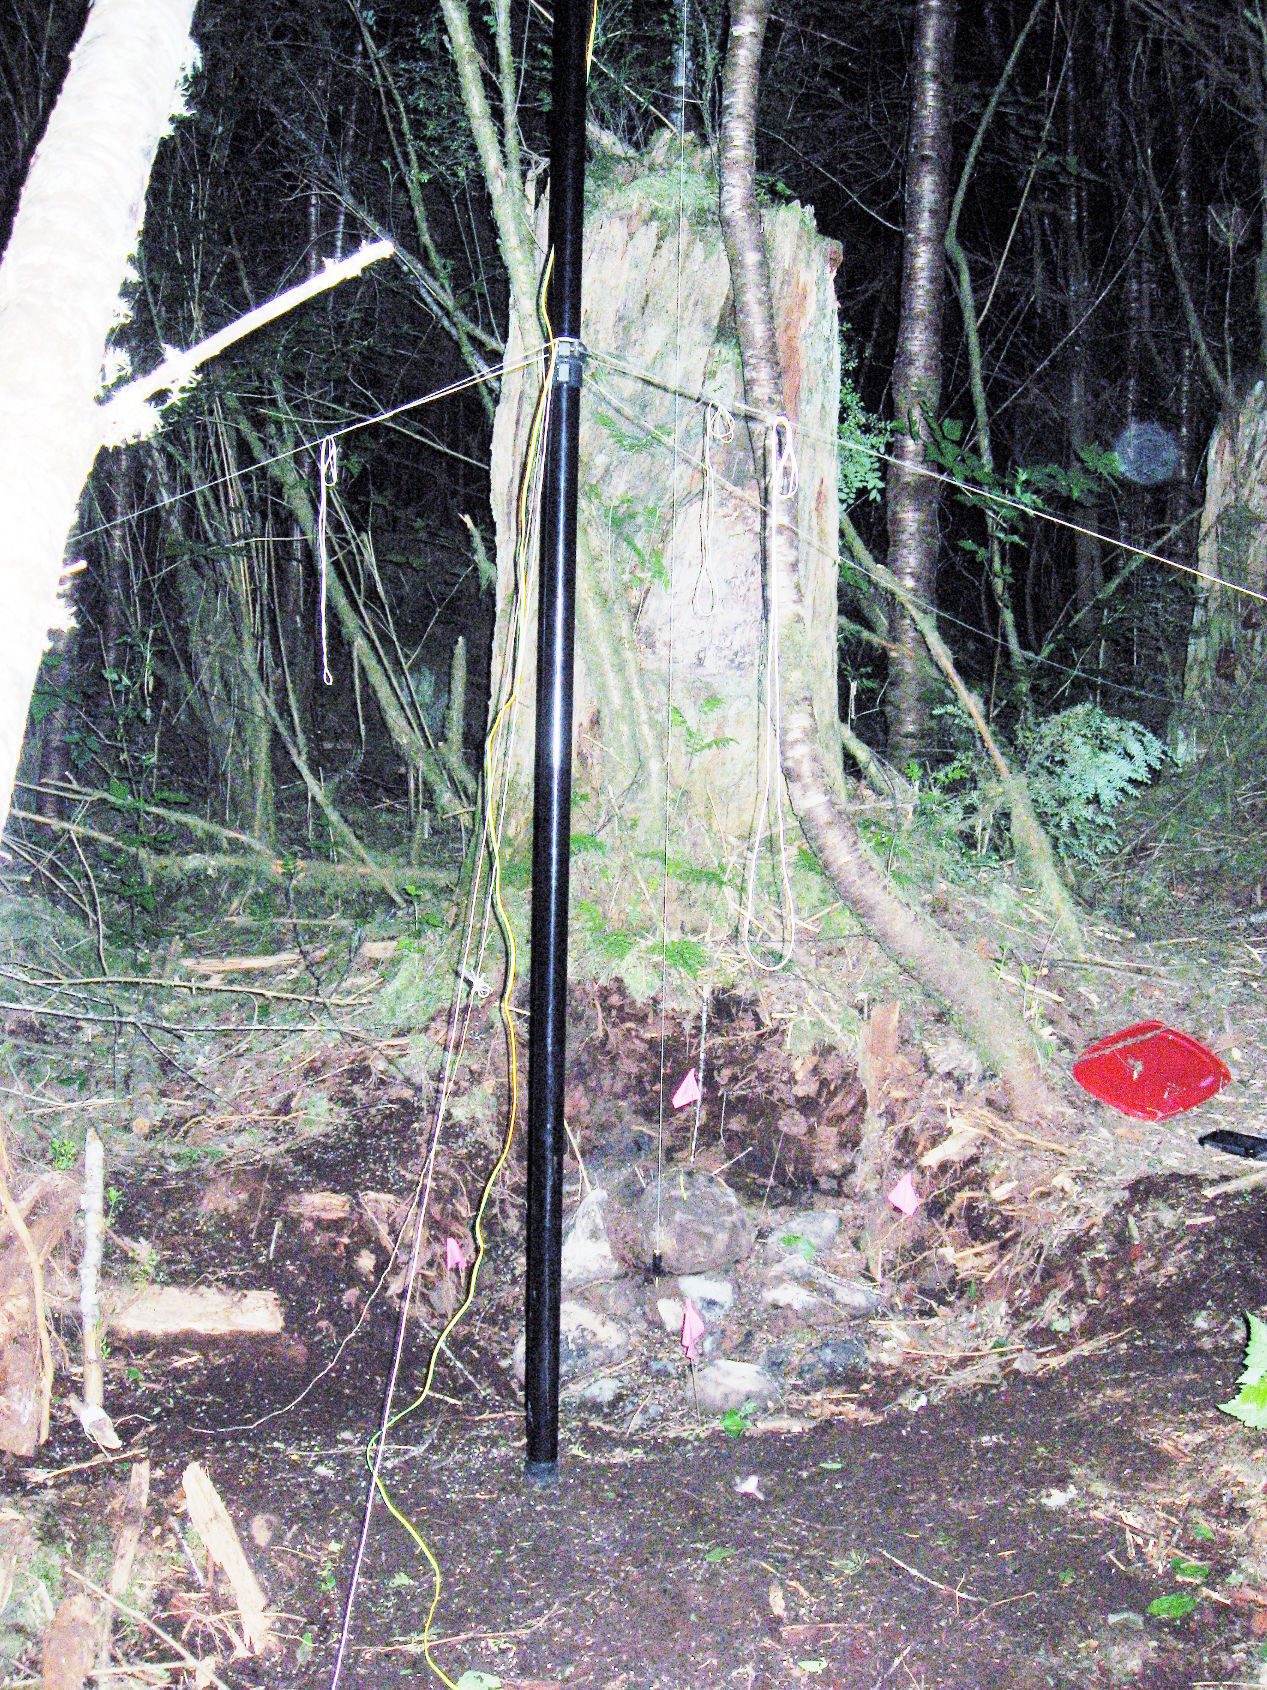
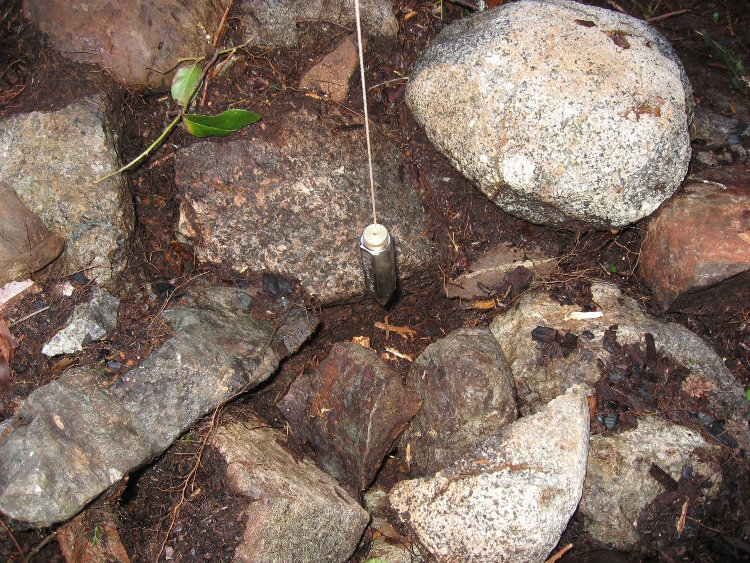
The plumb bob in action. Loosen or tension the guy wires to center the plumb bob over the marker.
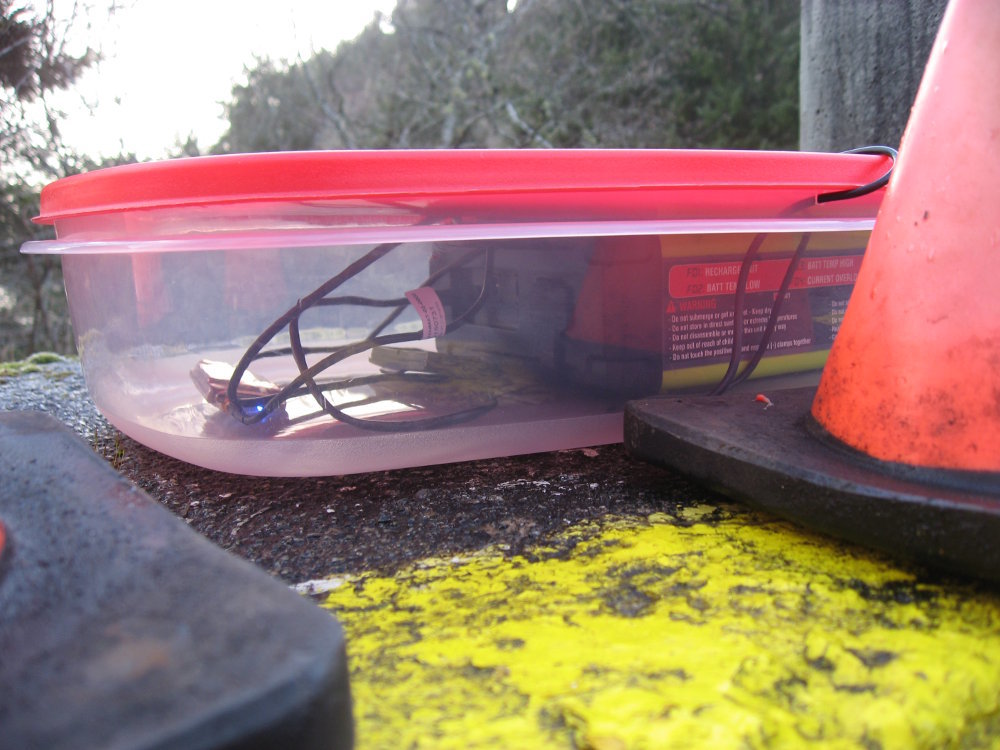
The battery pack in waterproof container with cover removed.

Very professional waterproof container for the Reach unit and also the USB power adapter. This bag is sealed as best it can be, and gets taped to side of PVC wye fitting. The power cable gets heavily taped to side of PVC wye fitting to provide strain relief for the wires. You should probably do a better job than this.

This is what my base station lives in:
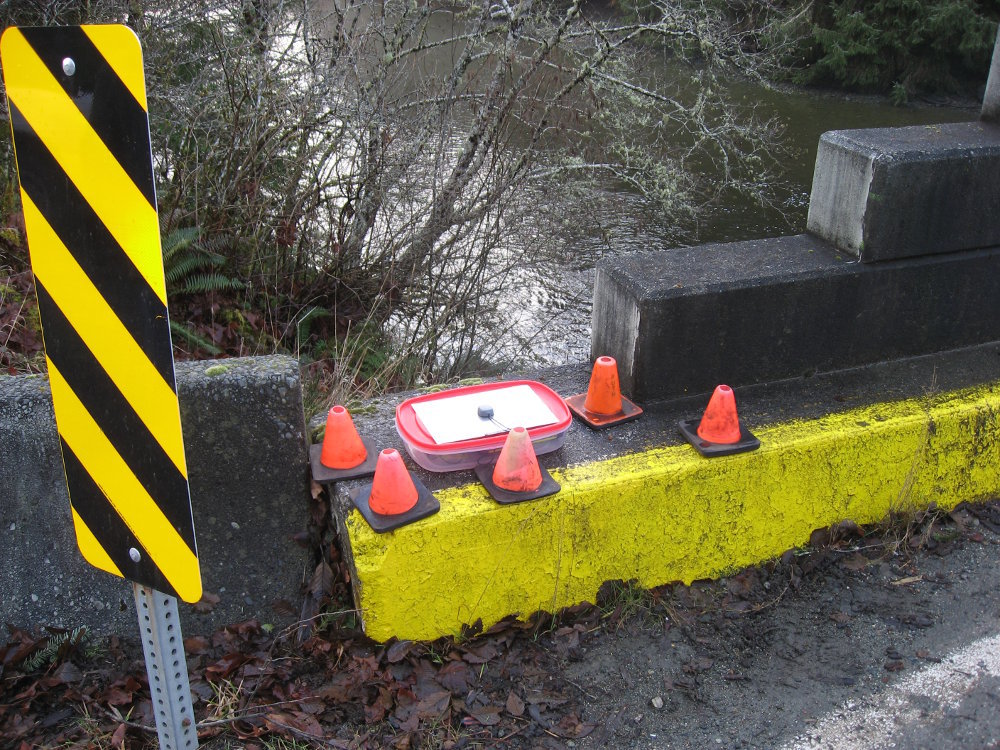
Rain water could enter the container along the antenna wire. I will tip the container slightly so the water runs off, or pay closer attention to the way the cable lays so that the water will drip off before entering. So far my equipment has stayed dry in very heavy rains.