Good morning from Texas! I haven’t posted in a while but wanted to hop on to share some amazing things we are doing with our drones now thanks to the Emlid hardware and local NTRIP.
Below are some snippets from a Cast-In-Place structural concrete wall. This is actually a form check because the drone had already caught deficiencies in the build and they had to demo and rebuild it. The Contractor in question has had sub-par performance and is now under the watch of the eye in the sky. I heard that they had the wall re-formed and were pouring last night and there was a request to laser scan it. I told them that a terrestrial laser scan wasn’t going to do anything for them because the forms obviously block the structure and there is no way to scan from a position that would see the block-outs in the formwork. They then asked if we could shoot it with a total station and I told them that wasn’t safe and you’ll see why. I refuse to hang one of my Field Engineers out in a dangerous condition so I decided to do it myself with the drone.
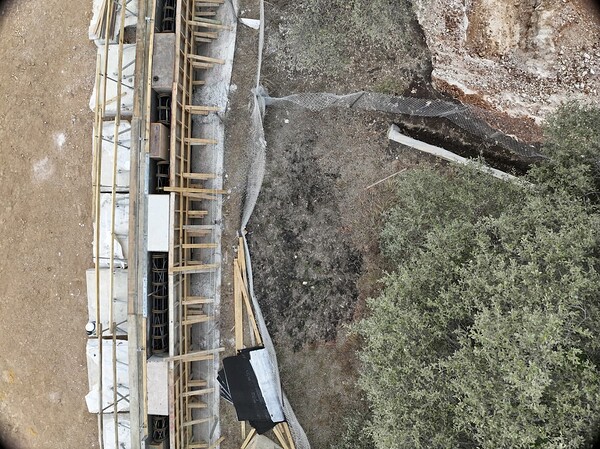
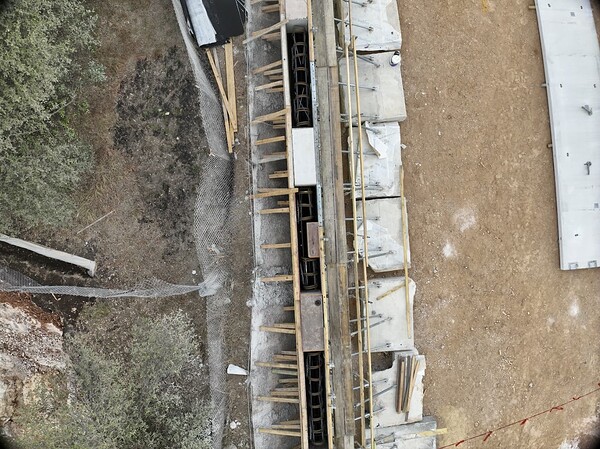
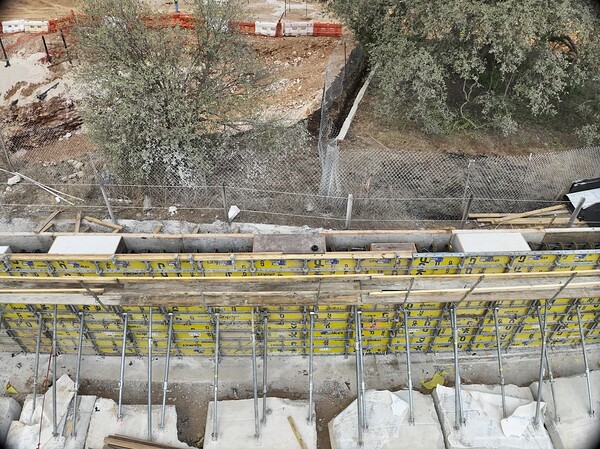
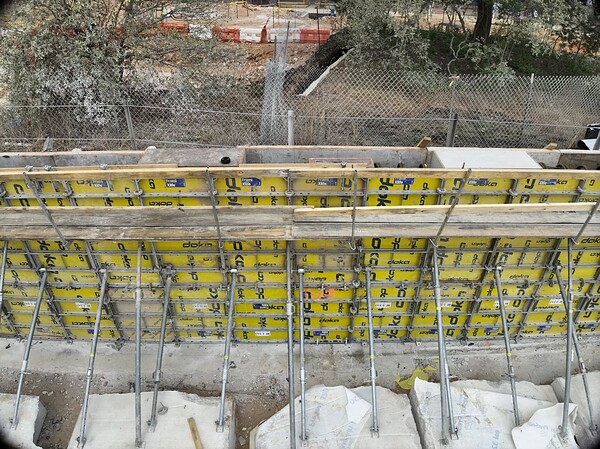
I used an RS3 to collect checkpoints and did not use a single GCP in processing. Next I setup the RS3 as a base on a point set from our localized project and sent corrections to the Mavic 3 Enterprise. I manually flew 2 nadir flight lines overhead along with 2 oblique facade lines with slightly different elevations and gimbal angles. Proximity to subject was approximately 40ft on all flight lines.
Nadir 1
Nadir 2
Obq 1
Obq 2
Next came processing in Metashape. I want to do a video of my process but the real trick is clean and optimizing the tie-points using the gradual selection tools. Also make sure you not only get the correct CRS for export but the correct units especially if you deal in USft and INTft. I also processed with GEOID18. These are screenshots from my remote processing machine via TeamViewer so not that great, but you’ll get the idea.
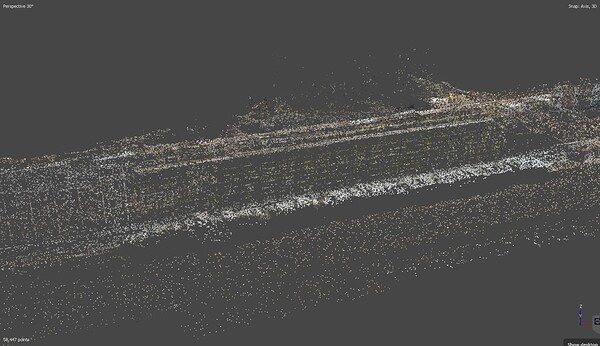
Tie-Point Cloud Optimized with image residuals at 0.058ft.
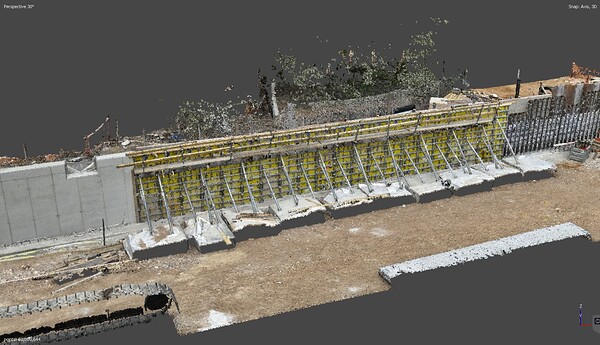
Dense Point Cloud
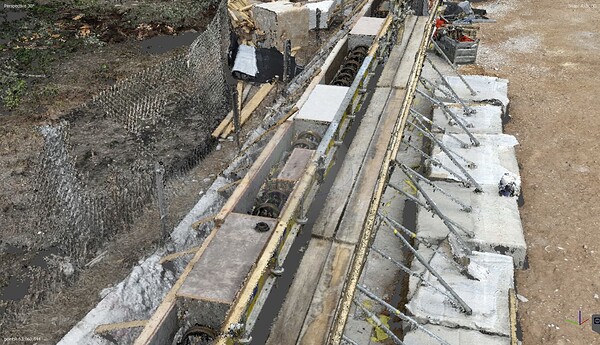
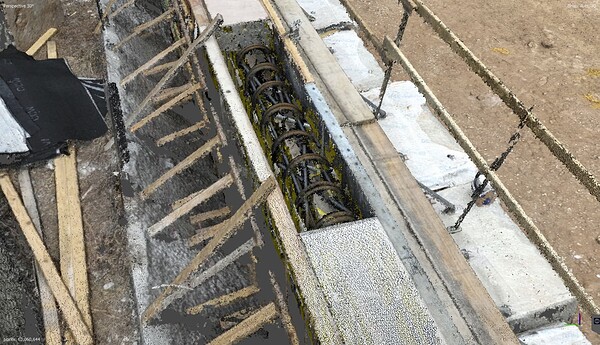
Nice Detail
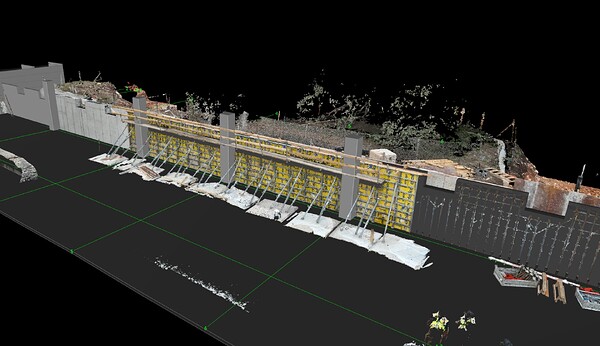
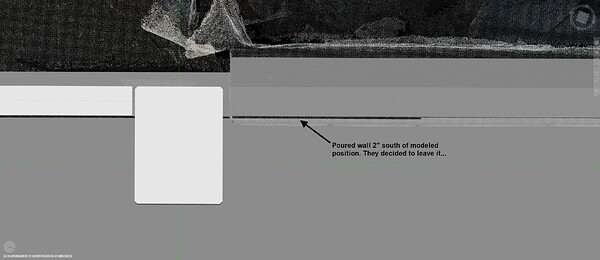
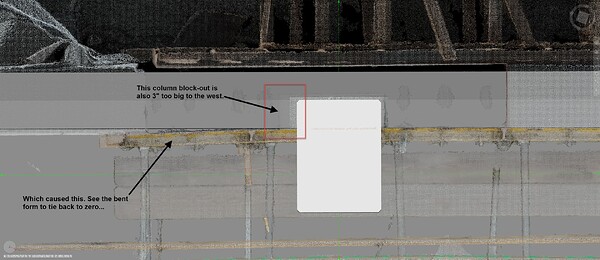
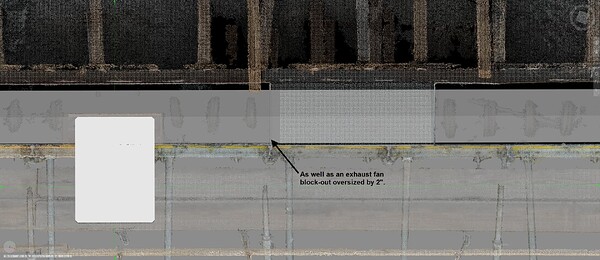
Next step is to export the LAZ and run it through Autodesk Recap to convert it to an RCS file format. Then append it to our BIM model and analyze. I found several major problems like wall plumb, thickness and block-outs that were up to 2" out of position. It took me 2.5 hours from stepping foot in the zone to looking at the augmented BIM model with a Superintendent and they were able to fix the discrepancies within tolerance and pour the wall 3 hours later. There’s no other workflow that I know of that could capture this accuracy with that quick of a turnaround on the data.
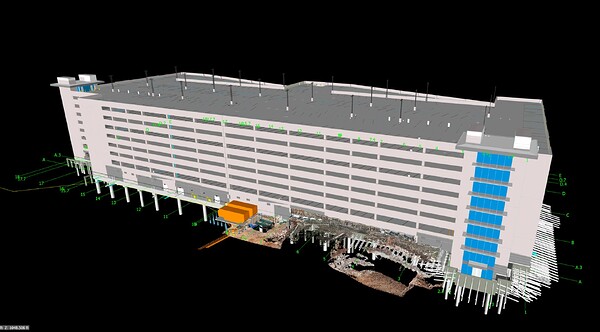
Navisworks BIM Model
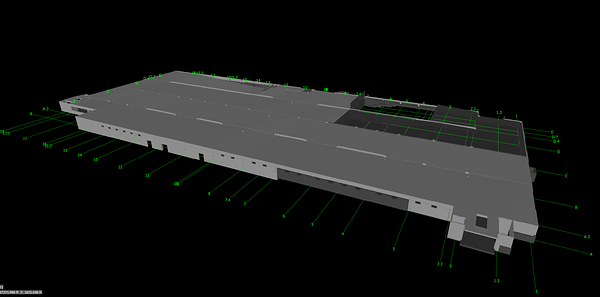
Structural Concrete Scope
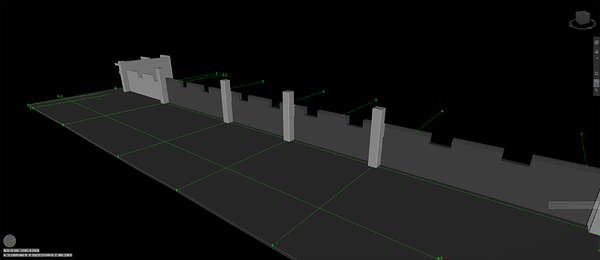
Subject Area
Augmented BIM Model
Found deficiencies all over the place but we were able to have the Trade Partner fix them before pouring concrete!
Previously poured wall that they accepted…
…then it got worse.
At the end of the day this stuff works when you have a little patience and perseverance to develop a workflow. We paid for the drone 50x on this scenario alone. Godspeed All!


