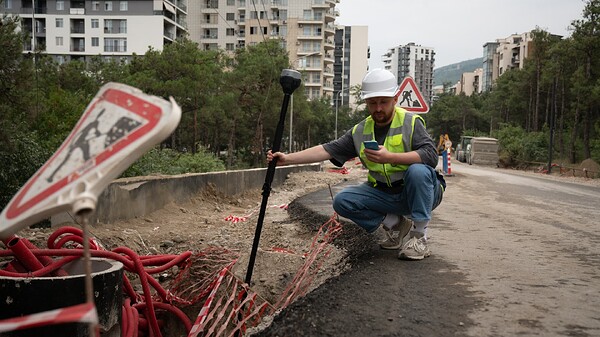
Today in the Emlid Flow in action series, we’re highlighting essential for land development topographic surveys. They capture detailed data on contours, elevations, and structures, forming a precise foundation for construction, civil engineering, GIS, and transportation projects. Emlid Flow and Reach receivers make it easy to accomplish all of this.
Getting started with your survey
We recommend starting your topographic survey preparation in the cloud-based Emlid Flow 360 app using an Emlid account. Such projects often involve large amounts of data, so it’d be easier to manage and process it on a larger screen.
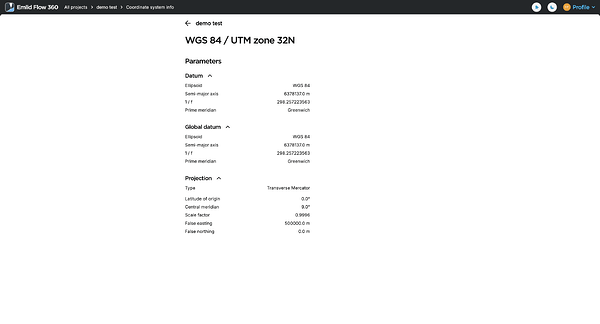
Create a project and choose a coordinate system. If you cannot find the required one, use the localization option later in the field or create a custom one using the known parameters.
To enhance decision-making with visual references to nearby features, you can overlay real-time maps, satellite imagery, or geographic data using the WMS/WMTS layers.
Additionally, you can upload your own or use the standard survey code library to streamline data entry, making it easier to organize and interpret large volumes of information.
Collecting data in the field
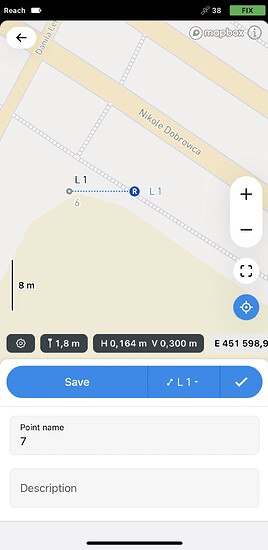
Sync your project in Emlid Flow and begin surveying the site. Capture an accurate representation of the land by collecting points, lines, and polygons. To streamline your workflow, use auto collection by time or distance for large or elongated objects, or apply precision limits to meet project requirements. If the included library is missing codes for certain features, you can easily add new ones on the fly.
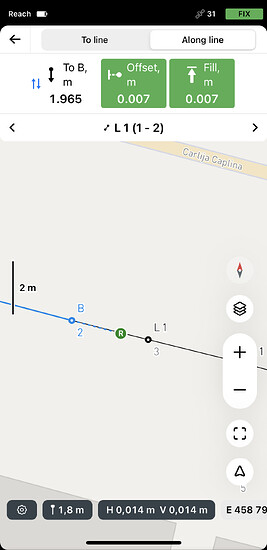
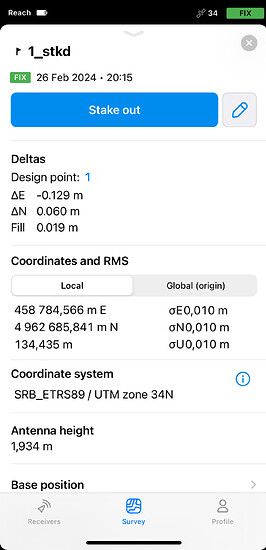
Use the Stakeout tool to provide real-world reference points, helping to avoid costly errors and ensuring that the project aligns with the original plans and topographical data.
If necessary, prepare a stakeout report to ensure you meet the project requirements.
Performing instant calculations
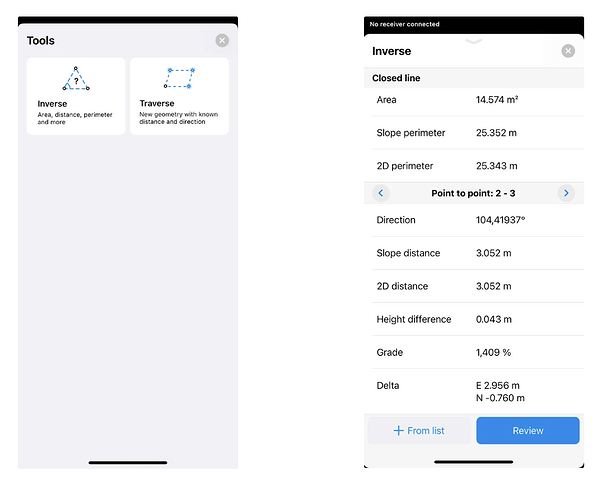
Often, you’ll need to verify that all features are properly arranged. Emlid Flow offers Inverse and Traverse tools to help with this—use them to obtain corrected points or check angles, distances, and more between existing points to ensure everything is aligned correctly.
Getting the results
Once you’re finished, you can review the data in Emlid Flow 360. Use the Traverse and Inverse tools again if needed, and export the stakeout report and the project in various formats compatible with CAD software requirements.
Which tools do you use most in Emlid Flow for your topographic surveys? Do you often need to correct your data? Leave a comment below to share your experience and tips with us and other users. Need help? Feel free to drop a comment or reach out to us at support@emlid.com.


