Hello,
Is there a function that will allow the automatic, timed collection of data points during a survey? I can only see how to collect one point at a time which is not efficient when surveying a large area.
Thanks
Hello,
Is there a function that will allow the automatic, timed collection of data points during a survey? I can only see how to collect one point at a time which is not efficient when surveying a large area.
Thanks
I don’t have any units in the office at the moment but we used the rover in RTK mode set to record at every 1 second intervals (1 hz). This is a base + rover setup with the base sending corrections either via LORA or through NTRIP. The resulting coordinates file has an extension of *.LLH. Look at the solutions column ( column #6). It usually has values 1 or 2 value. Values corresponds to the ff: 1:fix,2:float,3:sbas,4:dgps,5:single,6:ppp
Hi Bruce,
Indeed, you can record a continuous position log. The frequency of points recording depends on the update rate you set in GNSS settings. There are 1 Hz, 5Hz, and 10Hz options, which correspond to 1, 5, and 10 times per second.
Good morning,
Thank you both, I will endeavor to do what you have recommended and re-post if I have any issues.
Bruce
Hello,
I have familiarised myself with the survey part of the app and I can successfully collect single, manual points. My question is, how do I set this tool to automatically collect points while I am mobile? for example, walking across a field? If I am making a survey of a 1 hectare plot can I set a timer so points are taken automatically in the survey mode?
I appologise if this question has already been answered but I cannot see how to do this and none of the training videos articulate how to do this.
Thanks
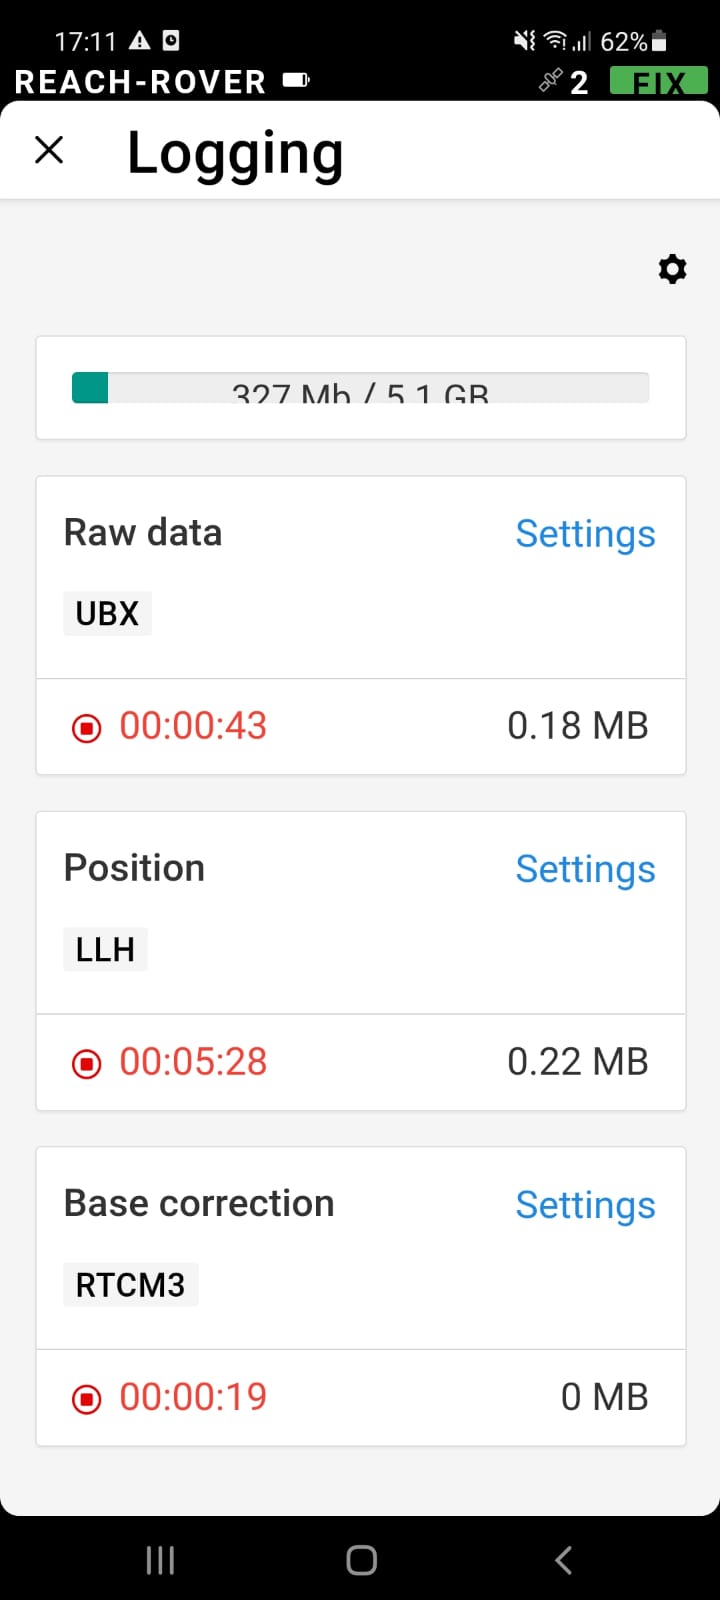
Hey, this is possible and it is done is a different section of the App. In ReachView 3 navigate to the ‘Logs’ page. On this page there are 3 types of logs you can set your unit to record
Raw satellite data in ubx or Rinex format (you want this if you want to post process your survey and in general always a good idea to turn this log on because it’s easy to delete if you don’t need it and it can really save you if you get back to the office and something is amiss with your RTK data.)
Position log in llh format (lat-long-height). This is what you are looking for. It will save a position continuously once you turn it on at the same rate you have the unit calculating the position. Just start it when you want to start your continuous survey.
RTCM log. If you are receiving RTK corrections from a base, the corrections will be stored here. Again, good idea to turn this on and delete later if you don’t need it. If you directly have access to the rinex from your base station, then this is not necessary, but you can post process with it if you don’t have that access and it can also help troubleshoot if you have trouble getting a fix.
Hello,
Thanks for your input. I was only able to measure single points. Can you explain this part of your explanation?
Yep, once you turn on the position log you don’t need to go to the survey tab in reach view 3. Your unit begins recording its position in the memory on the unit. Once you have finished your track, go back to the logging page and turn the logging off. Then your unit will process the file and you’ll see the processed file below under the date you recorded it. From the interface you can download the file to your phone or to your computer by logging on with your computer. It is saved as a *.llh file, but it is just a text file with a record of every position as it was recording. You can open it with notepad or excel if you want to see the contents or you can use rtklib to view the plot. Just remember it continuously records based on the rate you have selected in the units RTK settings, so if you step off of your intended path, then it will record that too. So if you need little sections you’ll need to start and stop the logging for each section or select them in post processing.
If you need something with more features, you could look into Field Genius for Android. it has an auto recording feature that can work based on distance. Eg it can record a point for you at 10m intervals or based on a time interval. You can start or stop this recording at will and all of these points are in the same survey project file instead of a separate log. I use FGA with my RS2 and it works great.
Thank you, I appreciate your time. I am working tomorrow so I will test everything you have explained.
Regards
Okay, I have done this and see the files under the date in the logging page. I have downloaded each of the three different files. I can open them in excel but I am unable to use this excel file in QGIS or Global Mapper. Normally, I have to remove any columns that exist on the spreadsheet before the point data (x y access) and then load it onto either of the two programs mentioned. I remember the previous app being a lot easier and you could see the points being created automatically as you moved across an area in the survey mode. Anyway, if you have any recommendations I would be happy to receive them.
Hey. Yes definitely doing it this way with the log, you won’t be able to see the individual points realtime in the app. You could still start the log and then switch to survey mode and it would show you your current location, but not the points it is logging.
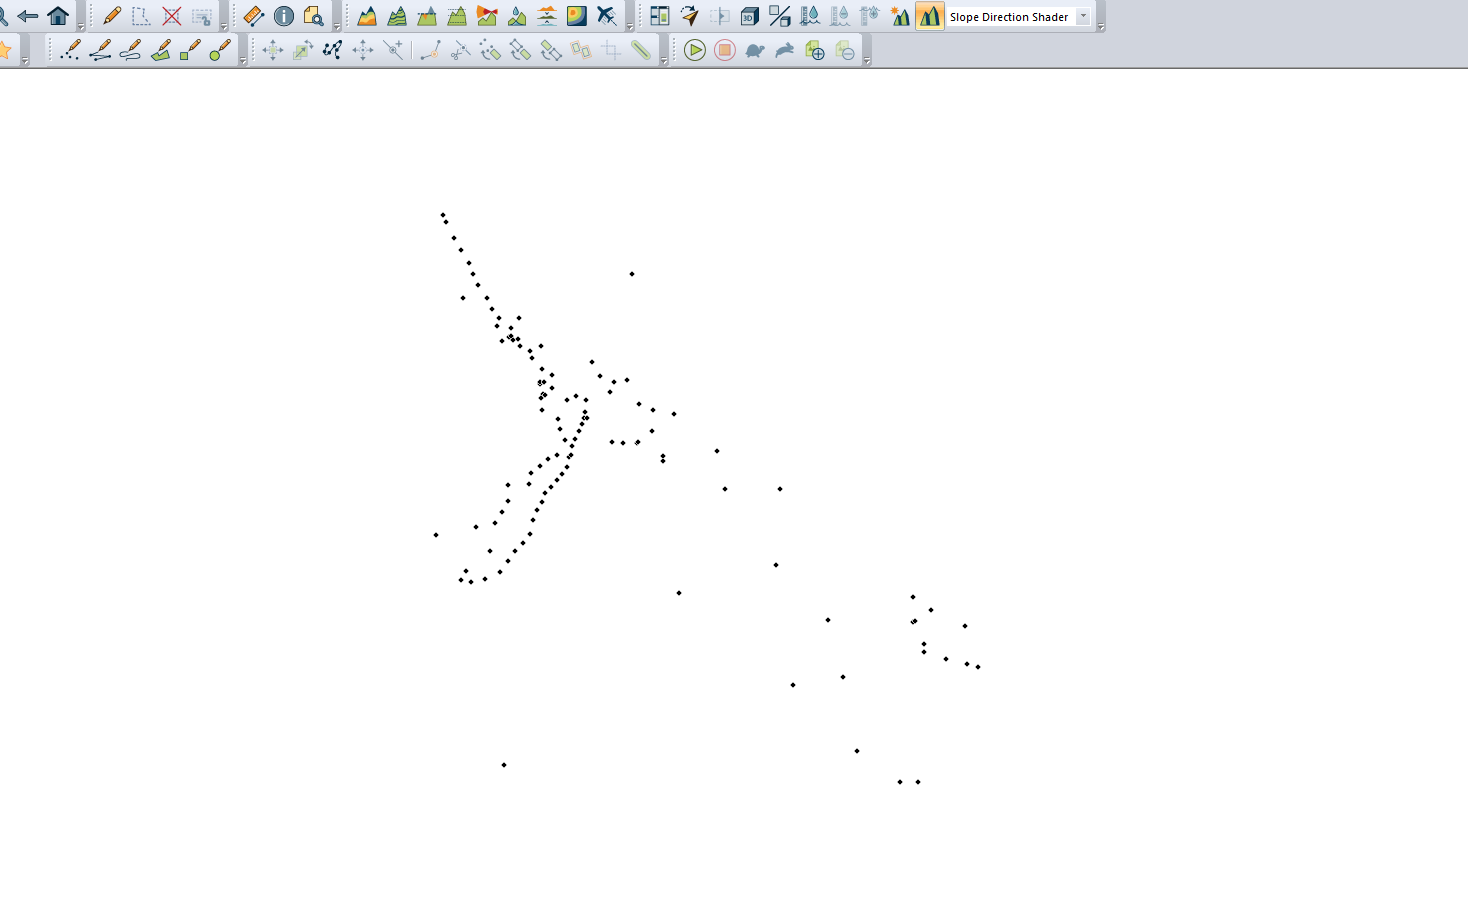
It is possible to load the file into QGIS, just takes a little bit of pre-processing:
Load the LLH file into excel highlight row A and use ‘text to columns’ on the data tab. Select ‘space’ as your delimiter and it will place the data in its own individual columns.
I like to add a row at the top and add the headers. Date, Time, Lat, Lon, Elevation, Fix, Satellites. The other rows I didn’t list are standard devations and you need their headers or want to save them you would need to look up their order. For this test, i just deleted those rows. Save the file as a .txt
In QGIS, click add data, choose delimited text. Chose custom delimiters and ‘space’. Select 'first record has field names and detect field types. Make sure that the X field is LON, Y Field is LAT, and Z Field is Elevation. Choose WGS 84 as the Geometry CRS. Then you can review the data in the sample pane to see that it looks right.
This will load data points to QGIS. If you need a line, you could use points to path function.
Another possibility if you want to see some of the points as you walk would be to use the old ReachView 2 app and have your device on the map as the bottom of the status page. I think there you can choose to see the last 100 points logged. But you do still need to turn on the logging function.
Good morning,
I really appreciate the time you have taken to respond, thank you. I am finally able to upload the data into both QGIS and GM. Global Mapper requires a slightly different process but it works.
I am slightly disappointed that you cannot see the points automatically appearing while performing a survey in the ‘survey’ mode. This was very useful while walking to see if there were any areas of a land surface that were missed or had large gaps. Now it is blind you cannot see this until you look at the data after the survey.
Best Regards
Bruce
This is probably a little more in depth than needed but any delimited text file should be usable in QGIS without pre-processing it. In the delimited data import tab, you can specify the delimiter character, toggle if the first line contains column headers or not, and specify how many lines need to be skipped at the top of the file. This is usually enough for me to import straight from almost everything.
Gabriel,
Okay, good to know. Thanks.
By the way: MicroSurvey “Field Genius” for Android has this function (automatic data point collection) as a standard feature. It can be set to collect a point at any fixed interval (i.e. ever X feet or meters,) and the collection function can also be tailored according to point accuracy: You can set thresholds of “single”, “float”, or “fix”, as well as PDOP thresholds and horiz / vertical standard dev. error thresholds.
I should note that on my Android phablet (a Nautiz X6) with an RS2 spitting out NMEA over Bluetooth at a 5 Hz rate to FieldGenius, setting a 1-foot collection interval while walking at normal speed tends to result in a pile-up and eventual crash of FieldGenius. It seems to “choke” trying to process too many auto-points too quickly. It is happier (when moving at a walking pace) with an auto-collection interval of about 1 meter.
Hi Manscuto,
We may have seen a similar request before. I’ll note the ability to automatically record a point at some distance as a possible plan for the future and pass it on to the devs.
As for Field Genius, I’m not sure how difficult it is to handle 5 Hz data. However, I think that 1 Hz should already be enough to keep Field Genius from crashing and still have enough points to measure a 1-foot collection interval.
Another reason for the difficulties with this app may be the format for the position output. If I remember well, Field Genius recommends using the ERB format if you are working with Android. If you’re able to test this way, I’d be interested to hear about it  .
.
UPD. Fixed the typos
This feature was also something I was looking for and it would be great if it will be implemented in the Reachview app.
I tested multiple apps for this, but the only one that I found that could handle a large amount of points was TCPGPS for Android with 1Hz data. We mostly use it to collect data on transects, which sometimes could be >10000 points in a project. Field Genius already gave up after a few hundred points (also with 1Hz), so not a good solution for auto-recording lots of points.
Unfortunately, I didn’t find any free (Android) app that have this feature.
Hi @seanzandbergen,
10000 points seems quite a lot! I think it may depend not only on the app but also on the power of the particular mobile device.
In ReachView 3, you can set an Update rete to 1Hz and record the position log. This is not displayed in the app, but you can download it and see recorded points later. Still, this is a good suggestion to implement it in the future!
This topic was automatically closed 100 days after the last reply. New replies are no longer allowed.
Hi everyone,
Great news!
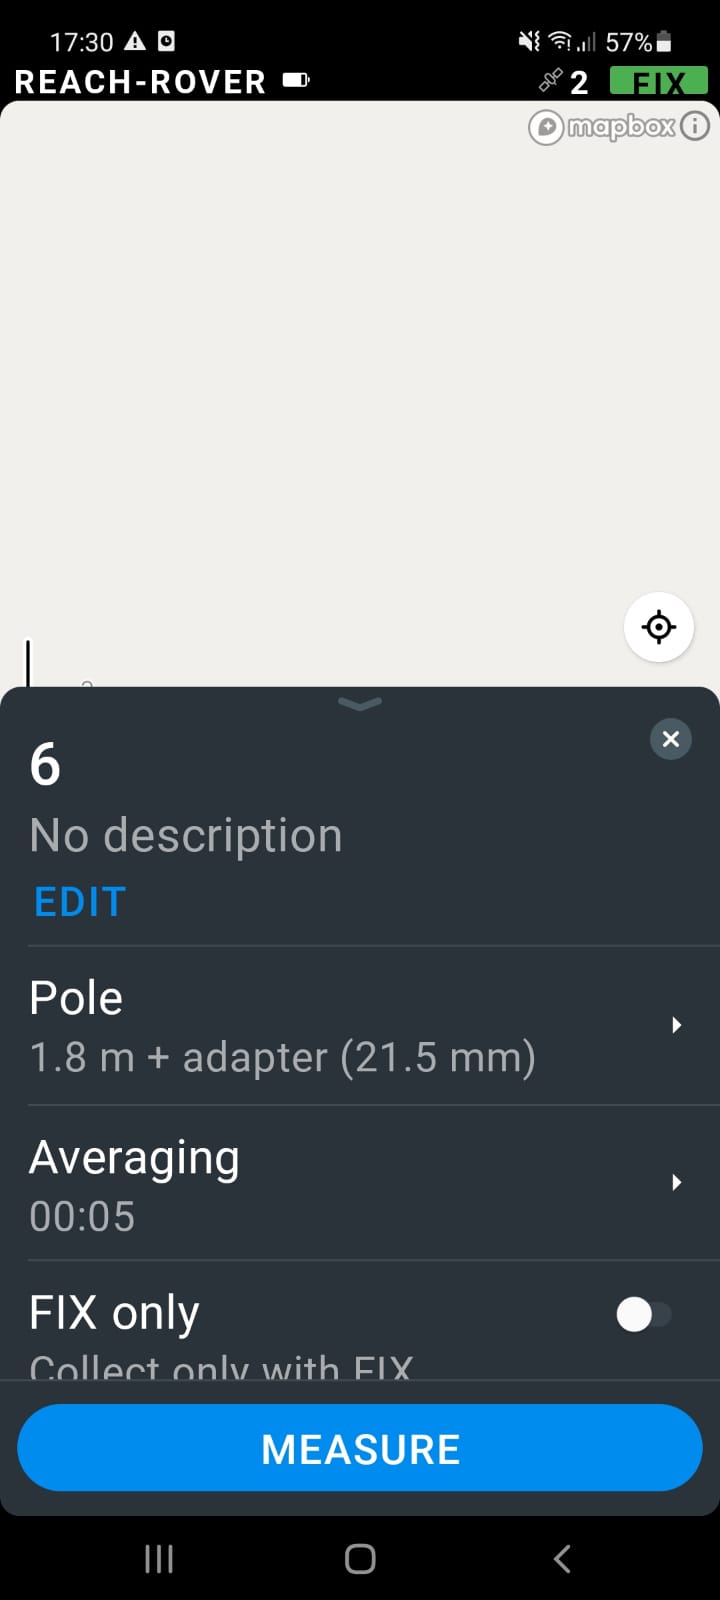
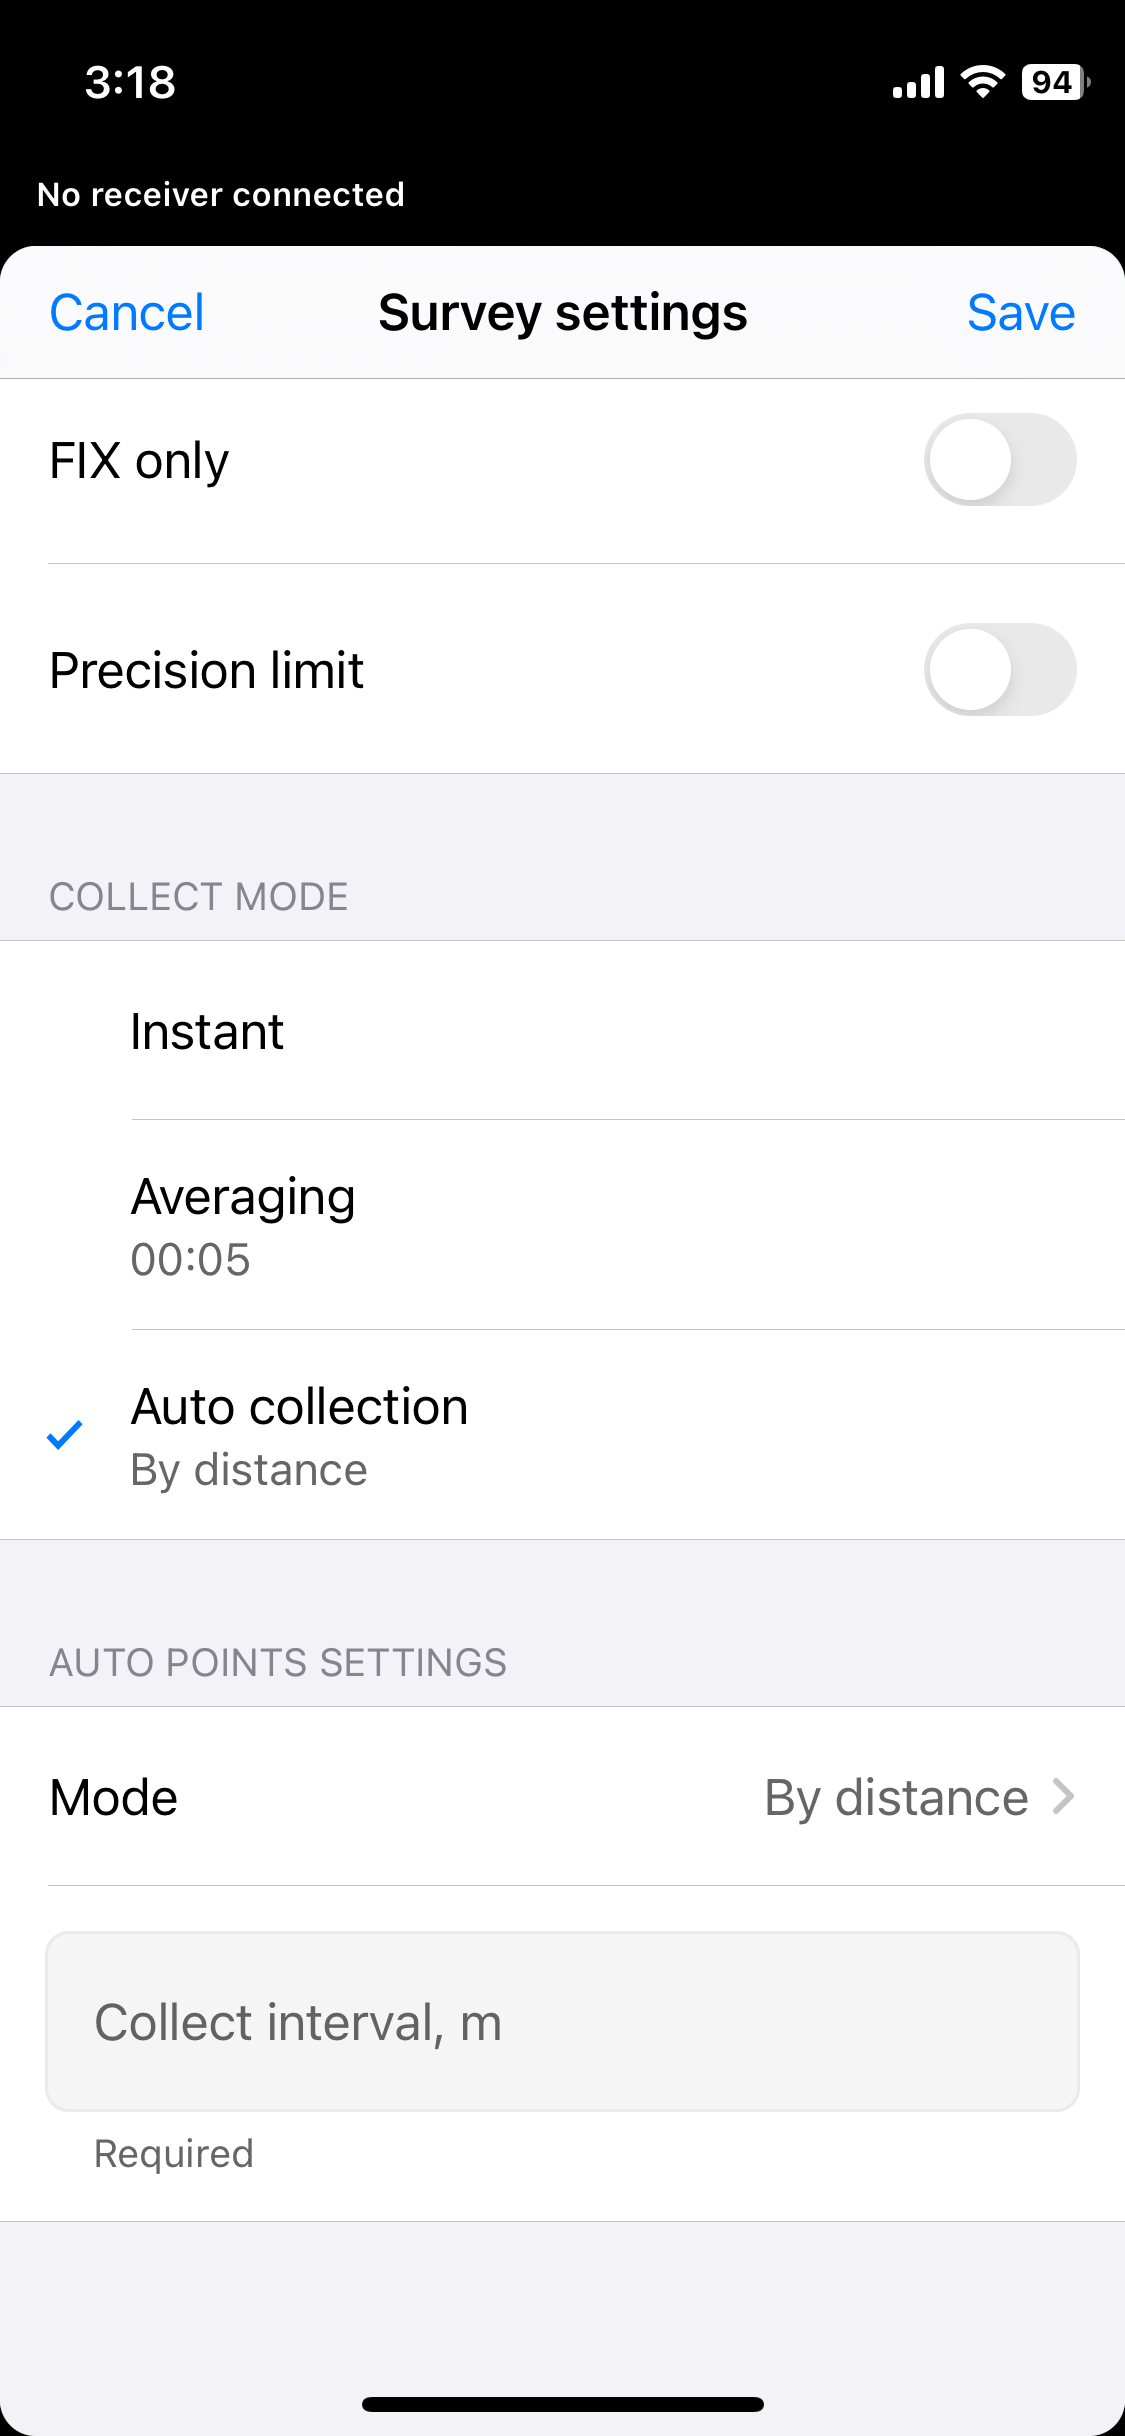
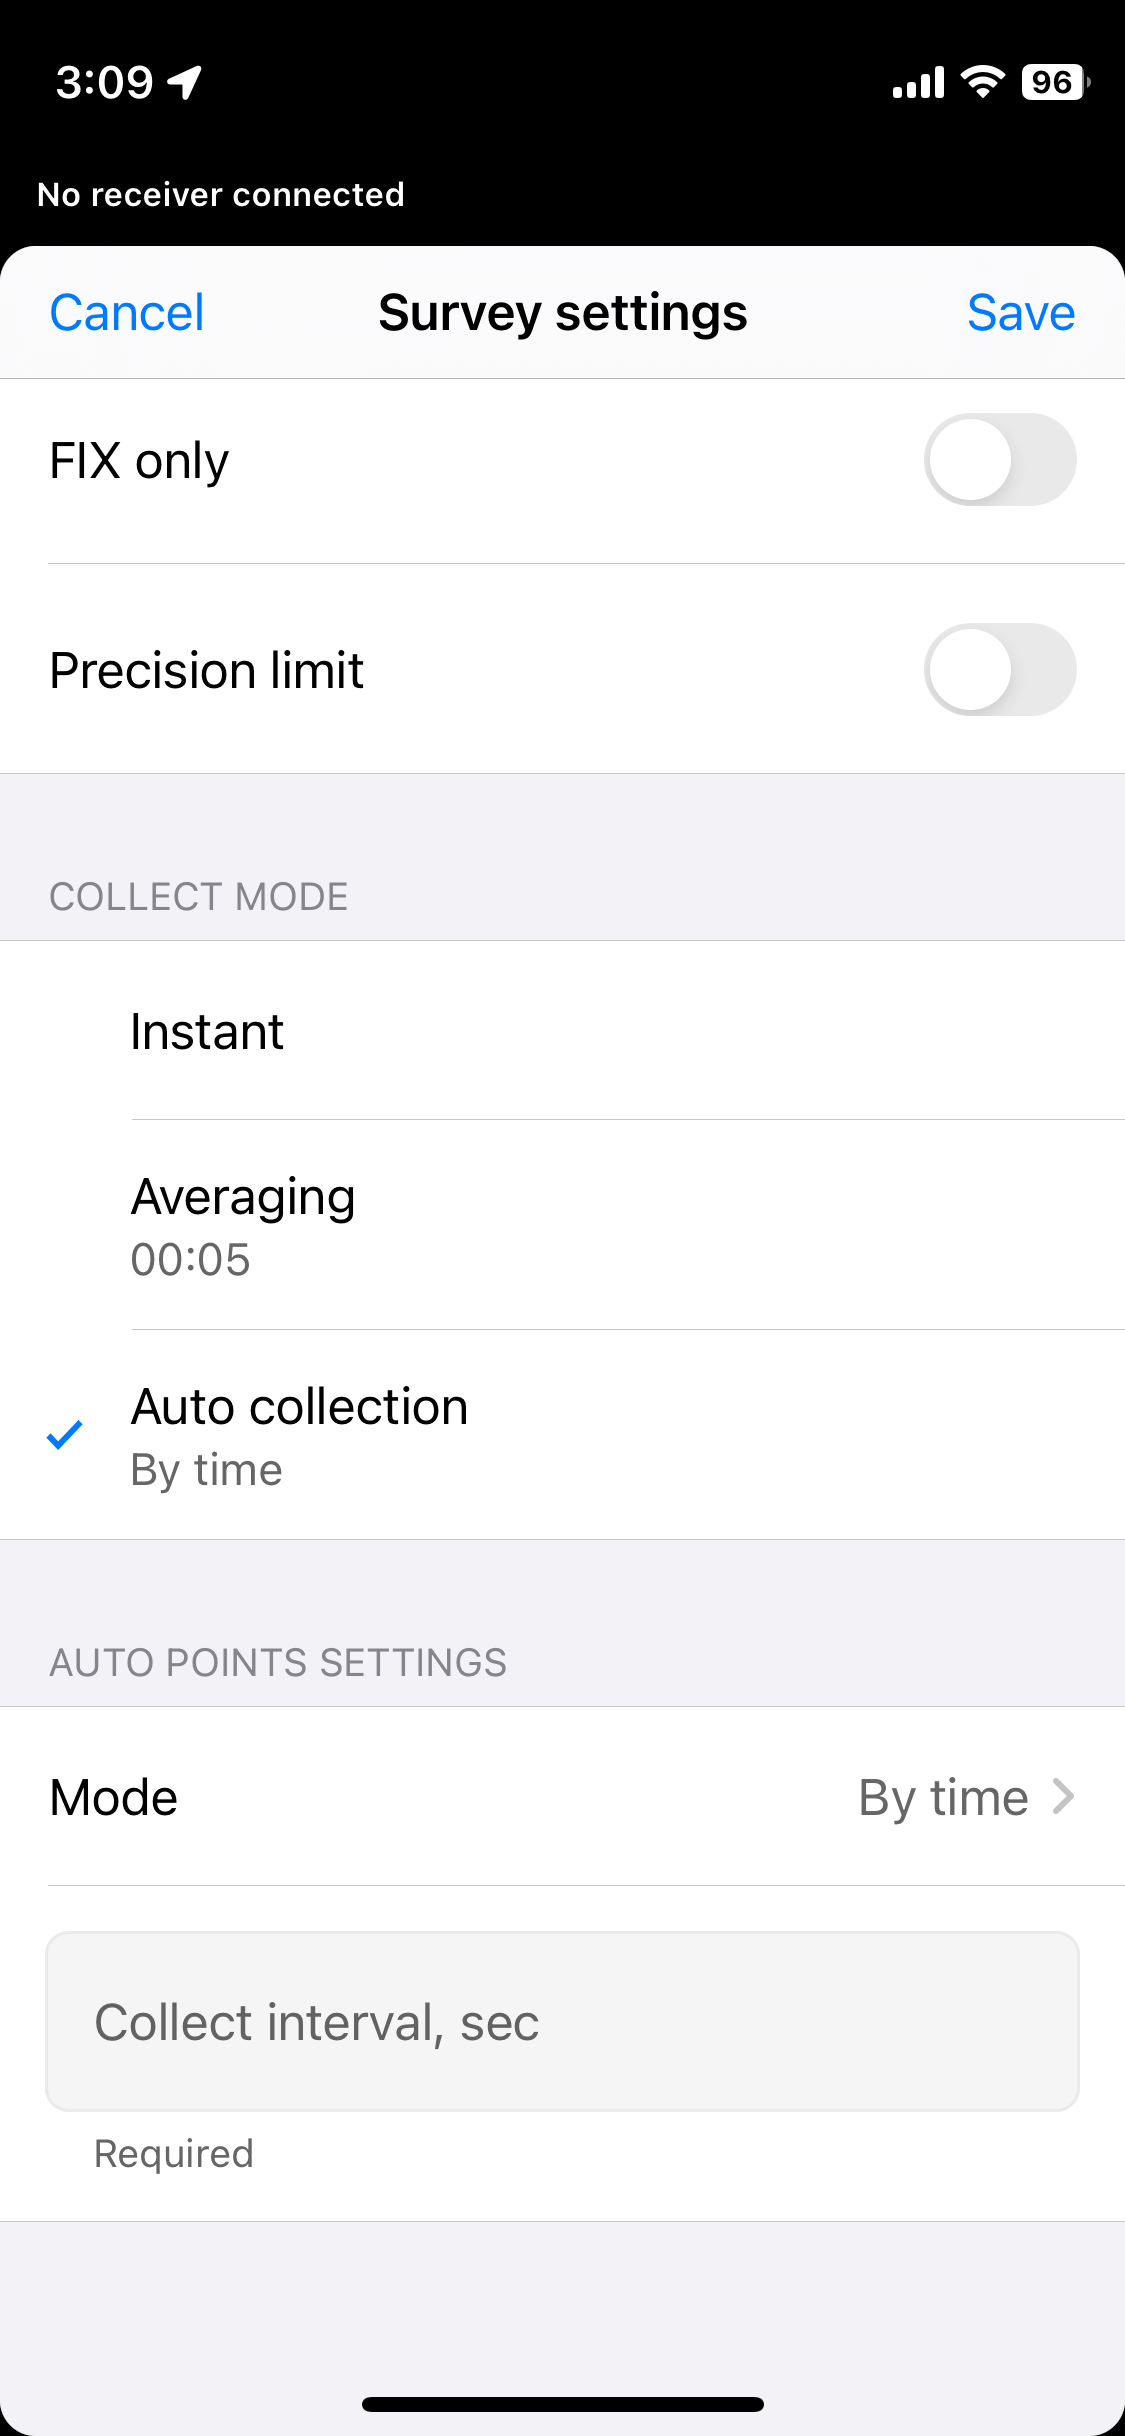
We’ve released the auto-collect feature in Emlid Flow 10.6. This new feature lets you auto-collect points with a specified time or distance.
This feature is available with the Survey Plan in Emlid Flow. You can try it out with a free 30-day trial. We’re excited to hear your thoughts!