I just got a new Reach RS and decided to document and make a tutorial of my initial power-on through connecting to wi-fi network and updating.
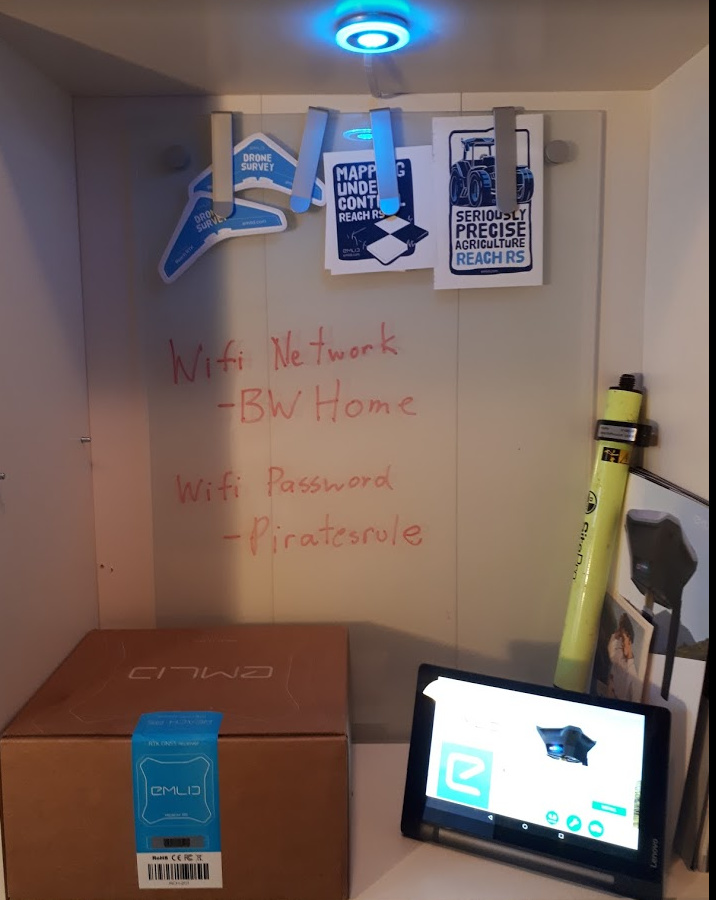
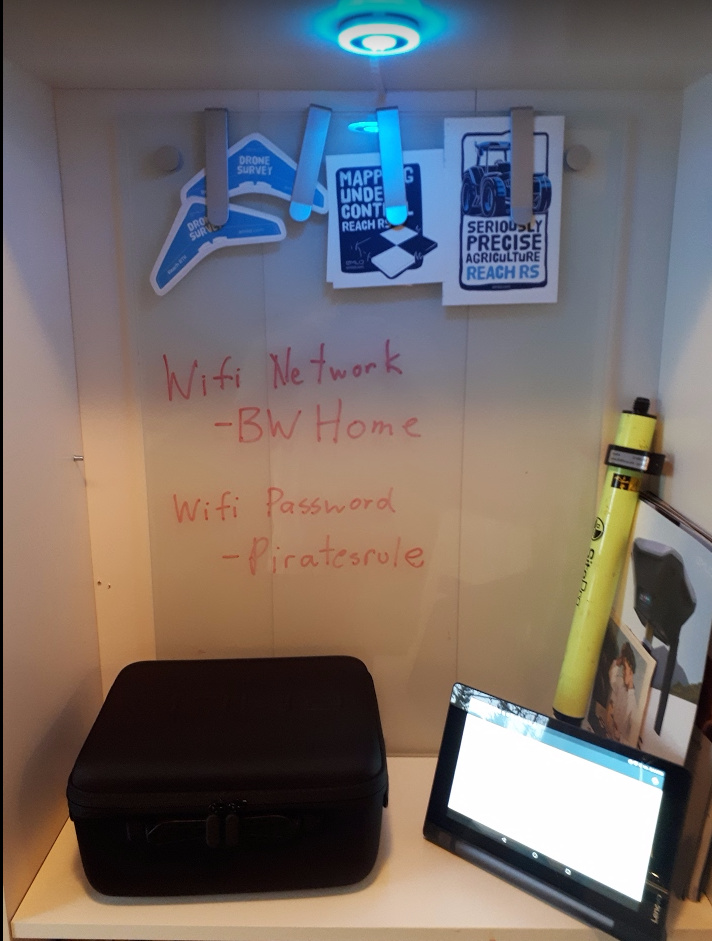
I set it up in my office with a window a couple of metres away and my wireless network router right by the window.
Lenovo Yoga Tablet
Reach RS
Wireless Router for wifi network
Network name BWHome
Network password - Piratesrule
Step One - Unboxing and Turning On. I think pictures will suffice here without much additional commenting.
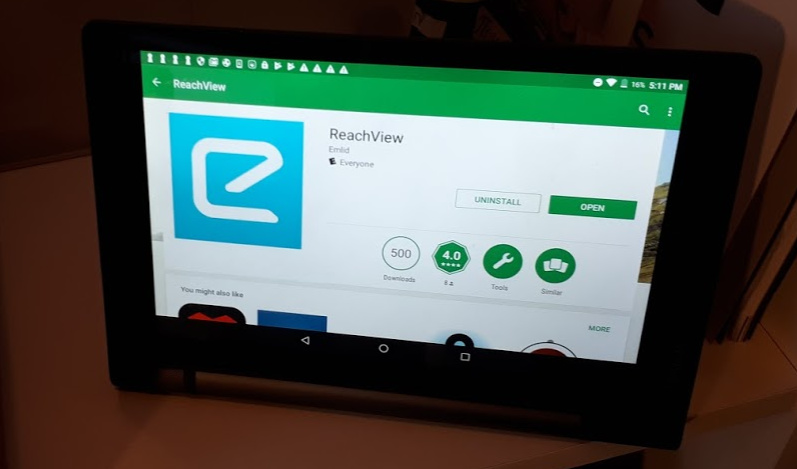
While opening the Reach RS, I installed Reachview app on my android Lenovo Tablet.

It’s too early to use the android Reachview app so it can be left for awhile.
After the cardboard box is removed.
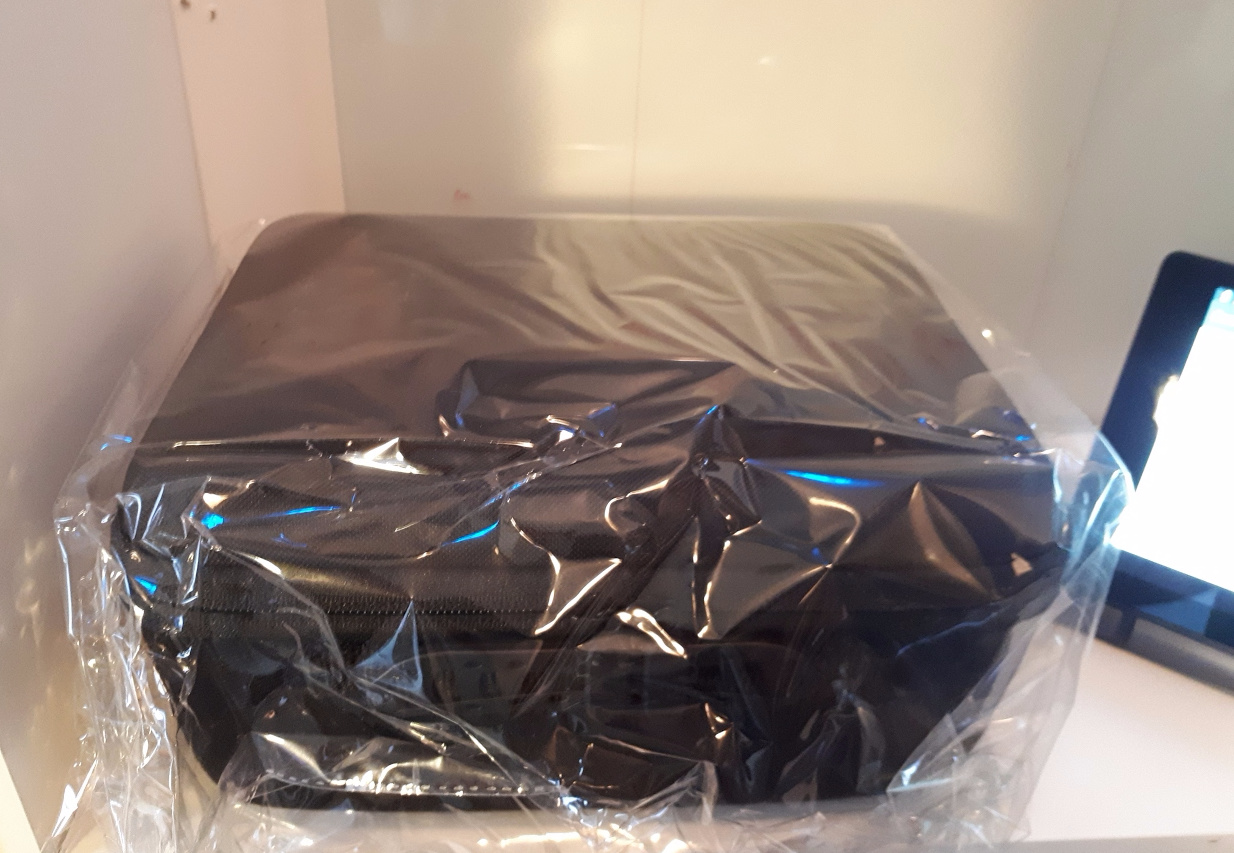
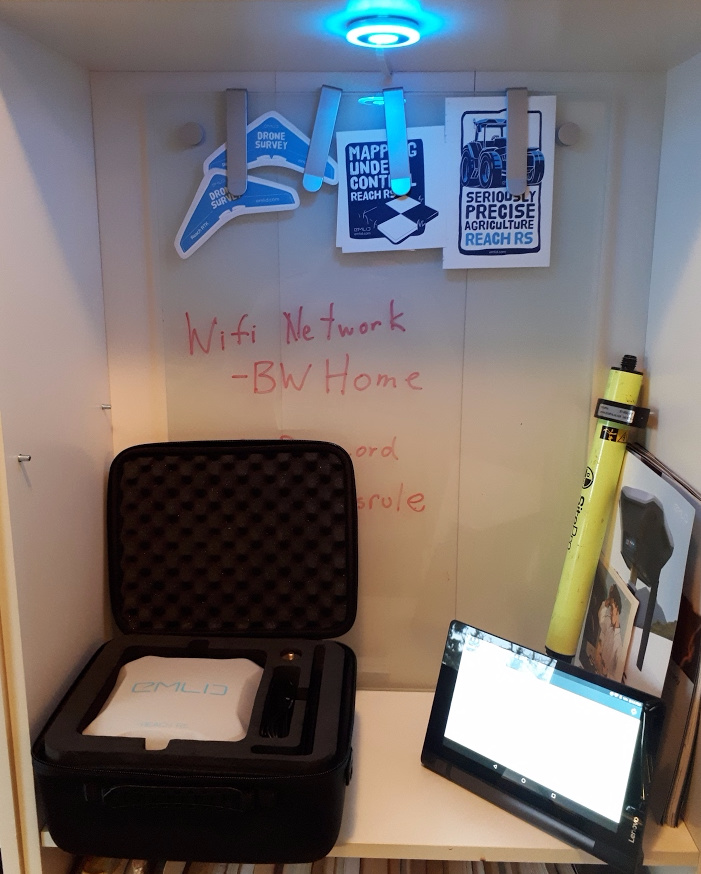
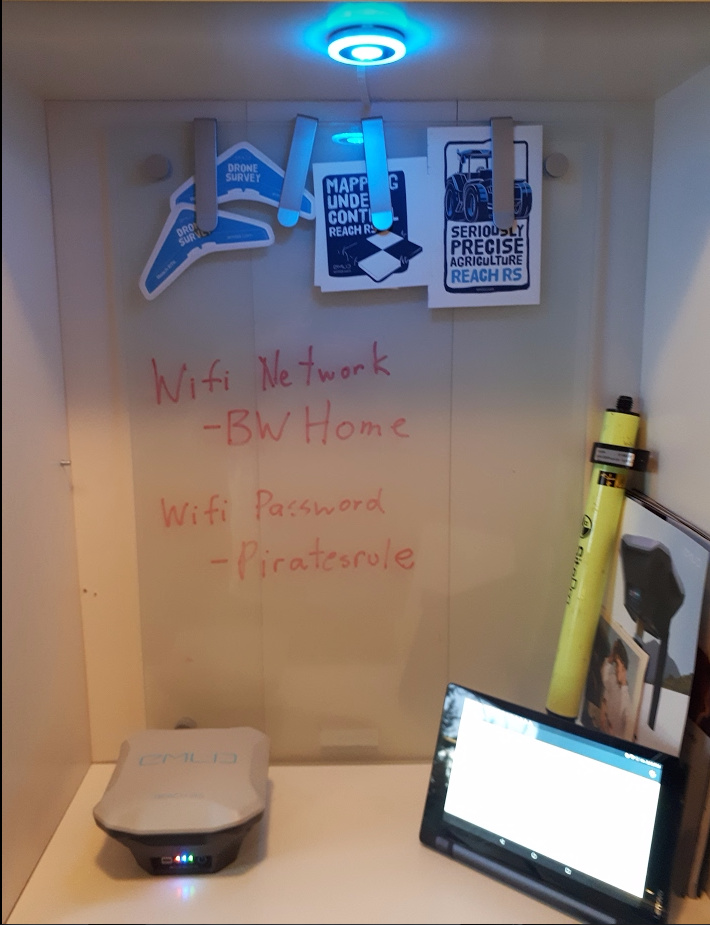
Remove the Reach RS and power it on by pressing the button on the front. The lights will start flashing. Because there is no saved wi-fi network in the Reach RS, it will go into hotspot mode after a few minutes. I need to connect to this hotspot with my tablet.
After a few minutes I open the connection settings on my Lenovo tablet and look under WLAN networks. There I can see one that starts with “reach.”(picture turned out poorly)I was in a hurry and didn’t check my pictures properly.
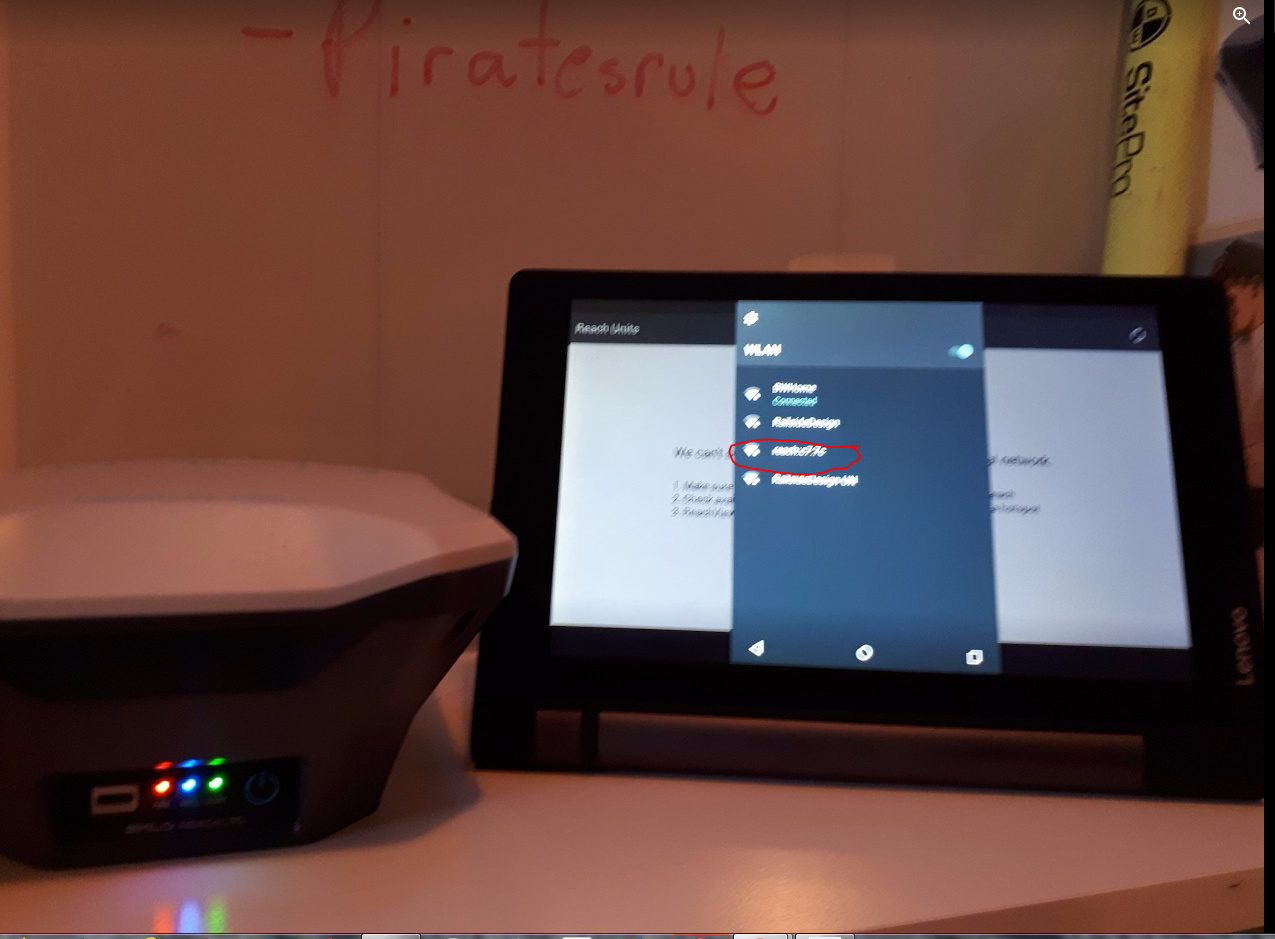
When I try to connect to this “reach” network, it will ask for a password.
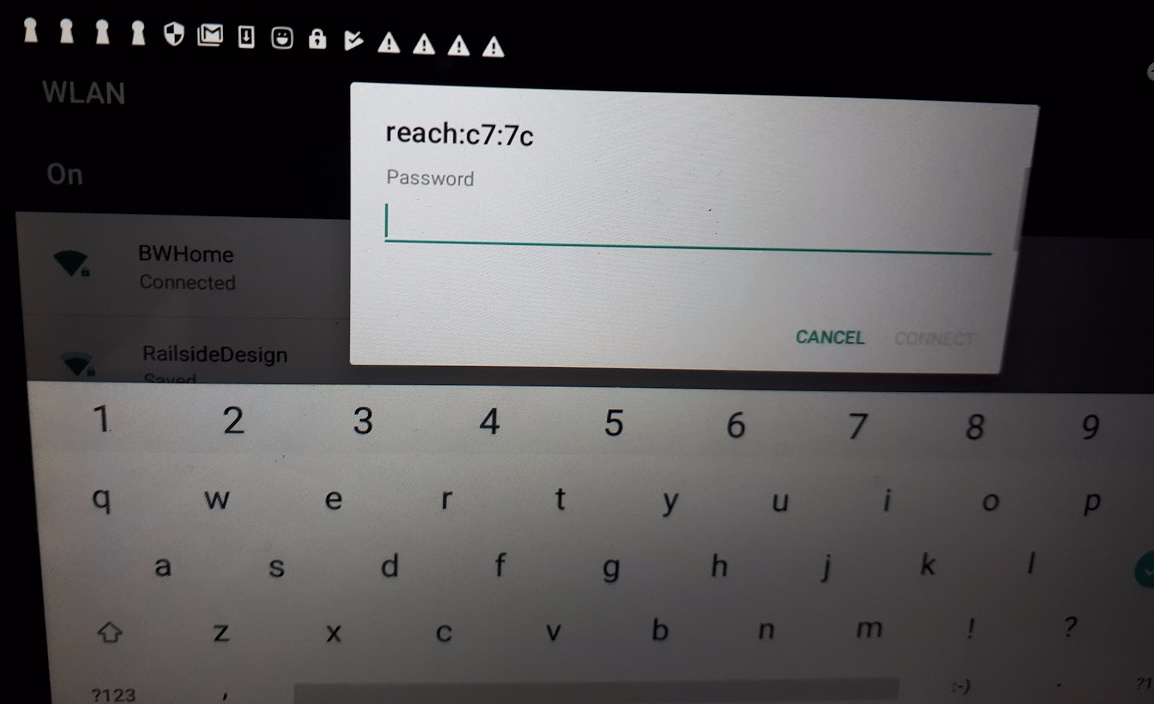
Enter “emlidreach”
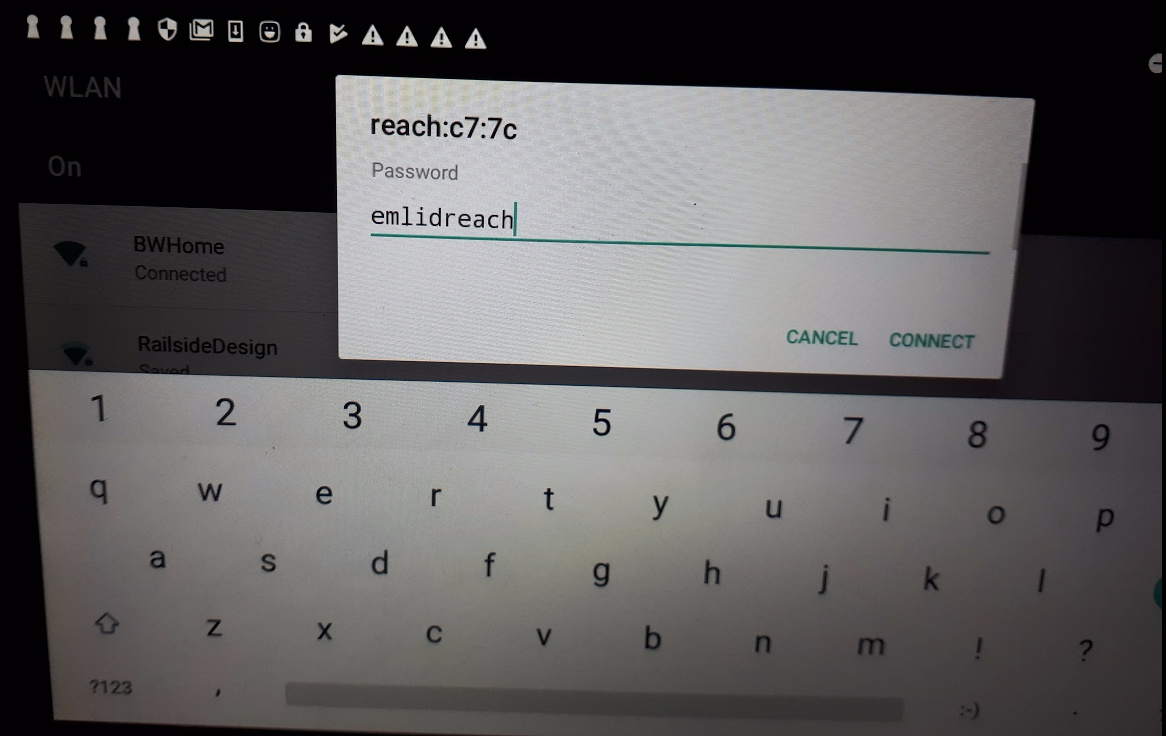
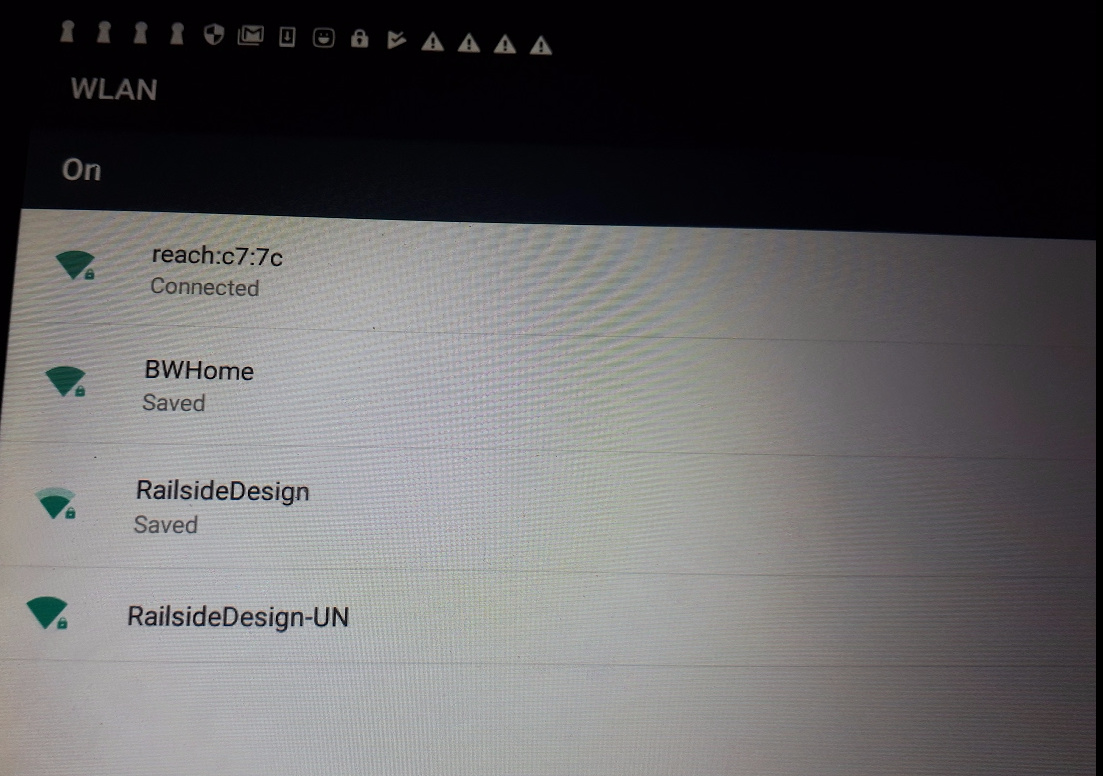
And voila! Connected to “reach” network! Remember, there is no internet available yet. I am just connected to the Reach RS’s hotspot.
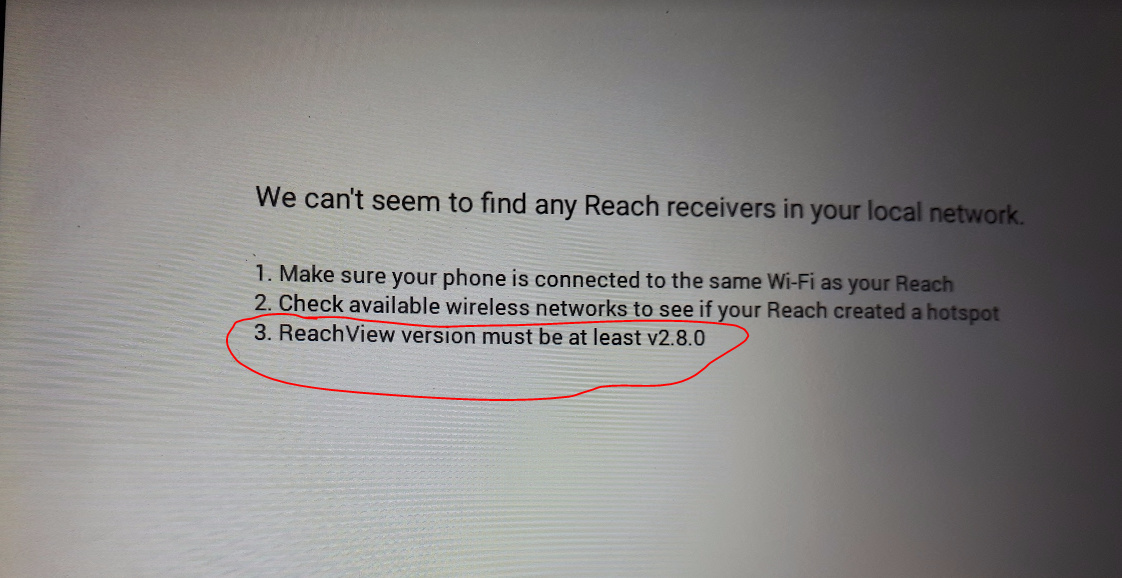
Now I try to find Reach RS through my Reachview app on my tablet, but I need to update my Reach RS first.
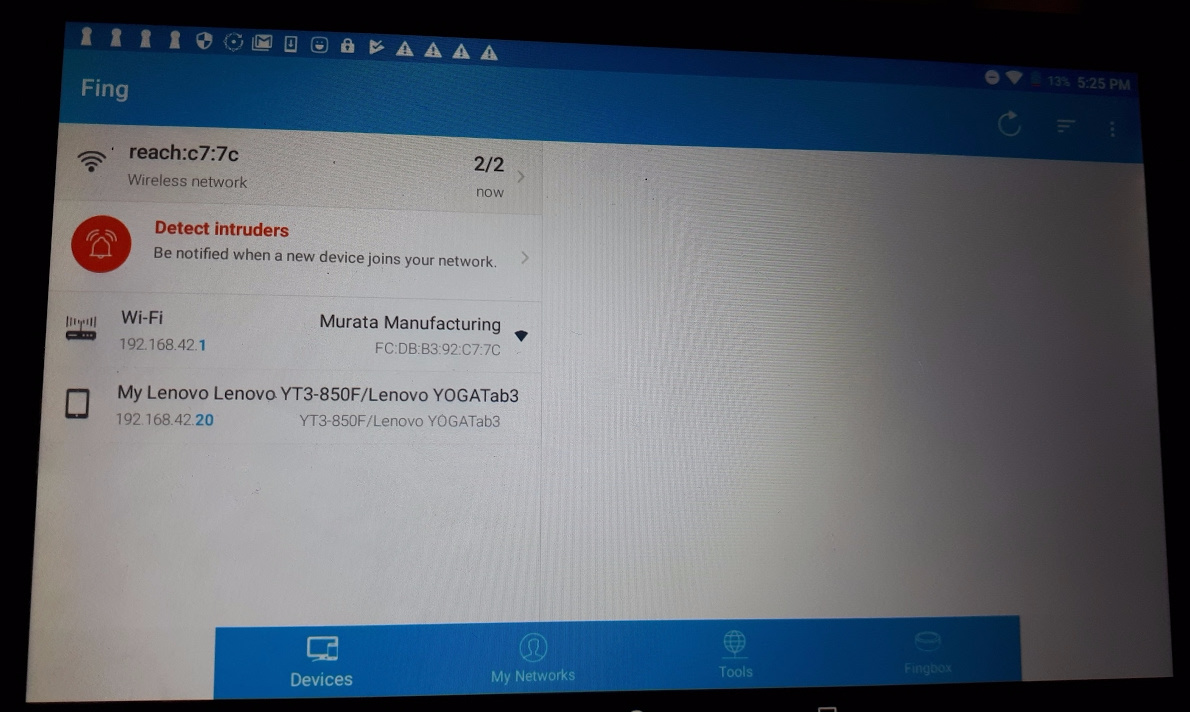
So I use “fing” instead. Here I can see a device with Murata Manufacturing. Its ip address is 192.168.42.1.(That’s what it always is when Reach RS is the hotspot)
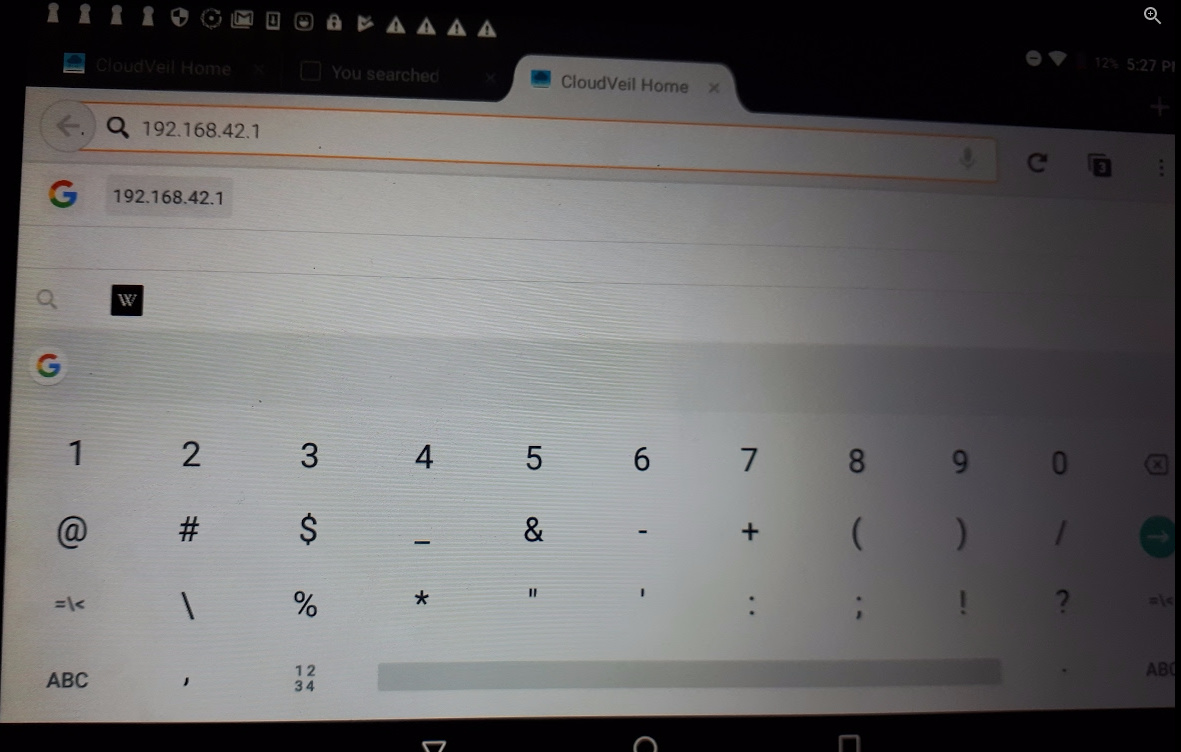
Now I open the browser on my tablet and enter that i.p. address into the address line.
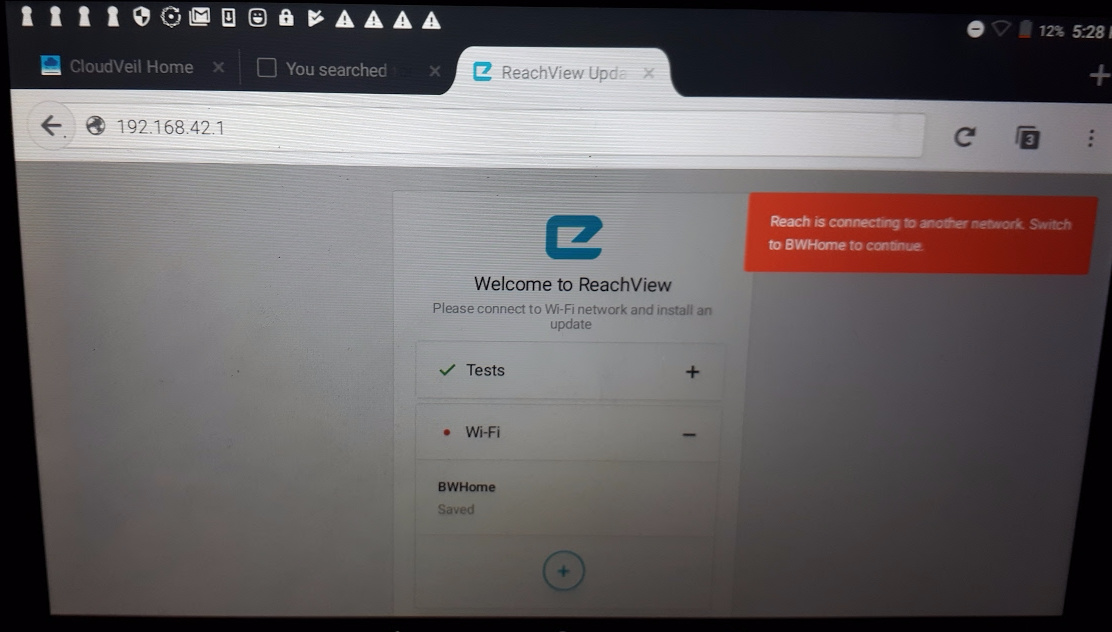
Add a new wifi connection so that your Reach RS can automatically connect to the internet and update with your wifi data. Enter your network information carefully. It is a pain and a time consuming project if you make a mistake here.

Save your settings and then click on the network you just added. This screen will open up.
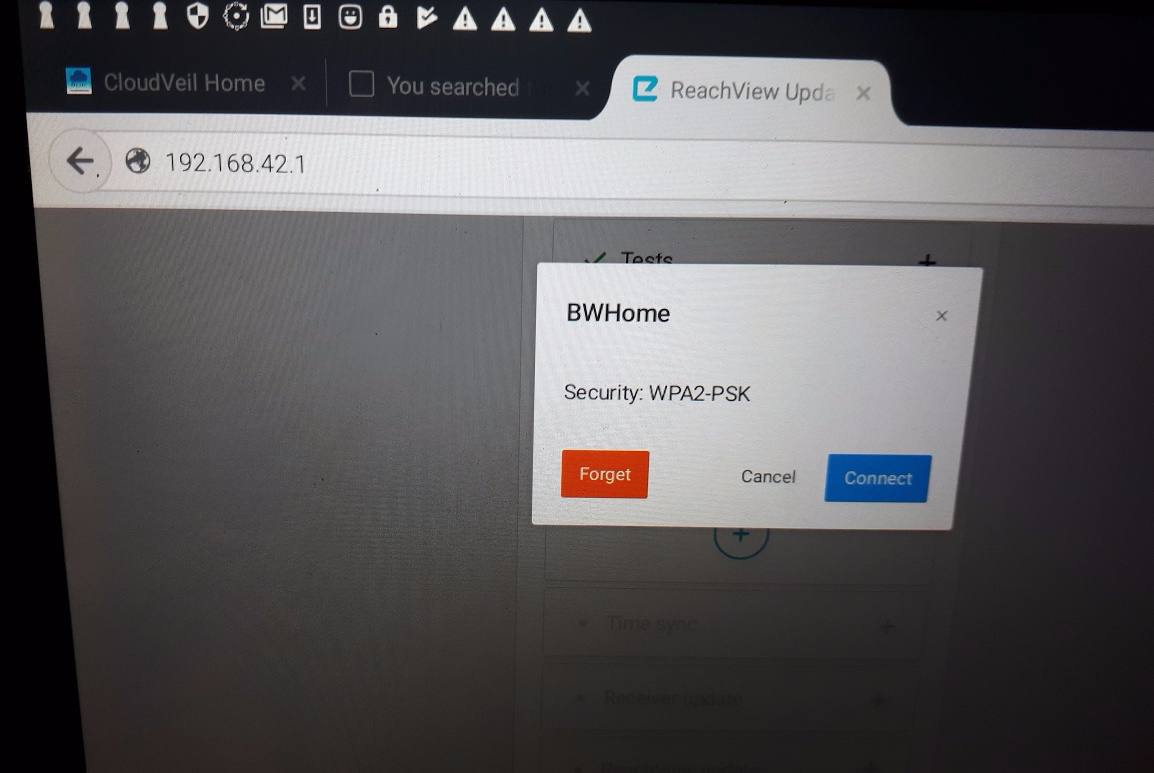
Press “Connect”
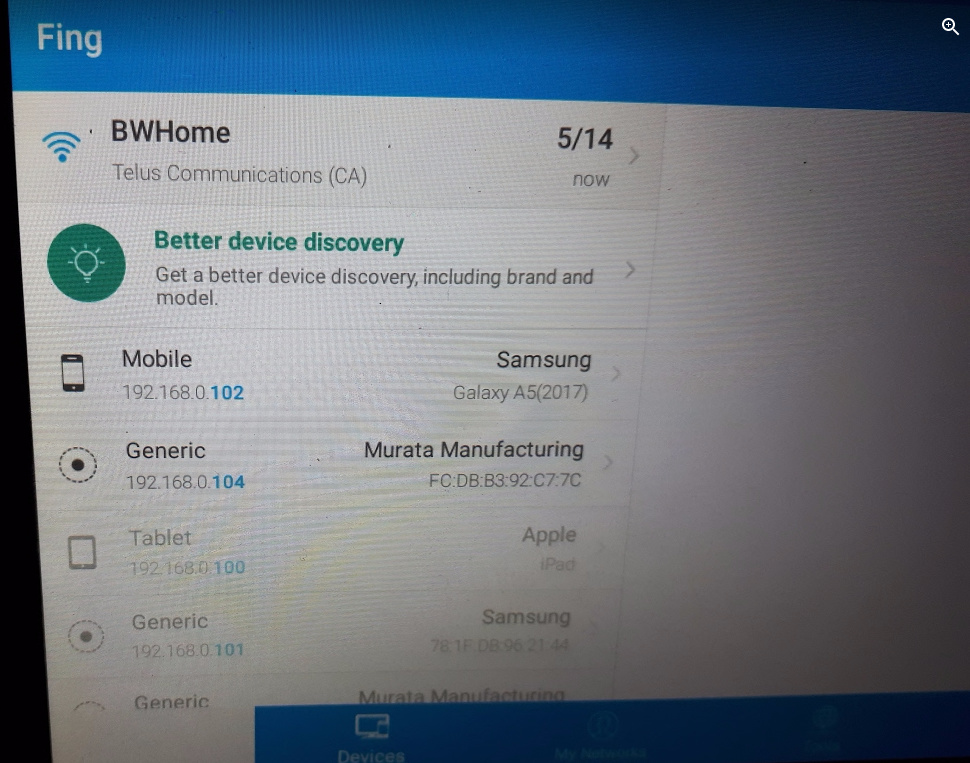
Now back to my tablet. I need to connect to my “BWHome” network and find Reach RS on this network. I haven’t updated Reach RS yet so I still can’t use Reachview app. Back to “fing.” This time it shows the Murata Manufacturing device with the i.p. address of 192.168.0.104. That’s great news because it means that my Reach RS was configured correctly and is connected to the BWHome network.
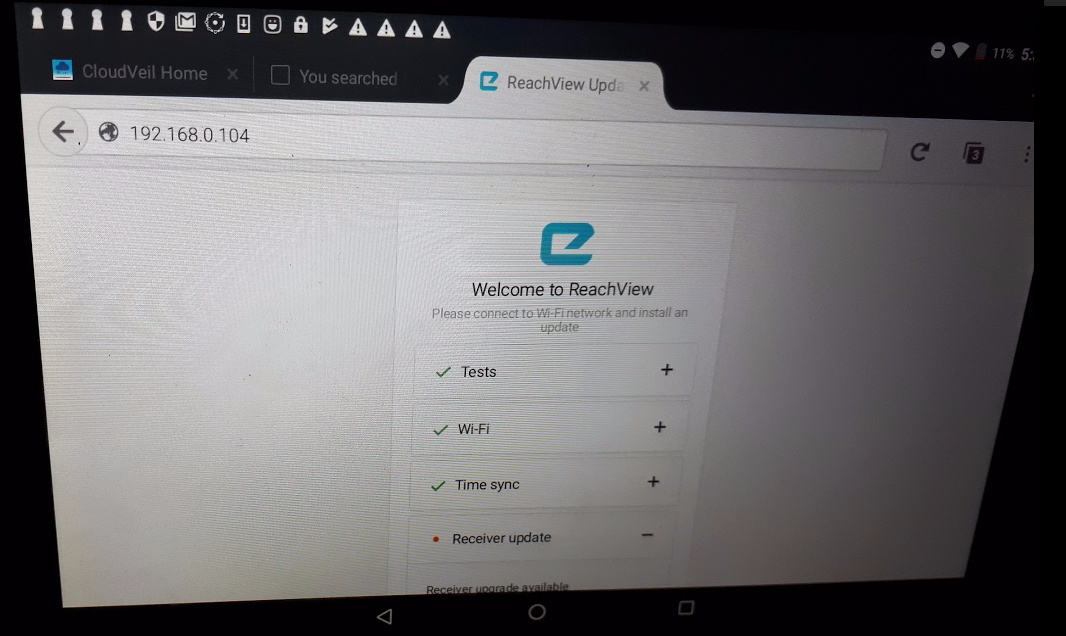
Back to my browser where I enter that address now.

And first of all, I am asked to perform update. Remember, your wifi network must have internet access for this step to work!
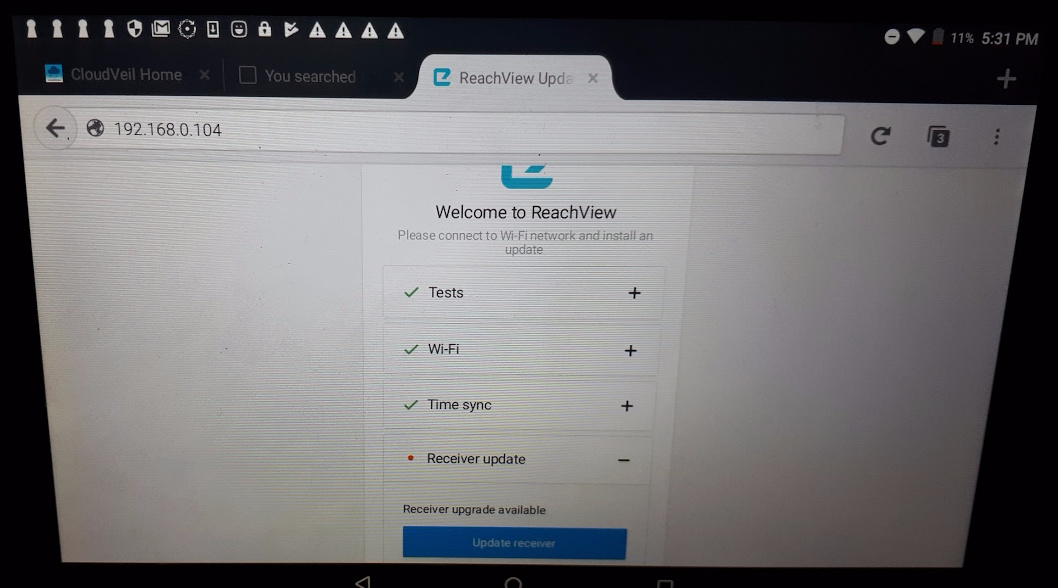
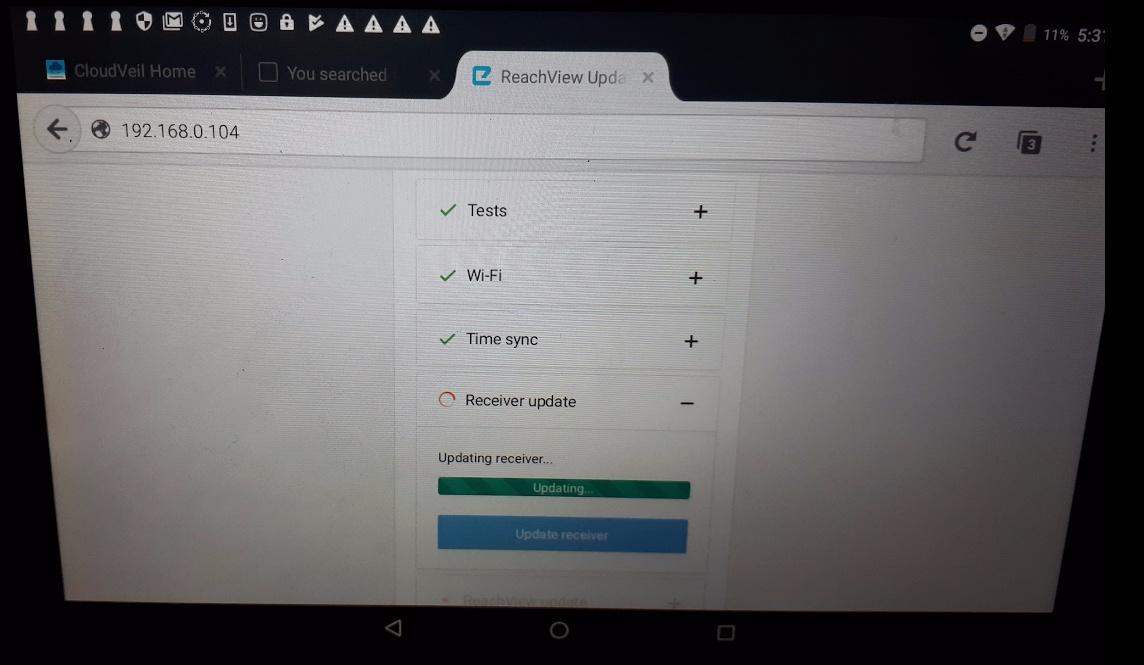
Select “Update Receiver”
Next, select “Update Reachview”

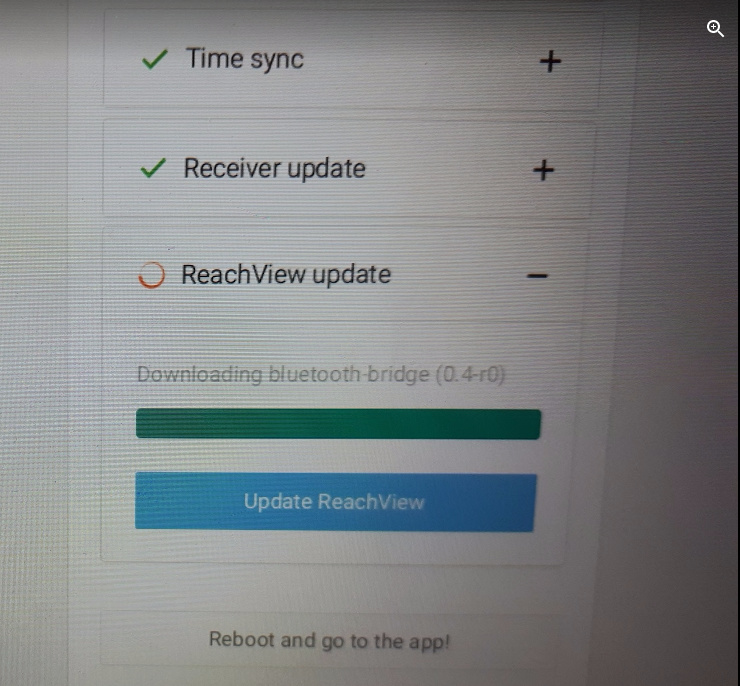
Now Press Reboot and go to the app.


Wait a few minutes and ReachRS will be back on the network. This time, we can go to the Reachview android or iOS app and find it there. This time, when we open Reachview app on tablet, we see this.

Click on it and you should see this screen. This means your wifi settings and update are complete.